
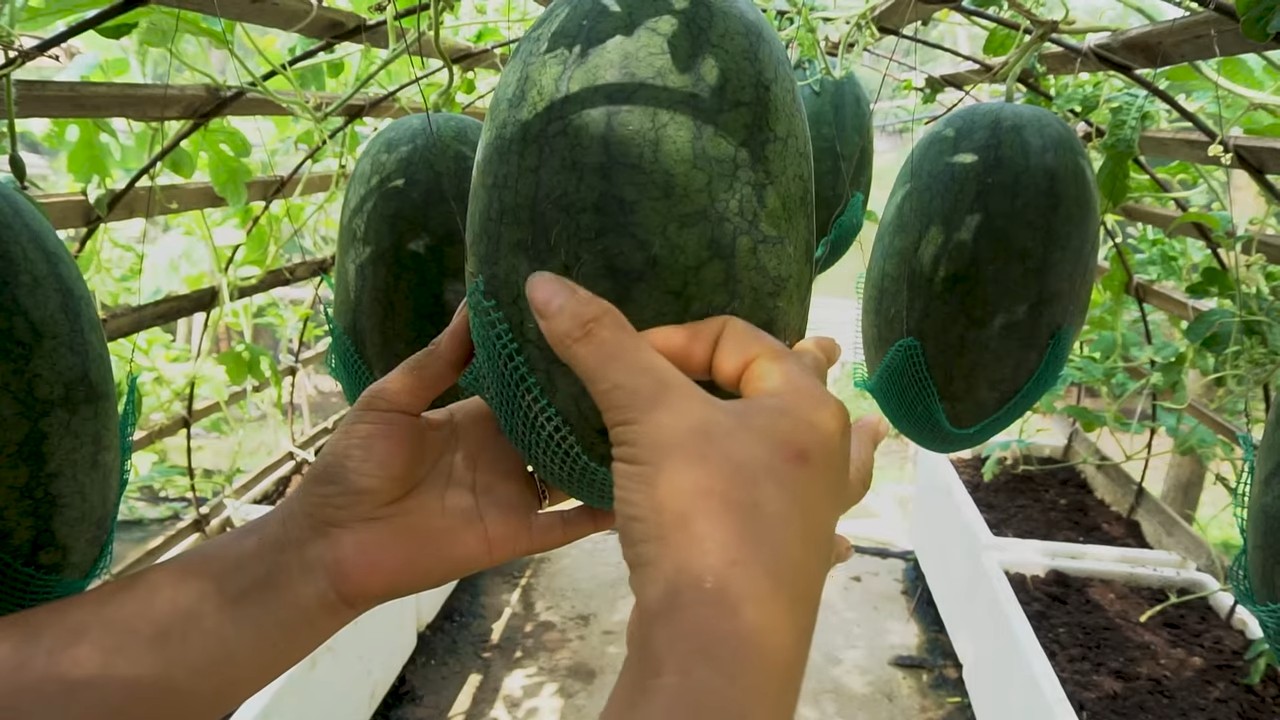
Grow sweeter watermelons? Yes, you absolutely can! Imagine biting into a juicy, intensely sweet watermelon that you nurtured from seed to fruit, right in your own backyard. Forget those bland, watery melons from the grocery store – we’re about to unlock the secrets to cultivating watermelons bursting with flavor.
Watermelons have a rich history, dating back thousands of years to Africa, where they were prized for their hydrating properties in arid climates. Over time, different varieties were cultivated, each with unique characteristics and sweetness levels. Today, growing your own watermelons is a rewarding experience that connects us to this agricultural heritage.
But let’s be honest, achieving that perfect sweetness can be tricky. That’s where these DIY tricks and hacks come in. Many factors influence a watermelon’s sugar content, from soil composition to sunlight exposure. I’m going to share simple, effective techniques that will help you optimize these elements and grow sweeter watermelons than you ever thought possible. Whether you’re a seasoned gardener or just starting out, these tips will empower you to transform your watermelon patch into a sweet success story. Get ready to impress your friends and family with the most delicious watermelons they’ve ever tasted!
How to Grow the Sweetest Watermelons You’ve Ever Tasted
Okay, let’s be honest, there’s nothing quite as disappointing as biting into a watermelon and finding it bland and watery. I’ve been there, and it’s a summer tragedy! But fear not, my fellow gardeners, because I’m going to share my secrets to growing watermelons so sweet, they’ll make your taste buds sing. This isn’t just about luck; it’s about understanding what these juicy giants need to thrive and maximize their sugar content.
Understanding Watermelon Sweetness
Before we dive into the how-to, let’s quickly touch on what makes a watermelon sweet. It’s all about the sugars, primarily fructose, glucose, and sucrose. These sugars are produced through photosynthesis, the process where plants convert sunlight, water, and carbon dioxide into energy. Several factors influence this process, including:
* Sunlight: More sunlight equals more photosynthesis and more sugar production.
* Water: Consistent watering is crucial, but overwatering can dilute the sugars.
* Nutrients: Potassium is particularly important for sugar transport within the plant.
* Pollination: Proper pollination ensures the fruit develops fully and has the potential for maximum sweetness.
* Variety: Some watermelon varieties are naturally sweeter than others.
* Maturity: Harvesting at the peak of ripeness is essential for optimal sweetness.
Choosing the Right Variety
The first step to watermelon sweetness success is selecting the right variety. Some varieties are just genetically predisposed to be sweeter. Here are a few of my favorites:
* ‘Sugar Baby’: A classic for a reason! It’s early-maturing, compact, and reliably sweet.
* ‘Crimson Sweet’: A popular choice with a vibrant red flesh and excellent sweetness.
* ‘Black Diamond’: A large, dark green watermelon known for its dense, sweet flesh.
* ‘Moon and Stars’: An heirloom variety with beautiful dark green skin speckled with yellow “stars” and a large “moon.” It’s not just pretty; it’s delicious!
* ‘Yellow Crimson’: If you want to try something different, this variety has yellow flesh and a unique, sweet flavor.
When choosing your seeds or seedlings, make sure they are from a reputable source. This will ensure you’re getting the variety you expect and that the plants are healthy.
Preparing the Soil
Watermelons are heavy feeders, meaning they need a lot of nutrients to grow and produce sweet fruit. Preparing the soil properly is crucial.
1. Choose a Sunny Spot: Watermelons need at least 6-8 hours of direct sunlight per day. Find the sunniest spot in your garden.
2. Test Your Soil: A soil test will tell you the pH level and nutrient content of your soil. Watermelons prefer a slightly acidic soil with a pH between 6.0 and 6.8. You can purchase a soil test kit at most garden centers or send a sample to your local agricultural extension office.
3. Amend the Soil: Based on your soil test results, amend the soil with compost, well-rotted manure, or other organic matter. This will improve drainage, aeration, and nutrient content. I like to add a generous amount of compost to my watermelon patch.
4. Add Fertilizer: Watermelons benefit from a fertilizer high in phosphorus and potassium. Bone meal is a great source of phosphorus, and wood ash is a good source of potassium. You can also use a balanced fertilizer (e.g., 10-10-10) at planting time. Follow the instructions on the fertilizer package.
5. Create Mounds or Rows: Watermelons grow best in mounds or rows. Mounds help with drainage, and rows make it easier to water and weed. Space the mounds or rows about 3-4 feet apart.
Planting Your Watermelons
You can start watermelon seeds indoors 4-6 weeks before the last expected frost or direct sow them in the garden after the soil has warmed up to at least 70°F (21°C).
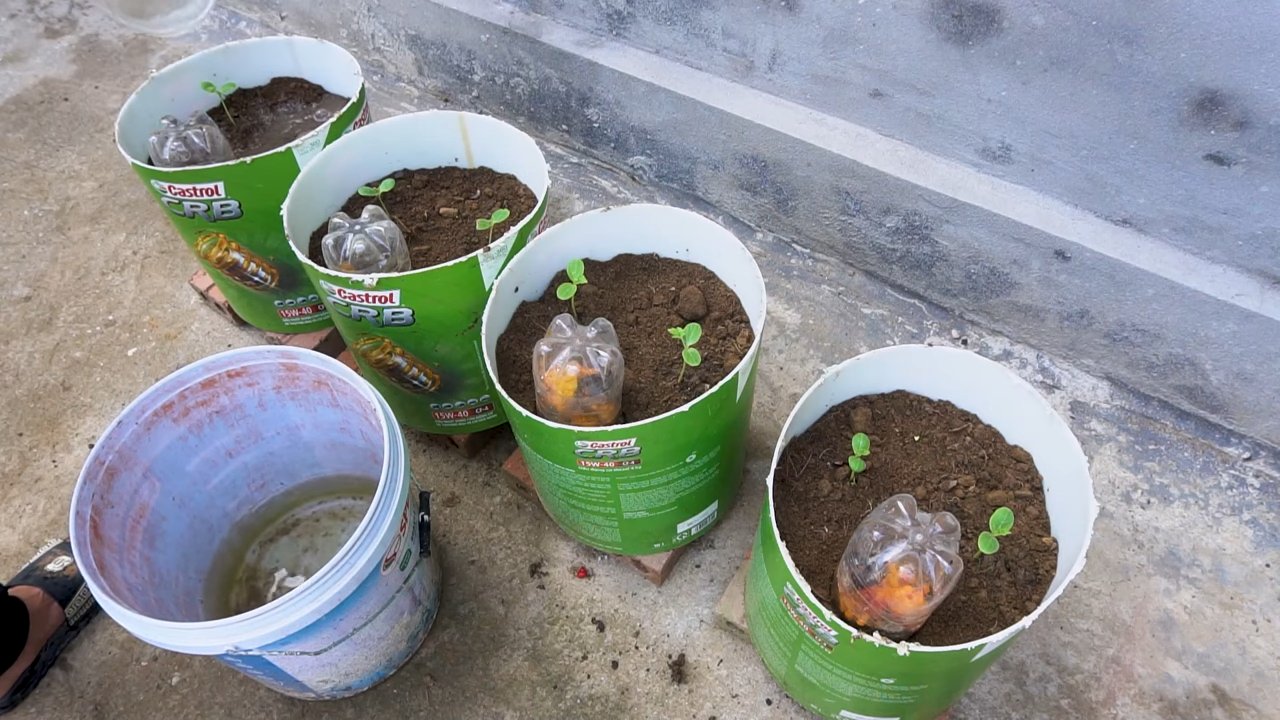
1. Starting Seeds Indoors (Optional): Sow seeds in peat pots or seed trays filled with seed-starting mix. Keep the soil moist and warm (around 80-85°F or 27-29°C). Once the seedlings have developed a few true leaves, they can be transplanted into the garden.
2. Direct Sowing: Sow seeds about 1 inch deep and 2-3 inches apart in the mounds or rows. Thin the seedlings to one plant per mound or 18-24 inches apart in rows.
3. Transplanting Seedlings: Harden off the seedlings by gradually exposing them to outdoor conditions for a week before transplanting. Dig a hole slightly larger than the root ball and gently place the seedling in the hole. Backfill with soil and water thoroughly.
4. Mulch: Apply a layer of mulch around the plants to help retain moisture, suppress weeds, and keep the soil warm. I like to use straw or black plastic mulch. Black plastic mulch can help warm the soil faster, which is especially beneficial in cooler climates.
Watering and Fertilizing
Consistent watering and fertilization are essential for growing sweet watermelons.
1. Watering: Watermelons need about 1-2 inches of water per week, especially during fruit development. Water deeply and infrequently, rather than shallowly and frequently. Avoid overhead watering, as this can promote fungal diseases. Drip irrigation is ideal.
2. Fertilizing: Side-dress the plants with a fertilizer high in potassium when the fruits start to develop. Potassium is crucial for sugar transport and fruit development. You can use a potassium-rich fertilizer or apply wood ash around the plants. Be careful not to over-fertilize, as this can lead to excessive vine growth and reduced fruit production.
3. Reduce Watering Before Harvest: About two weeks before harvest, reduce watering to concentrate the sugars in the fruit. This is a crucial step for maximizing sweetness.
Pollination
Watermelons are pollinated by bees, so it’s important to attract pollinators to your garden.
1. Plant Pollinator-Friendly Flowers: Plant flowers that attract bees, such as sunflowers, zinnias, and lavender.
2. Avoid Pesticides: Avoid using pesticides that can harm bees. If you must use pesticides, apply them in the evening when bees are less active.
3. Hand-Pollination (If Necessary): If you’re not seeing a lot of bee activity, you can hand-pollinate the flowers. Use a small paintbrush to transfer pollen from the male flowers to the female flowers. Female flowers have a small fruit behind the flower, while male flowers do not.
Pruning (Optional)
Pruning watermelons can help improve air circulation and direct the plant’s energy towards fruit production.
1. Remove Suckers: Remove any suckers (small shoots that grow from the base of the plant) to encourage the plant to focus its energy on the main vines.
2. Pinch Back Vine Tips: Once the plant has set a few fruits, pinch back the tips of the vines to encourage the fruits to ripen.
Pest and Disease Control
Watermelons are susceptible to several pests and diseases, including aphids, squash bugs, vine borers, and fungal diseases.
1. Monitor Plants Regularly: Check your plants regularly for signs of pests or diseases.
2. Use Organic Pest Control Methods: Use organic pest control methods, such as insecticidal soap, neem oil, or diatomaceous earth, to control pests.
3. Prevent Fungal Diseases: Prevent fungal diseases by providing good air circulation, avoiding overhead watering, and applying a fungicide if necessary.
4. Row Covers: Use row covers to protect young plants from pests.
Harvesting Your Sweet Watermelons
Knowing when to harvest a watermelon is crucial for getting the sweetest fruit. Here are a few signs to look for:
1. The Tendril: The tendril closest to the fruit should be brown and dry.
2. The Ground Spot: The ground spot (the spot where the watermelon rests on the ground) should be yellow or cream-colored.
3. The Thump Test: A ripe watermelon will sound hollow when you thump it. This takes some practice, but you’ll get the hang of it.
4. Days to Maturity: Check the seed packet for the days to maturity and harvest accordingly.
Once you’ve determined that the watermelon is ripe, use a sharp knife to cut it from the vine, leaving a few inches of stem attached.
Extra Tips for Sweetness
Here are a few extra tips that I’ve found helpful over the years:
* Epsom Salts: Some gardeners swear by Epsom salts for increasing sweetness. Dissolve 1 tablespoon of Epsom salts in a gallon of water and spray the plants every two weeks. Epsom salts contain magnesium, which is important for photosynthesis
Conclusion
So, there you have it! Unlocking the secret to growing sweeter watermelons isn’t about magic; it’s about understanding the plant’s needs and providing the right conditions. This DIY trick, focusing on strategic pruning and targeted feeding, is a game-changer for home gardeners who dream of biting into intensely sweet, juicy watermelon slices.
Why is this a must-try? Because it empowers you to take control of your watermelon’s sweetness. Instead of relying on luck or hoping for the best, you’re actively influencing the sugar content, resulting in a far superior fruit. Imagine the satisfaction of serving watermelons you’ve nurtured to perfection, bursting with flavor that rivals anything you can find in a store.
Beyond the core method, feel free to experiment! Consider using different types of organic fertilizers for the targeted feeding. Some gardeners swear by Epsom salts (magnesium sulfate) for boosting sweetness, while others prefer compost tea. The key is to monitor your plants closely and adjust your approach based on their response. You can also try this technique with other melon varieties like cantaloupe or honeydew, although the pruning strategies might need slight adjustments based on the specific growth habits of each plant.
Don’t be afraid to get your hands dirty and embrace the learning process. Gardening is all about experimentation, and even if your first attempt isn’t perfect, you’ll gain valuable knowledge that will improve your results in subsequent seasons.
We wholeheartedly encourage you to try this DIY trick for growing sweeter watermelons. It’s a rewarding experience that will transform your watermelon harvest. And most importantly, we want to hear about your journey! Share your experiences, successes, and even challenges in the comments below. Let’s build a community of watermelon enthusiasts who are passionate about growing the sweetest, most delicious fruit possible. Your insights could help other gardeners achieve their watermelon dreams! Let us know what worked for you, what didn’t, and any variations you tried. Together, we can unlock the full potential of our watermelon patches.
Now, let’s address some frequently asked questions to ensure you have all the information you need to embark on this sweet watermelon adventure.
Frequently Asked Questions (FAQ)
Q: How do I know when my watermelon is ripe enough to harvest after using this technique?
A: Determining watermelon ripeness is crucial for enjoying its full sweetness. While this DIY trick enhances sweetness, it doesn’t change the fundamental indicators of ripeness. Look for these signs:
* **The Tendril Test:** The tendril closest to the watermelon stem should be brown and dry. This is a reliable indicator that the fruit is no longer actively growing and is nearing peak ripeness.
* **The Ground Spot:** The underside of the watermelon, where it rests on the ground (the ground spot), should be a creamy yellow color. A white or pale green ground spot indicates that the watermelon is not yet ripe.
* **The Thump Test:** Gently thump the watermelon. A ripe watermelon will produce a deep, hollow sound. An unripe watermelon will sound dull or high-pitched. This takes some practice to master, so don’t be discouraged if you don’t get it right away.
* **Days to Maturity:** Check the seed packet or plant tag for the estimated days to maturity for your specific watermelon variety. This provides a general timeframe for when to expect ripe fruit. Keep in mind that weather conditions can affect the actual time to maturity.
Remember that these are just guidelines. The best way to determine ripeness is to combine these indicators and use your best judgment.
Q: Can I use this technique on all watermelon varieties?
A: Yes, this DIY trick can be applied to most watermelon varieties. However, some varieties may respond better than others. Larger varieties, like ‘Charleston Gray’ or ‘Crimson Sweet,’ may benefit more from the pruning aspect, as they tend to produce more vines and foliage. Smaller, personal-sized varieties, like ‘Sugar Baby,’ may require less aggressive pruning. Always research the specific needs of your watermelon variety and adjust the technique accordingly.
Q: What type of fertilizer is best for the targeted feeding?
A: For targeted feeding, choose a fertilizer that is rich in potassium (K) and phosphorus (P), as these nutrients are essential for fruit development and sweetness. Avoid fertilizers that are high in nitrogen (N), as nitrogen promotes leafy growth at the expense of fruit production.
Here are some options:
* **Compost Tea:** A great organic option that provides a slow-release source of nutrients.
* **Bone Meal:** Rich in phosphorus, bone meal is a good choice for promoting root development and fruit set.
* **Wood Ash:** A natural source of potassium, wood ash can be added to the soil around the watermelon plants. Be careful not to use too much, as it can raise the soil pH.
* **Commercial Bloom Boosters:** These fertilizers are specifically formulated to promote flowering and fruiting. Look for products with a high P-K ratio.
Always follow the instructions on the fertilizer label and avoid over-fertilizing, as this can damage the plants.
Q: How often should I water my watermelons after pruning and feeding?
A: Watermelons need consistent moisture, especially during fruit development. Water deeply and regularly, aiming for about 1-2 inches of water per week. Avoid overhead watering, as this can promote fungal diseases. Use a soaker hose or drip irrigation to deliver water directly to the roots. After pruning and feeding, monitor the soil moisture closely and adjust your watering schedule as needed. During hot, dry weather, you may need to water more frequently.
Q: What if I don’t see a noticeable difference in sweetness after trying this technique?
A: Several factors can affect watermelon sweetness, including weather conditions, soil quality, and the specific variety. If you don’t see a significant improvement in sweetness after trying this technique, consider the following:
* **Soil Testing:** Get your soil tested to determine its nutrient content and pH. Amend the soil as needed to provide the optimal growing conditions for watermelons.
* **Sunlight:** Watermelons need at least 6-8 hours of direct sunlight per day to produce sweet fruit. Make sure your plants are not shaded by other plants or structures.
* **Weather:** Cool, cloudy weather can reduce sugar production in watermelons. If you experience prolonged periods of cool weather, consider using row covers to protect your plants and keep them warm.
* **Variety Selection:** Some watermelon varieties are naturally sweeter than others. If you’re not satisfied with the sweetness of your current variety, try a different one next year.
Don’t give up! Gardening is a learning process, and it may take some experimentation to find the right combination of techniques and conditions to grow the sweetest watermelons possible. Keep trying, keep learning, and keep sharing your experiences!
Leave a Comment