
Growing basil from seed can feel like a daunting task, but trust me, it’s easier than you think! Imagine the satisfaction of snipping fresh, fragrant basil leaves from your own garden to add to your favorite pasta sauce or pesto. Forget those sad, wilted bunches from the grocery store – we’re talking vibrant, flavorful basil grown with your own two hands.
Basil, with its origins tracing back to ancient India and Southeast Asia, has been cherished for centuries, not just for its culinary uses but also for its medicinal properties and symbolic meaning. In some cultures, it represents love and good fortune. Now, you can bring a little bit of that history and good fortune into your own home!
Why should you learn this DIY trick? Well, for starters, it’s incredibly cost-effective. Buying basil plants repeatedly can add up, but a single packet of seeds can yield a bountiful harvest. Plus, growing basil from seed allows you to choose from a wider variety of basil types, from the classic Genovese to the exotic Thai basil. I’m here to guide you through every step of the process, from sowing the seeds to harvesting your delicious, homegrown basil. Let’s get started and unlock the secrets to a thriving basil patch!
Growing Basil From Seed: A Comprehensive DIY Guide
Hey there, fellow plant enthusiasts! I’m so excited to share my tried-and-true method for growing lush, fragrant basil from seed. There’s nothing quite like the satisfaction of snipping fresh basil leaves from your own garden to add to your favorite dishes. Trust me, once you taste homegrown basil, you’ll never go back to the store-bought stuff! This guide will walk you through every step, from choosing the right seeds to harvesting your bountiful basil crop. Let’s get started!
Choosing Your Basil Seeds
Before we dive into the planting process, let’s talk about basil varieties. There’s a whole world of basil beyond the standard Genovese!
* Genovese Basil: This is your classic Italian basil, perfect for pesto and tomato sauces. It has large, glossy leaves and a strong, sweet flavor.
* Thai Basil: With its anise-like flavor and purple stems, Thai basil is a must-have for Asian cuisine. It holds up well in stir-fries and soups.
* Lemon Basil: As the name suggests, lemon basil has a delightful citrusy aroma and flavor. It’s fantastic in salads, teas, and seafood dishes.
* Purple Basil: This beautiful basil variety adds a pop of color to your garden and has a slightly spicier flavor than Genovese.
* Globe Basil: This compact basil variety forms a neat, rounded shape, making it perfect for containers. It has a milder flavor than Genovese.
When choosing your seeds, make sure to purchase them from a reputable source. Look for seeds that are labeled as organic and non-GMO for the best results. I personally love ordering seeds online from companies that specialize in heirloom varieties.
Gathering Your Supplies
To successfully grow basil from seed, you’ll need a few essential supplies:
* Basil Seeds: Of course! Choose your favorite variety or a mix of several.
* Seed Starting Trays or Small Pots: These will provide a controlled environment for your seeds to germinate. I prefer using seed starting trays with a humidity dome.
* Seed Starting Mix: This is a lightweight, sterile soil mix that’s specifically designed for starting seeds. Don’t use regular garden soil, as it can be too heavy and may contain pathogens.
* Watering Can or Spray Bottle: You’ll need a gentle way to water your seedlings without disturbing them.
* Grow Lights (Optional): If you don’t have a sunny windowsill, grow lights can provide the necessary light for your seedlings to thrive.
* Heat Mat (Optional): Basil seeds germinate best in warm soil, so a heat mat can help speed up the process.
* Plant Labels: Trust me, you’ll want to label your seedlings, especially if you’re growing multiple varieties.
* Small Trowel or Spoon: For transplanting seedlings.
* Fertilizer: A balanced liquid fertilizer to feed your basil plants once they are established.
Starting Your Basil Seeds Indoors
Starting your basil seeds indoors gives them a head start, especially if you live in a cooler climate. I usually start my seeds about 6-8 weeks before the last expected frost.
1. Prepare Your Seed Starting Trays: Fill your seed starting trays or small pots with seed starting mix. Gently press down on the soil to remove any air pockets.
2. Sow the Seeds: Sprinkle a few basil seeds on top of the soil in each cell or pot. Basil seeds are tiny, so be careful not to sow them too thickly. I usually aim for 2-3 seeds per cell.
3. Cover the Seeds: Lightly cover the seeds with a thin layer of seed starting mix.
4. Water Gently: Use a watering can or spray bottle to gently moisten the soil. Be careful not to overwater, as this can cause the seeds to rot.
5. Provide Warmth and Light: Place your seed starting trays on a heat mat (if using) and under grow lights or on a sunny windowsill. Basil seeds germinate best at temperatures between 70-80°F (21-27°C).
6. Maintain Moisture: Keep the soil consistently moist, but not soggy. You can cover the seed starting trays with a humidity dome to help retain moisture.
7. Wait for Germination: Basil seeds typically germinate within 5-10 days. Once the seedlings emerge, remove the humidity dome and continue to provide them with plenty of light.
Transplanting Your Basil Seedlings
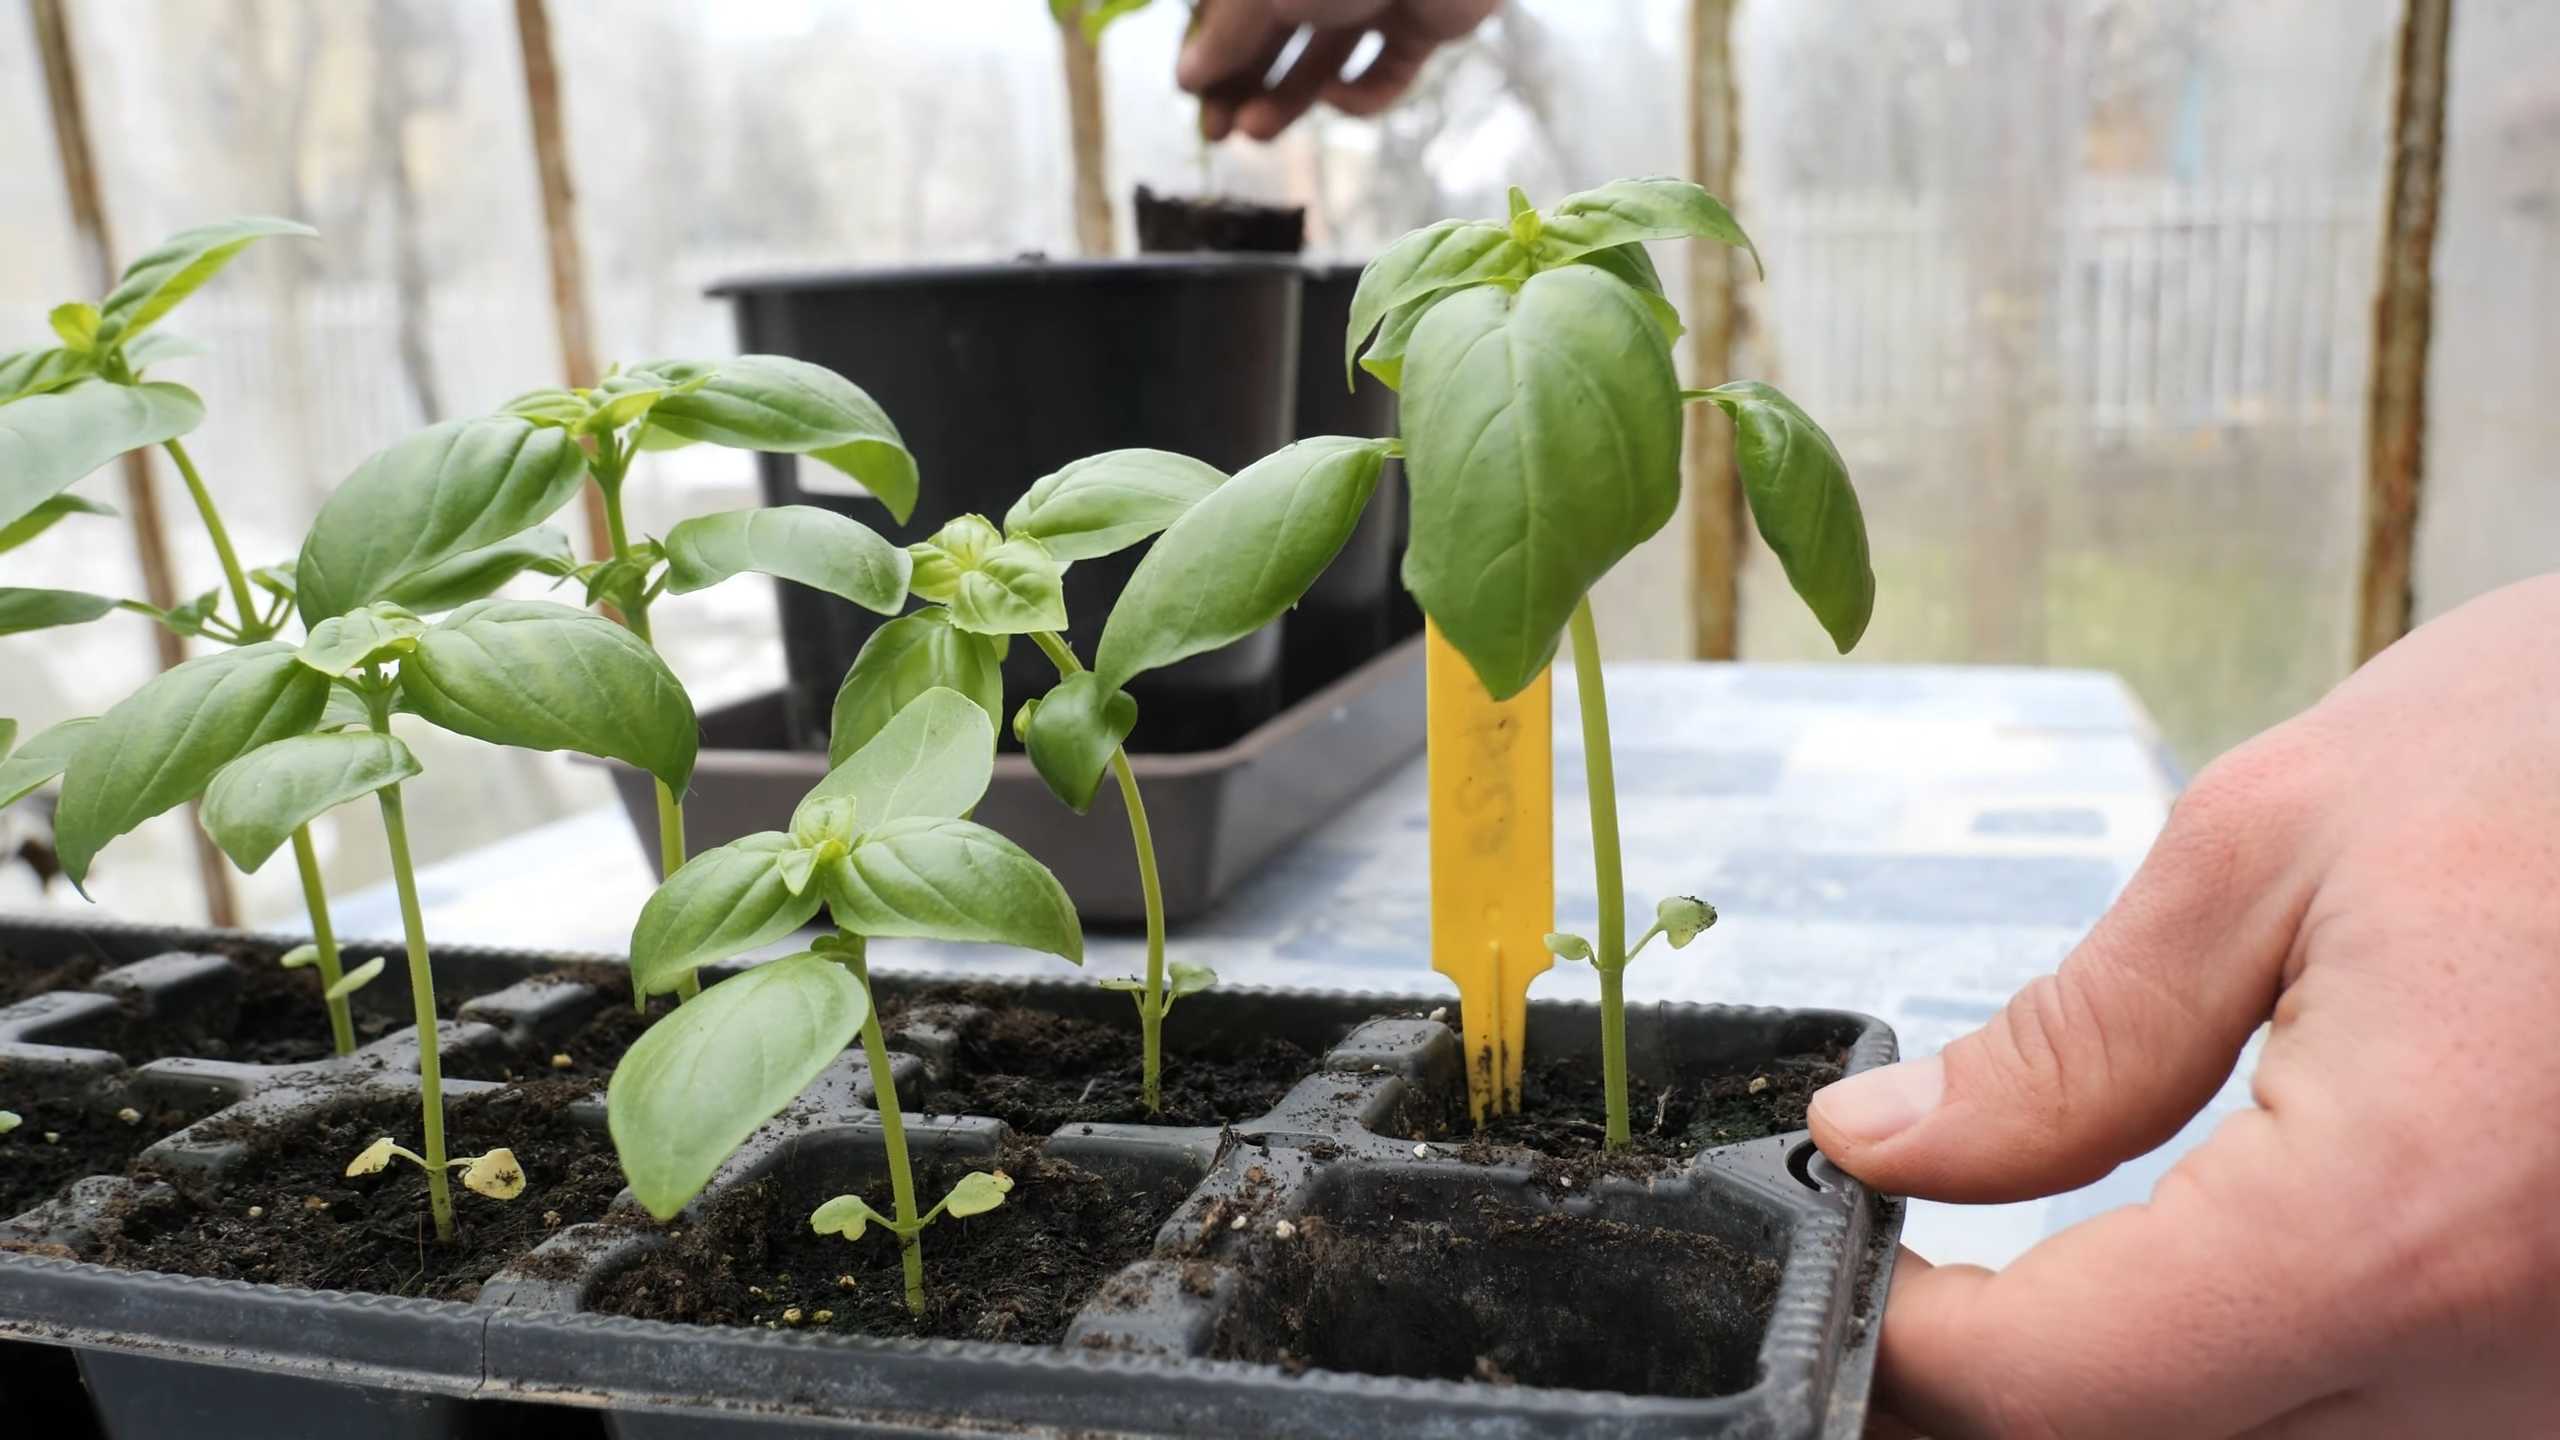
Once your basil seedlings have developed their first set of true leaves (the leaves that look like miniature basil leaves), it’s time to transplant them into larger pots or into your garden.
1. Harden Off Your Seedlings: Before transplanting your seedlings outdoors, you’ll need to harden them off. This means gradually exposing them to outdoor conditions over a period of 7-10 days. Start by placing them in a sheltered spot outdoors for a few hours each day, gradually increasing the amount of time they spend outside.
2. Prepare Your Planting Location: Choose a sunny location in your garden with well-drained soil. Basil prefers at least 6-8 hours of sunlight per day. Amend the soil with compost or other organic matter to improve its fertility and drainage.
3. Transplant the Seedlings: Gently remove the seedlings from their seed starting trays or pots. Be careful not to damage the roots. Plant the seedlings about 12-18 inches apart in your garden or in larger pots.
4. Water Thoroughly: Water the seedlings thoroughly after transplanting.
5. Mulch: Apply a layer of mulch around the base of the plants to help retain moisture and suppress weeds.
Caring for Your Basil Plants
Once your basil plants are established, they’re relatively easy to care for. Here are a few tips to keep them thriving:
* Watering: Water your basil plants regularly, especially during hot, dry weather. Basil prefers consistently moist soil, but avoid overwatering, as this can lead to root rot.
* Fertilizing: Feed your basil plants with a balanced liquid fertilizer every 2-3 weeks.
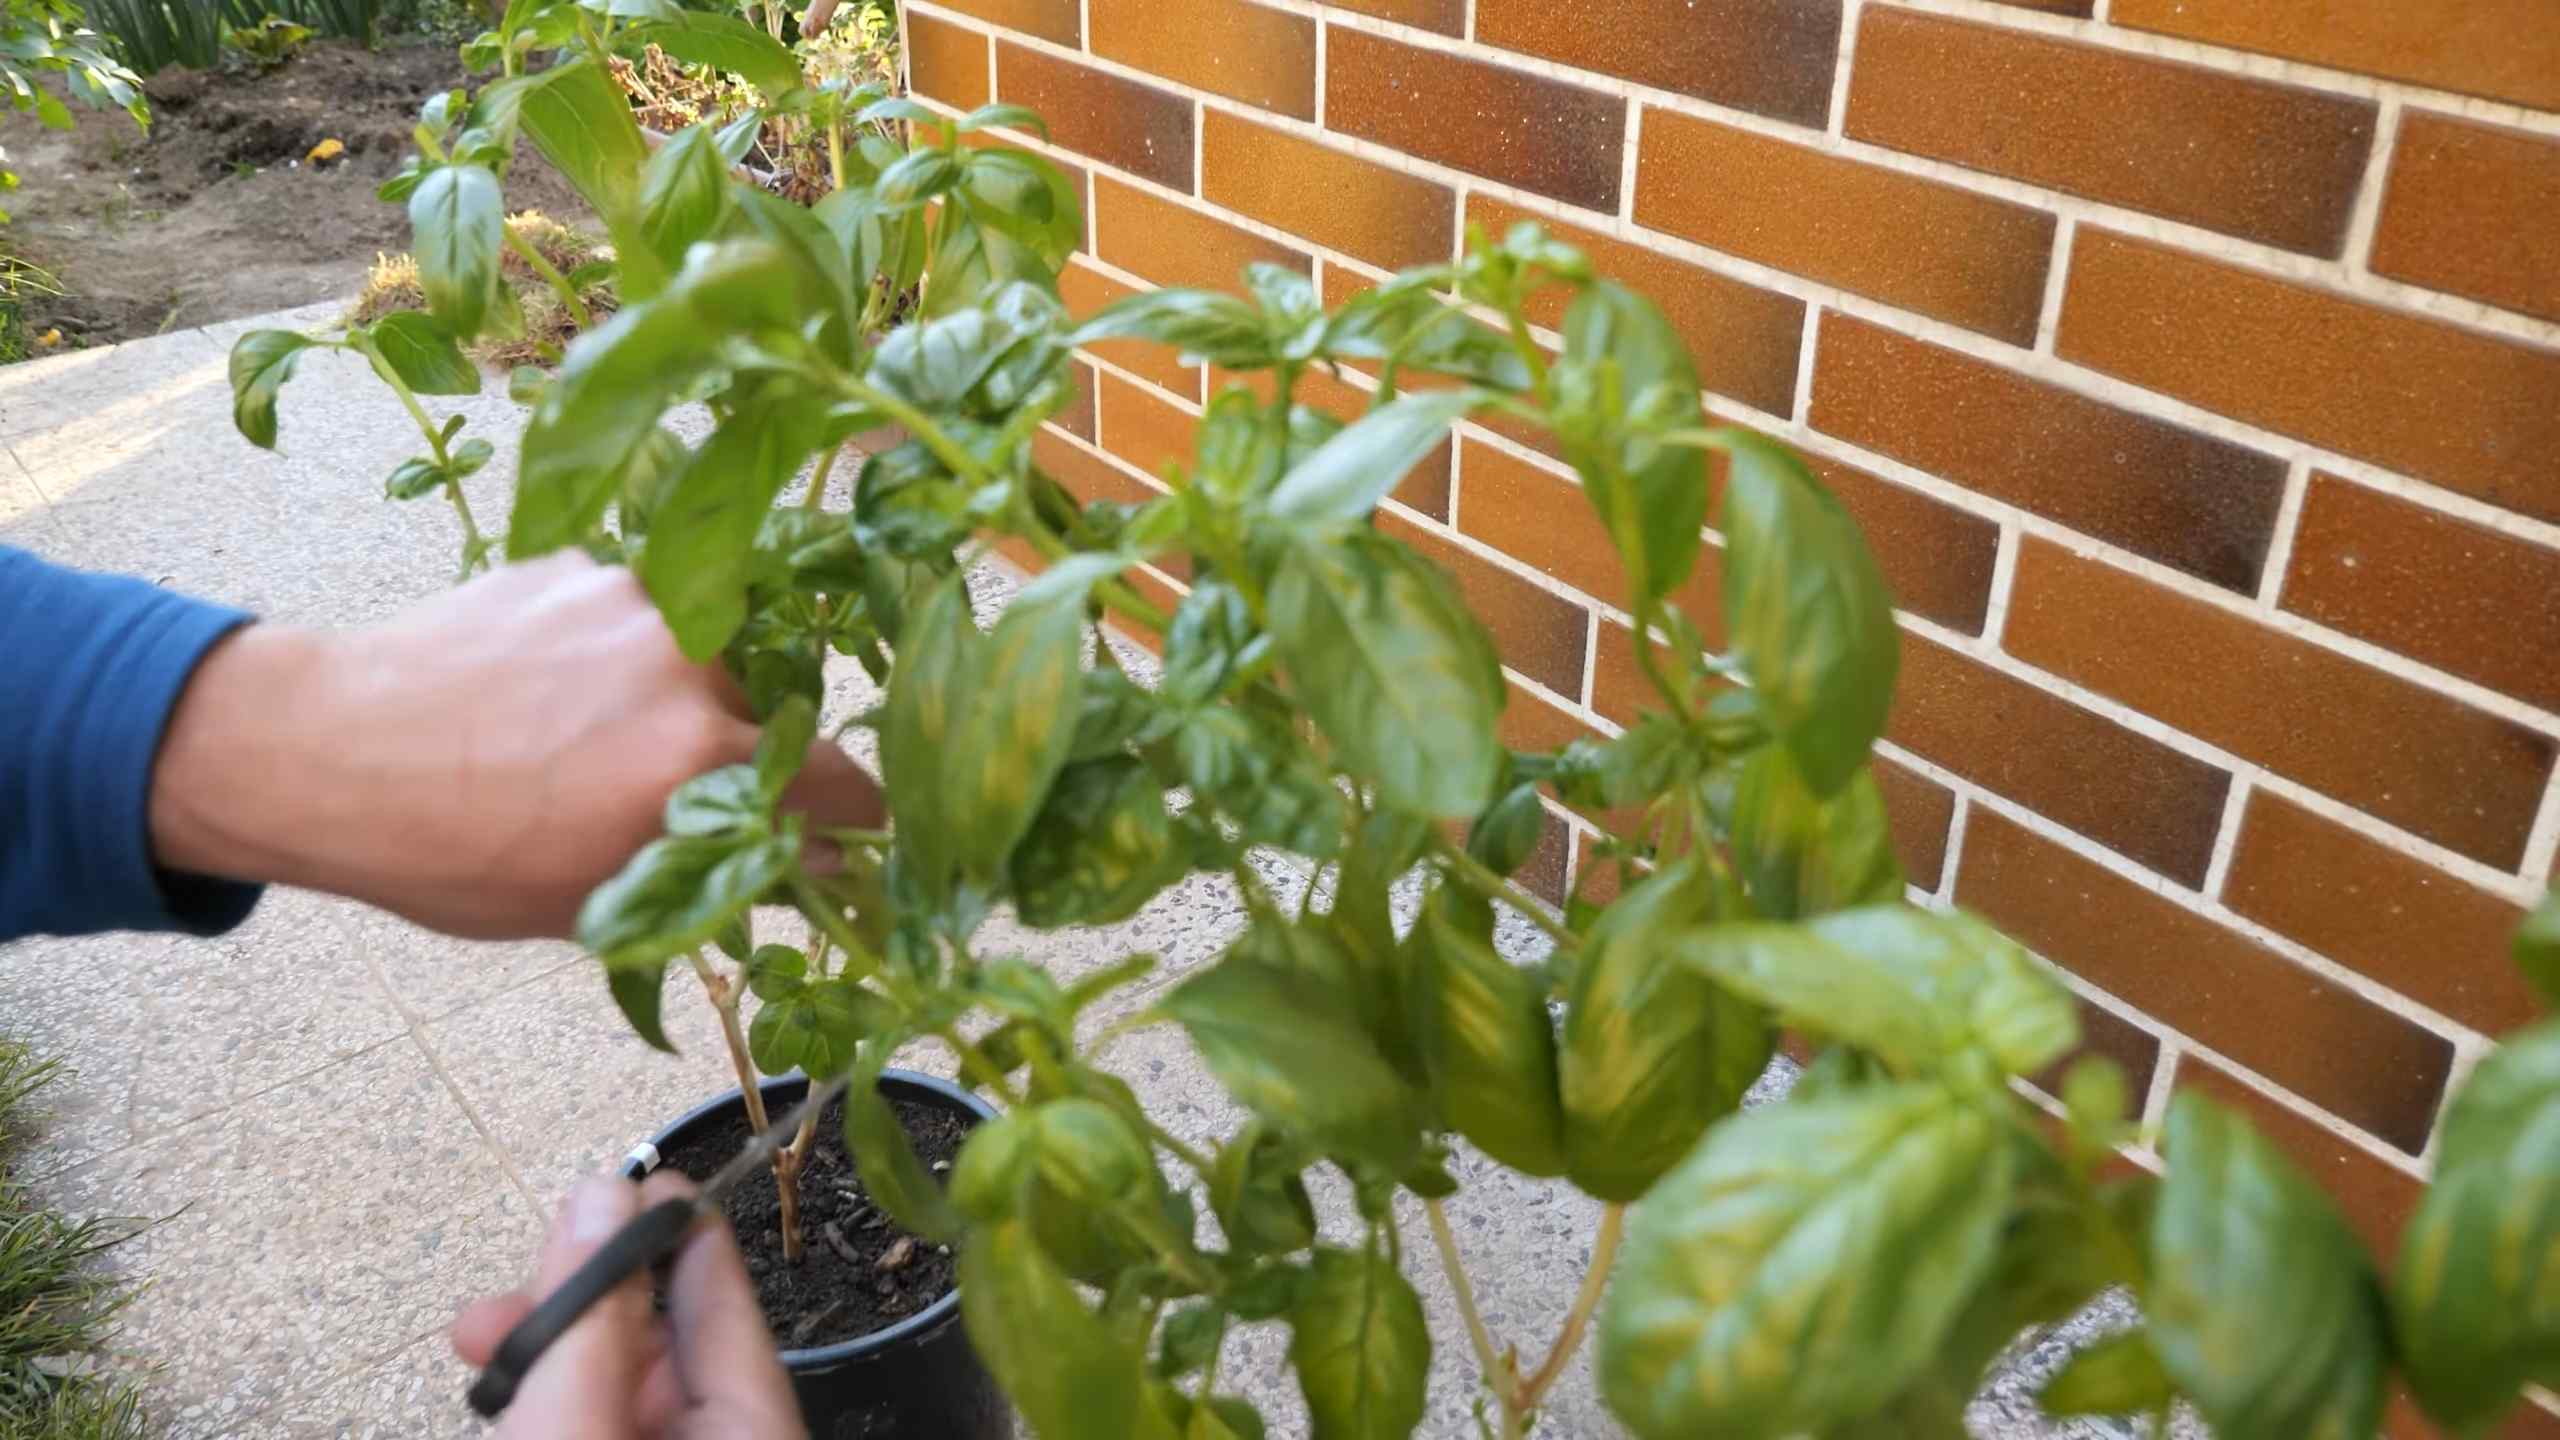
* Pinching: Pinch off the top sets of leaves regularly to encourage bushier growth and prevent the plants from flowering. Flowering will cause the basil to become bitter.
* Sunlight: Ensure your basil plants receive at least 6-8 hours of sunlight per day.
* Pest Control: Keep an eye out for pests such as aphids and spider mites. If you notice any pests, treat them with insecticidal soap or neem oil.
Harvesting Your Basil
You can start harvesting your basil leaves as soon as the plants are about 6-8 inches tall.
1. Harvest Regularly: The more you harvest, the more your basil plants will produce.
2. Pinch or Cut: Pinch or cut off the top sets of leaves, leaving at least 4-6 leaves on the plant.
3. Harvest Before Flowering: Harvest your basil before it starts to flower, as the leaves will become bitter once the plant flowers.
4. Store Properly: Store your harvested basil leaves in the refrigerator in a plastic bag or wrapped in a damp paper towel. You can also freeze basil leaves for longer storage.
Troubleshooting Common Basil Problems
Even with the best care, you may encounter some problems when growing basil. Here are a few common issues and how to address them:
* Yellowing Leaves: Yellowing leaves can be caused by overwatering, underwatering, nutrient deficiencies, or pests. Check the soil moisture and adjust your watering accordingly. Fertilize your plants with a balanced liquid fertilizer. Inspect the plants for pests and treat them as needed.
* Brown Spots: Brown spots on basil leaves can be caused by fungal diseases such as downy mildew. Improve air circulation around the plants and avoid overhead watering. Treat the plants with a fungicide if necessary.
* Leggy Growth: Leggy growth (long, spindly stems with few leaves) is usually caused by insufficient light. Move your basil plants to a sunnier location or provide them with grow lights.
* Bitter Taste: A bitter taste in basil leaves is usually caused by flowering. Pinch off the flower buds as soon as you see them.
Enjoying Your Homegrown Basil
Now that you’ve successfully grown your own basil, it’s time to enjoy the fruits (or rather, leaves) of your labor! Here are a few ideas for using your homegrown basil:
* Pesto: Make a classic pesto sauce with fresh basil, pine nuts, garlic, Parmesan cheese, and olive oil.
* Tomato Sauce: Add fresh basil to your favorite tomato sauce recipe for a burst of flavor.
* Salads: Sprinkle fresh basil leaves on salads for a refreshing touch.
* Pizza: Top your homemade pizza with fresh basil leaves after baking.
* Teas: Brew a
Conclusion
So, there you have it! Growing basil from seed isn’t just a gardening project; it’s an investment in flavor, freshness, and a deeper connection to your food. We’ve walked through the process, from selecting the right seeds to nurturing those tiny sprouts into vibrant, fragrant plants. And while it might seem daunting at first, the rewards are immeasurable. Imagine the satisfaction of snipping fresh basil leaves from your own garden to add to your pasta sauce, pesto, or even a refreshing summer cocktail. That’s the power of growing your own.
Why is this DIY trick a must-try? Because it empowers you to control the quality and quantity of your basil supply. Store-bought basil, while convenient, often lacks the intense aroma and flavor of homegrown varieties. Plus, you’ll save money in the long run, especially if you’re a frequent basil user. More importantly, you’ll be reducing your environmental impact by avoiding the plastic packaging and transportation associated with commercially grown herbs.
But the beauty of growing basil from seed lies in its versatility. Feel free to experiment with different varieties. Genovese basil is a classic choice for Italian dishes, while Thai basil adds a unique anise-like flavor to Asian cuisine. Lemon basil offers a citrusy twist, and purple basil brings a beautiful visual element to your garden and your plate. Don’t be afraid to try different potting mixes, container sizes, and even growing locations to find what works best for you.
Consider starting your seeds indoors during the colder months to get a head start on the growing season. You can also try succession planting, sowing new seeds every few weeks, to ensure a continuous supply of fresh basil throughout the summer. If you find yourself with an abundance of basil, consider preserving it by making pesto, drying the leaves, or freezing them for later use.
Growing basil from seed is a rewarding experience that connects you to the natural world and enhances your culinary creations. It’s a simple yet profound way to bring more flavor, freshness, and sustainability into your life.
Now, it’s your turn! Grab a packet of basil seeds, follow these steps, and embark on your own basil-growing adventure. We’re confident that you’ll be amazed by the results. And most importantly, we want to hear about your experience! Share your tips, tricks, and triumphs in the comments below. Let’s build a community of basil-loving gardeners and inspire others to discover the joy of growing their own herbs. Happy gardening!
Frequently Asked Questions (FAQ)
Q: How long does it take for basil seeds to germinate?
A: Basil seeds typically germinate within 5 to 10 days, provided they have adequate warmth and moisture. The ideal soil temperature for germination is between 70°F and 80°F (21°C and 27°C). You can speed up the process by using a heat mat or placing the seed tray in a warm location. Make sure the soil stays consistently moist but not waterlogged.
Q: What kind of soil is best for growing basil from seed?
A: Basil thrives in well-draining soil that is rich in organic matter. A good starting mix is a combination of potting soil, compost, and perlite or vermiculite. The compost provides nutrients, while the perlite or vermiculite improves drainage and aeration. Avoid using heavy clay soil, as it can become waterlogged and inhibit root growth. You can also amend your garden soil with compost before transplanting your basil seedlings.
Q: How much sunlight does basil need?
A: Basil needs at least 6 to 8 hours of sunlight per day to thrive. Choose a sunny location in your garden or place your potted basil plants near a south-facing window. If you’re growing basil indoors, you may need to supplement with artificial light, especially during the winter months. Insufficient sunlight can lead to leggy growth and reduced flavor.
Q: How often should I water my basil seedlings?
A: Basil seedlings need consistent moisture, but it’s important to avoid overwatering. Water when the top inch of soil feels dry to the touch. Water deeply, allowing the water to drain out of the bottom of the pot. Avoid getting the leaves wet, as this can promote fungal diseases. As the plants mature, you may need to water more frequently, especially during hot weather.
Q: When should I transplant my basil seedlings?
A: Transplant your basil seedlings when they have developed at least two sets of true leaves and are about 2 to 3 inches tall. Harden off the seedlings by gradually exposing them to outdoor conditions for a week before transplanting. Choose a sunny location with well-draining soil. Space the plants about 12 to 18 inches apart to allow for adequate air circulation.
Q: How do I prevent my basil from bolting (flowering)?
A: Bolting occurs when basil plants start to flower, which can reduce the flavor of the leaves. To prevent bolting, pinch off the flower buds as soon as you see them. Regular harvesting of the leaves also encourages the plant to produce more foliage and delays bolting. Providing adequate water and sunlight can also help prevent bolting.
Q: Can I grow basil indoors year-round?
A: Yes, you can grow basil indoors year-round, provided you provide the right conditions. Use a well-draining potting mix, place the plants near a sunny window or under grow lights, and water regularly. You may also need to fertilize the plants occasionally. Pinch off the flower buds to encourage continuous leaf production.
Q: What are some common pests and diseases that affect basil?
A: Common pests that affect basil include aphids, spider mites, and whiteflies. These pests can be controlled with insecticidal soap or neem oil. Common diseases include fungal diseases such as powdery mildew and downy mildew. These diseases can be prevented by providing good air circulation, avoiding overhead watering, and using a fungicide if necessary.
Q: How do I harvest basil leaves?
A: Harvest basil leaves by pinching or cutting them off just above a leaf node (the point where leaves grow from the stem). This encourages the plant to branch out and produce more leaves. Avoid harvesting more than one-third of the plant at a time. Regular harvesting will keep your basil plant healthy and productive.
Q: Can I propagate basil from cuttings?
A: Yes, basil can be easily propagated from cuttings. Take a 4- to 6-inch cutting from a healthy basil plant, removing the lower leaves. Place the cutting in a glass of water, making sure that the leaves are above the water line. Roots should start to develop within a week or two. Once the roots are about an inch long, you can transplant the cutting into a pot of soil. This is a great way to expand your basil collection without having to start from seed again.
Leave a Comment