
Growing Bok Choy Indoors might seem like a challenge, especially if you’re used to sprawling outdoor gardens. But trust me, with a few simple tricks and a little know-how, you can enjoy fresh, crisp Bok Choy right from your windowsill! For centuries, leafy greens like Bok Choy have been a staple in Asian cuisine, prized not only for their delicious flavor but also for their nutritional benefits. Imagine adding a vibrant, homegrown touch to your stir-fries, soups, and salads, even when the weather outside is frightful.
I know what you’re thinking: “I don’t have a green thumb!” But that’s perfectly okay! This DIY guide is designed for everyone, from seasoned gardeners to complete beginners. We’ll break down the process into easy-to-follow steps, covering everything from choosing the right container to providing the perfect amount of light.
Why should you bother growing Bok Choy indoors? Well, for starters, it gives you access to fresh, organic produce year-round, regardless of your climate. Plus, it’s incredibly rewarding to nurture a plant from seed to harvest. And let’s be honest, there’s something incredibly satisfying about saying, “I grew this myself!” So, let’s dive in and discover the secrets to successfully cultivating this delicious and nutritious vegetable in the comfort of your own home.
Growing Bok Choy Indoors: A Beginner’s Guide
Hey there, fellow plant enthusiasts! Ever thought about growing your own fresh, crisp bok choy right in your kitchen? It’s easier than you might think, and trust me, nothing beats the flavor of homegrown veggies. I’ve been doing it for a while now, and I’m excited to share my secrets to successful indoor bok choy cultivation. Let’s get started!
What You’ll Need
Before we dive into the nitty-gritty, let’s gather our supplies. Here’s a checklist of everything you’ll need to grow bok choy indoors:
* Bok Choy Seeds: Choose a variety that’s well-suited for indoor growing. Dwarf varieties like ‘Toy Choy’ or ‘Mei Qing Choi’ are excellent choices.
* Seed Starting Tray or Small Pots: These will be used to germinate your seeds.
* Seed Starting Mix: This is a light, sterile soil mix that’s perfect for delicate seedlings.
* Larger Pots (at least 6 inches in diameter): Once your seedlings are big enough, you’ll need to transplant them into larger pots.
* Potting Soil: A good quality potting mix is essential for healthy growth.
* Grow Lights: Bok choy needs plenty of light, so grow lights are a must, especially if you don’t have a sunny windowsill.
* Watering Can or Spray Bottle: For gentle watering.
* Fertilizer: A balanced liquid fertilizer will help your bok choy thrive.
* Spray Bottle (for pest control): Filled with water or a mild insecticidal soap solution.
Phase 1: Starting Your Seeds
This is where the magic begins! We’ll start by germinating our bok choy seeds.
1. Prepare Your Seed Starting Tray: Fill your seed starting tray or small pots with seed starting mix. Moisten the mix thoroughly with water, making sure it’s damp but not soggy.
2. Sow the Seeds: Sprinkle 2-3 bok choy seeds in each cell or pot. Gently press the seeds into the soil, and then cover them with a thin layer of seed starting mix.
3. Water Gently: Use a spray bottle to mist the surface of the soil. Avoid overwatering, as this can lead to damping-off disease.
4. Provide Warmth and Light: Place the seed starting tray in a warm location (around 65-75掳F or 18-24掳C). If you don’t have a naturally warm spot, you can use a heat mat. Position your grow lights about 2-4 inches above the tray.
5. Maintain Moisture: Keep the soil consistently moist, but not waterlogged. Check the soil daily and mist with water as needed.
6. Wait for Germination: Bok choy seeds typically germinate within 5-10 days. Once the seedlings emerge, remove any extra seedlings, leaving only the strongest one in each cell or pot.
Phase 2: Transplanting Your Seedlings
Once your seedlings have developed a few sets of true leaves (the leaves that look like miniature bok choy leaves), it’s time to transplant them into larger pots.
1. Prepare Your Larger Pots: Fill your larger pots (at least 6 inches in diameter) with potting soil. Make a small hole in the center of each pot, large enough to accommodate the seedling’s root ball.
2. Carefully Remove the Seedlings: Gently loosen the soil around the seedlings in the seed starting tray. Carefully lift each seedling out of its cell or pot, being careful not to damage the roots.
3. Transplant the Seedlings: Place each seedling into the hole in the larger pot. Gently backfill with potting soil, making sure the top of the root ball is level with the soil surface.
4. Water Thoroughly: Water the transplanted seedlings thoroughly, allowing the water to drain out of the bottom of the pot.
5. Provide Light and Warmth: Place the transplanted seedlings under your grow lights, maintaining a distance of about 6-12 inches between the lights and the plants. Ensure the temperature is around 60-70掳F (15-21掳C).
Phase 3: Caring for Your Bok Choy
Now that your bok choy is transplanted, it’s time to provide the care it needs to thrive.
1. Watering: Bok choy needs consistent moisture, but it doesn’t like to be waterlogged. Water your plants when the top inch of soil feels dry to the touch. Water deeply, allowing the water to drain out of the bottom of the pot. Avoid getting water on the leaves, as this can promote fungal diseases.
2. Lighting: Bok choy needs at least 6 hours of direct light per day. If you don’t have a sunny windowsill, use grow lights to supplement the natural light. Position the grow lights about 6-12 inches above the plants. I usually keep my grow lights on for about 12-14 hours a day.
3. Fertilizing: Bok choy is a heavy feeder, so it needs regular fertilization. Use a balanced liquid fertilizer (such as 10-10-10) diluted to half strength. Fertilize your plants every 2-3 weeks.
4. Temperature: Bok choy prefers cooler temperatures, around 60-70掳F (15-21掳C). Avoid exposing your plants to temperatures above 80掳F (27掳C), as this can cause them to bolt (go to seed).
5. Air Circulation: Good air circulation is important for preventing fungal diseases. Make sure your plants have plenty of space around them, and consider using a small fan to circulate the air.
6. Pest Control: Keep an eye out for pests such as aphids, spider mites, and cabbage worms. If you notice any pests, spray your plants with water or a mild insecticidal soap solution. I’ve found that neem oil is also very effective.
Troubleshooting Common Problems
Even with the best care, you might encounter some problems along the way. Here are some common issues and how to address them:
* Yellowing Leaves: This can be caused by overwatering, underwatering, nutrient deficiencies, or pests. Check the soil moisture and adjust your watering accordingly. Fertilize your plants if they are nutrient deficient. Inspect your plants for pests and treat them as needed.
* Bolting (Going to Seed): This is usually caused by high temperatures or stress. Make sure your plants are not exposed to temperatures above 80掳F (27掳C). Provide consistent watering and fertilization to minimize stress.
* Fungal Diseases: These can be caused by poor air circulation or excessive moisture. Make sure your plants have plenty of space around them, and avoid getting water on the leaves. If you notice any signs of fungal disease, such as powdery mildew or leaf spot, treat your plants with a fungicide.
* Pest Infestations: Keep a close eye on your plants for pests. If you notice any pests, spray your plants with water or a mild insecticidal soap solution. Neem oil is also very effective.
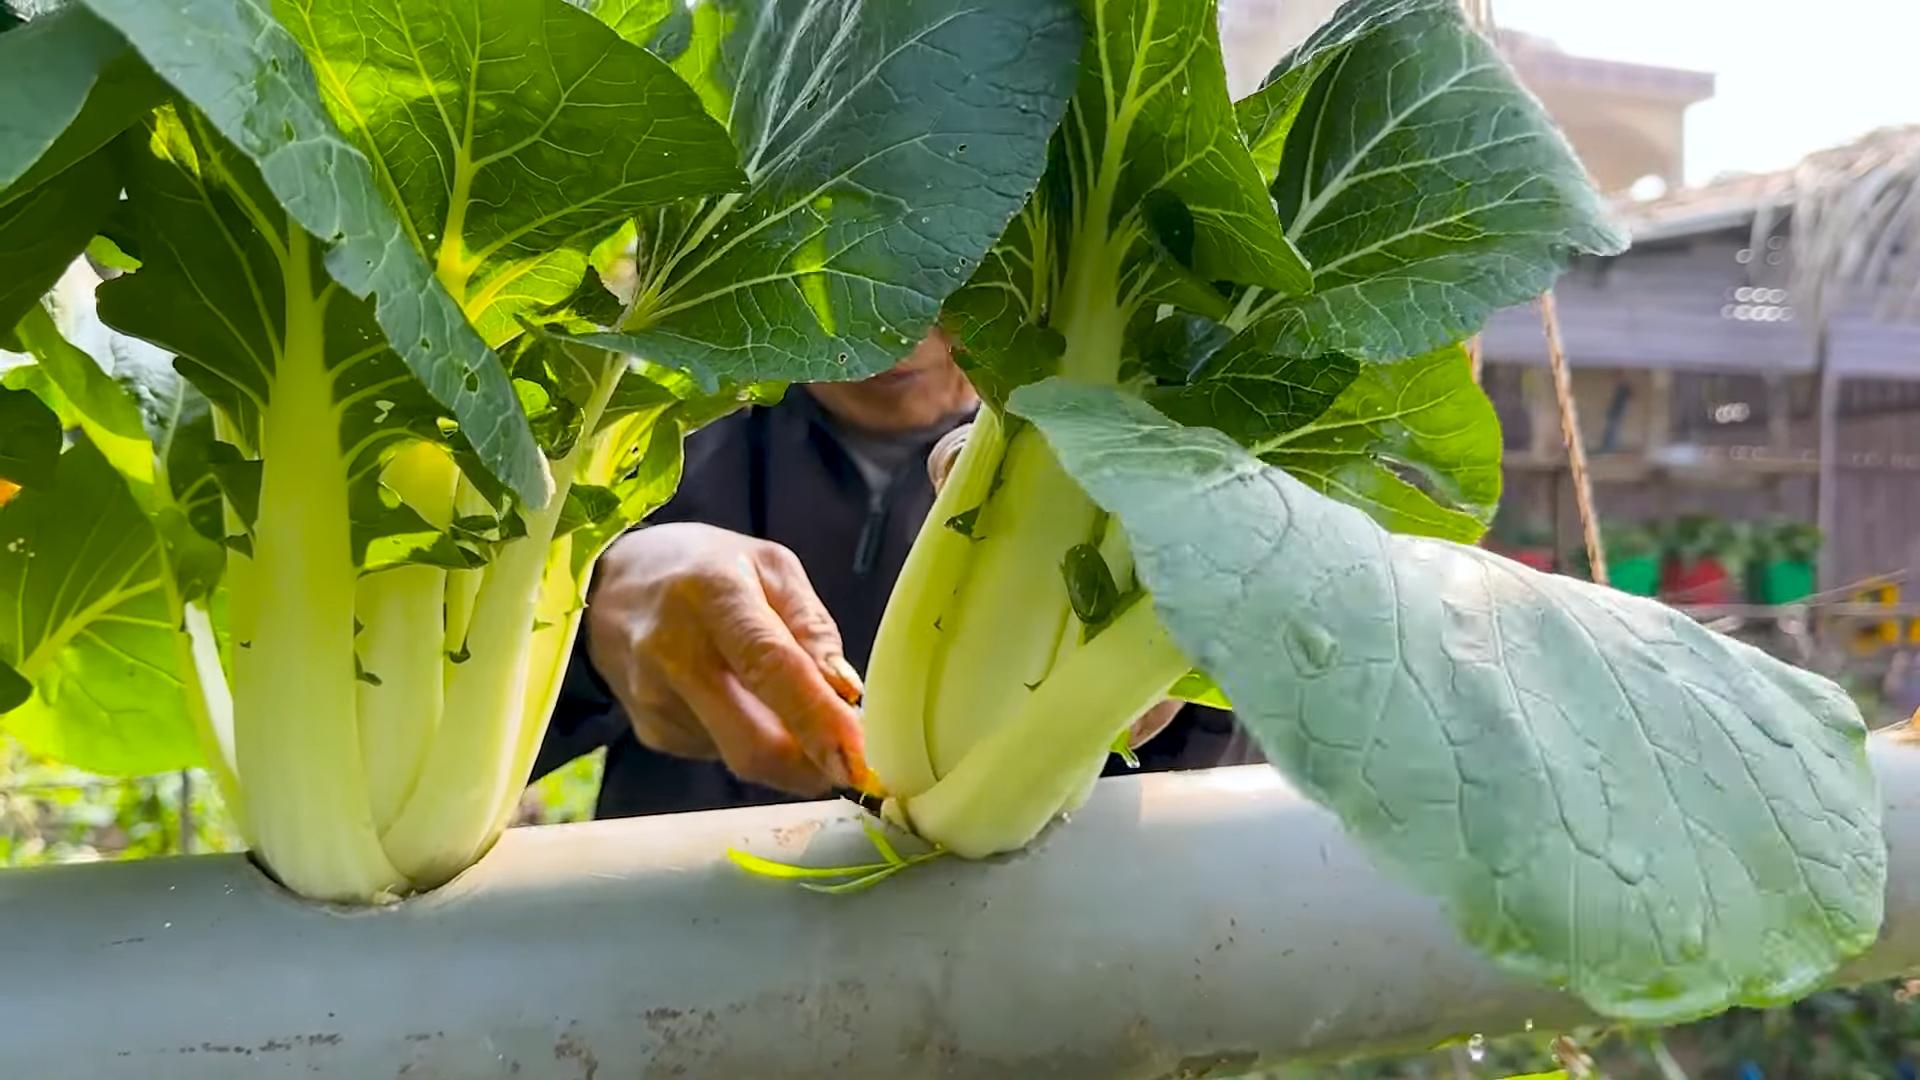
Harvesting Your Bok Choy
The best part! You can start harvesting your bok choy when the leaves are about 4-6 inches long. You can harvest the entire plant at once, or you can harvest individual leaves as needed. To harvest the entire plant, simply cut it off at the base. To harvest individual leaves, cut them off near the base of the plant.
Tip: For a continuous harvest, you can sow new seeds every few weeks. This will ensure that you always have fresh bok choy on hand.
Enjoying Your Homegrown Bok Choy
Now that you’ve harvested your bok choy, it’s time to enjoy it! Bok choy is a versatile vegetable that can be used in a variety of dishes. You can stir-fry it, steam it, add it to soups and stews, or even eat it raw in salads.
Here are a few of my favorite ways to use homegrown bok choy:
* Stir-Fried Bok Choy with Garlic and Ginger: This is a simple and delicious dish that’s perfect for a quick weeknight meal.
* Bok Choy Soup: Add bok choy to your favorite soup recipe for a boost of nutrients and flavor.
* Bok Choy Salad: Use young, tender bok choy leaves in salads for a crisp and refreshing taste.
Growing bok choy indoors is a rewarding experience that allows you to enjoy fresh, healthy vegetables year-round. With a little bit of care and attention, you can have a thriving indoor garden of bok choy. Happy gardening!
Conclusion
So, there you have it! Growing bok choy indoors is not only achievable, but it’s also a surprisingly rewarding experience. Forget those wilted, overpriced greens at the grocery store. Imagine stepping into your kitchen and harvesting fresh, crisp bok choy whenever you need it. This DIY trick transforms your windowsill into a miniature garden, providing you with a continuous supply of this nutritious and versatile vegetable.
Why is this a must-try? Because it puts you in control. You control the growing environment, ensuring your bok choy is free from harmful pesticides and herbicides. You control the harvest, picking only what you need, when you need it. And you control the flavor, enjoying the peak freshness that store-bought bok choy simply can’t match. Plus, let’s be honest, there’s something incredibly satisfying about nurturing a plant from seed to table. It’s a connection to nature, a mindful activity, and a delicious outcome all rolled into one.
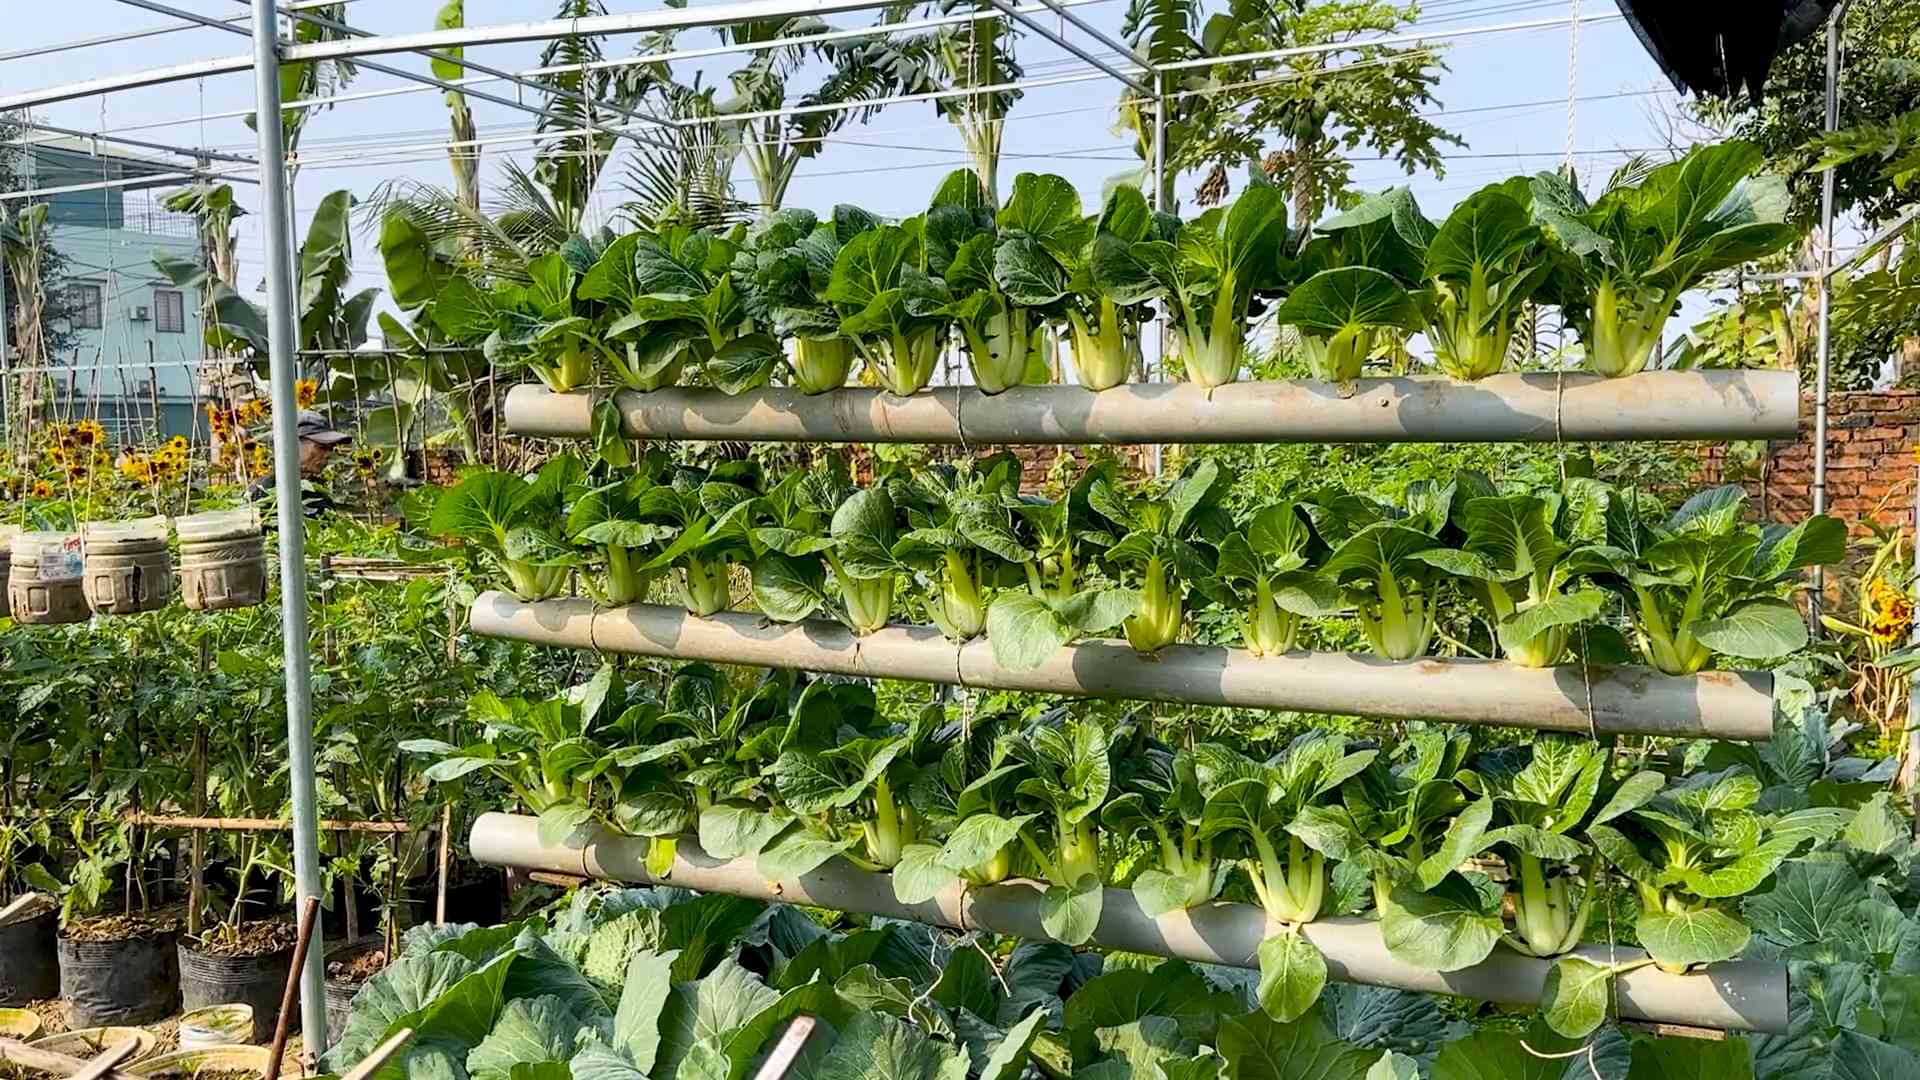
But the fun doesn’t stop there! Feel free to experiment with different varieties of bok choy. Baby bok choy is perfect for quick stir-fries, while larger varieties can be used in soups, stews, or even grilled. You can also try different growing mediums. While we’ve focused on soil, hydroponics is another viable option for indoor bok choy cultivation. Consider adding companion plants like basil or chives to your indoor garden to deter pests and enhance flavor.
Don’t be afraid to get creative! This is your chance to personalize your indoor garden and tailor it to your specific needs and preferences.
We’ve provided you with the knowledge and the tools to embark on your indoor bok choy growing adventure. Now, it’s your turn to put it into practice. Start small, be patient, and don’t be discouraged by initial setbacks. Every gardener, even the most experienced, faces challenges along the way. The key is to learn from your mistakes and keep experimenting.
We are confident that with a little effort and attention, you’ll be enjoying homegrown bok choy in no time. And when you do, we want to hear about it! Share your experiences, your tips, and your photos with us. Let us know what worked for you, what didn’t, and what delicious dishes you created with your homegrown bok choy. Together, we can build a community of indoor gardeners and inspire others to embrace the joy of growing their own food. So, grab your seeds, prepare your soil, and get ready to experience the magic of growing bok choy indoors. You won’t regret it!
Frequently Asked Questions (FAQ)
Q: What is the best variety of bok choy to grow indoors?
A: While most bok choy varieties can be grown indoors, smaller, faster-maturing types like ‘Baby Bok Choy’ or ‘Shanghai Bok Choy’ are generally recommended. They require less space and reach maturity more quickly, making them ideal for indoor environments. These varieties also tend to be more tolerant of slightly less-than-ideal lighting conditions. However, don’t be afraid to experiment with other varieties to see what works best for you and your growing conditions.
Q: How much light does bok choy need when grown indoors?
A: Bok choy thrives in bright, indirect light. Ideally, aim for at least 6 hours of sunlight per day. If you don’t have a south-facing window that provides sufficient light, consider supplementing with grow lights. Fluorescent or LED grow lights are excellent options. Position the lights a few inches above the plants and adjust as needed to prevent burning. Insufficient light can lead to leggy growth and reduced yields.
Q: What type of soil is best for growing bok choy indoors?
A: Bok choy prefers well-draining, fertile soil. A good potting mix specifically formulated for vegetables is a great choice. You can also create your own mix by combining equal parts of potting soil, compost, and perlite or vermiculite. The compost provides essential nutrients, while the perlite or vermiculite improves drainage and aeration. Avoid using garden soil, as it can be too heavy and may contain pests or diseases.
Q: How often should I water my indoor bok choy plants?
A: Water your bok choy plants regularly, keeping the soil consistently moist but not waterlogged. Check the soil moisture by sticking your finger about an inch deep. If it feels dry, it’s time to water. Water deeply, allowing excess water to drain out of the bottom of the pot. Avoid overhead watering, as this can promote fungal diseases. Adjust your watering frequency based on the temperature and humidity of your indoor environment.
Q: What are some common pests and diseases that affect indoor bok choy?
A: Common pests that can affect indoor bok choy include aphids, spider mites, and whiteflies. Regularly inspect your plants for signs of infestation, such as small insects, webbing, or yellowing leaves. Treat infestations promptly with insecticidal soap or neem oil. Fungal diseases, such as powdery mildew, can also be a problem, especially in humid environments. Ensure good air circulation and avoid overhead watering to prevent fungal diseases. If necessary, use a fungicide specifically labeled for vegetables.
Q: How long does it take for bok choy to mature when grown indoors?
A: The time it takes for bok choy to mature indoors depends on the variety and growing conditions. Generally, baby bok choy can be harvested in as little as 30-40 days, while larger varieties may take 45-60 days. Keep an eye on your plants and harvest when the leaves are the desired size and tenderness.
Q: Can I grow bok choy from seed indoors?
A: Yes, growing bok choy from seed indoors is a great way to start. Sow seeds directly into your prepared potting mix, about 1/4 inch deep. Keep the soil moist and warm (around 70-75掳F) until germination, which usually takes 5-7 days. Once the seedlings emerge, thin them to allow adequate spacing for growth.
Q: Can I grow bok choy in containers indoors? What size container is best?
A: Absolutely! Containers are perfect for growing bok choy indoors. Choose containers that are at least 6-8 inches deep and wide to provide enough room for the roots to develop. Make sure the containers have drainage holes to prevent waterlogging. You can grow multiple bok choy plants in a larger container, spacing them about 6 inches apart.
Q: How do I harvest bok choy that I’ve grown indoors?
A: You can harvest bok choy by either cutting the entire plant at the base or by harvesting individual leaves as needed. If you harvest individual leaves, start with the outer leaves and work your way inwards. This allows the plant to continue producing new leaves. Harvest bok choy in the morning for the best flavor and texture.
Q: Can I regrow bok choy from the base?
A: Yes, you can! After harvesting the bok choy, leave about 2 inches of the base intact. Place the base in a shallow dish of water, ensuring that the cut end is submerged. Place the dish in a bright location, but out of direct sunlight. Change the water every day or two. After a few days, you should start to see new leaves sprouting from the center of the base. Once the new leaves have grown a few inches, you can transplant the base into a pot of soil and continue growing it. While the regrown bok choy may not be as large or productive as the original plant, it’s a fun and easy way to get a second harvest.
Q: What are some good companion plants for bok choy grown indoors?
A: Several plants can be grown alongside bok choy to enhance its growth and deter pests. Good companion plants include:
* **Aromatic herbs:** Basil, chives, dill, and mint can help repel pests like aphids and cabbage moths.
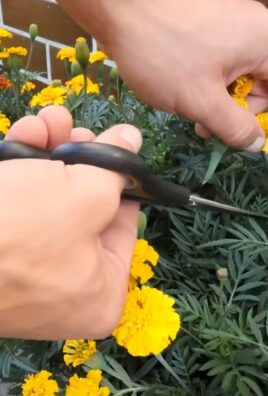
* **Marigolds:** These flowers are known for their pest-repelling properties.
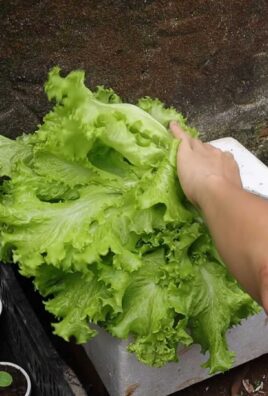
* **Lettuce:** Lettuce and bok choy have similar growing requirements and can be grown together in the same container.
* **Radishes:** Radishes are fast-growing and can help break up the soil, improving drainage.
Avoid planting bok choy near members of the cabbage family, such as broccoli, cauliflower, and kale, as they can attract similar pests and diseases.
Leave a Comment