
Growing Garlic Indoors might sound like a challenge reserved for seasoned gardeners, but trust me, it’s a surprisingly simple and rewarding DIY project that anyone can tackle! Imagine the satisfaction of snipping fresh, pungent garlic greens right from your windowsill, adding a burst of flavor to your favorite dishes, even in the dead of winter.
Garlic, with its rich history dating back thousands of years, has been cultivated for both culinary and medicinal purposes across various cultures. From ancient Egypt, where it was used to fuel the pyramid builders, to traditional Chinese medicine, garlic has always been revered for its potent properties. Now, you can bring this historical powerhouse right into your home!
But why bother growing garlic indoors? Well, for starters, it’s a fantastic way to extend your growing season and enjoy fresh garlic even when your outdoor garden is dormant. Plus, it’s a budget-friendly alternative to constantly buying garlic from the store. More importantly, this DIY project is incredibly satisfying. There’s something truly special about nurturing a plant from a single clove to a thriving source of fresh flavor. In this article, I’ll share my favorite tips and tricks for successfully growing garlic indoors, ensuring you have a bountiful harvest of delicious garlic greens right at your fingertips. Let’s get started!
Growing Garlic Indoors: A Beginner’s Guide
Hey there, fellow plant enthusiasts! Ever thought about growing your own garlic, but don’t have a garden? No problem! You can absolutely grow garlic indoors, and I’m here to walk you through the whole process. It’s easier than you might think, and the satisfaction of using your own homegrown garlic in your cooking is unbeatable. Let’s get started!
What You’ll Need
Before we dive in, let’s gather all the necessary supplies. Trust me, having everything ready beforehand will make the process much smoother.
* Garlic Cloves: Choose organic garlic from a local farmer’s market or grocery store. Avoid garlic from big box stores, as it may be treated to prevent sprouting. Look for plump, healthy cloves.
* Pots: You’ll need pots that are at least 6 inches in diameter and 6-8 inches deep. Garlic needs room for its roots to grow. I prefer using terracotta pots because they allow for better drainage, but plastic pots work just fine too.
* Potting Mix: Use a well-draining potting mix. A mix designed for vegetables is ideal. Avoid using garden soil, as it can compact and not drain well in containers.
* Watering Can: A watering can with a gentle spout is perfect for watering your garlic without disturbing the soil.
* Sunny Location: Garlic needs at least 6 hours of sunlight per day. A south-facing window is usually the best option. If you don’t have enough natural light, you can supplement with a grow light.
* Optional: Fertilizer (organic liquid fertilizer is best), mulch (straw or wood chips).
Choosing the Right Garlic
Not all garlic is created equal, especially when it comes to indoor growing. Here’s what I’ve learned about selecting the best cloves:
* Softneck vs. Hardneck: Softneck varieties are generally better suited for warmer climates and tend to store longer. Hardneck varieties are more cold-hardy and produce a flower stalk called a scape. For indoor growing, either type can work, but I’ve had slightly better luck with softneck varieties like ‘California Early’ or ‘Silverskin’ because they are more adaptable to indoor conditions.
* Organic is Key: As I mentioned before, opt for organic garlic. Non-organic garlic might be treated with chemicals that inhibit sprouting, which is obviously not what we want.
* Healthy Cloves: Inspect the cloves carefully. They should be firm, plump, and free from any signs of mold or damage. Avoid using cloves that are soft, shriveled, or have dark spots.
Planting Your Garlic
Now for the fun part – planting! This is where the magic begins.
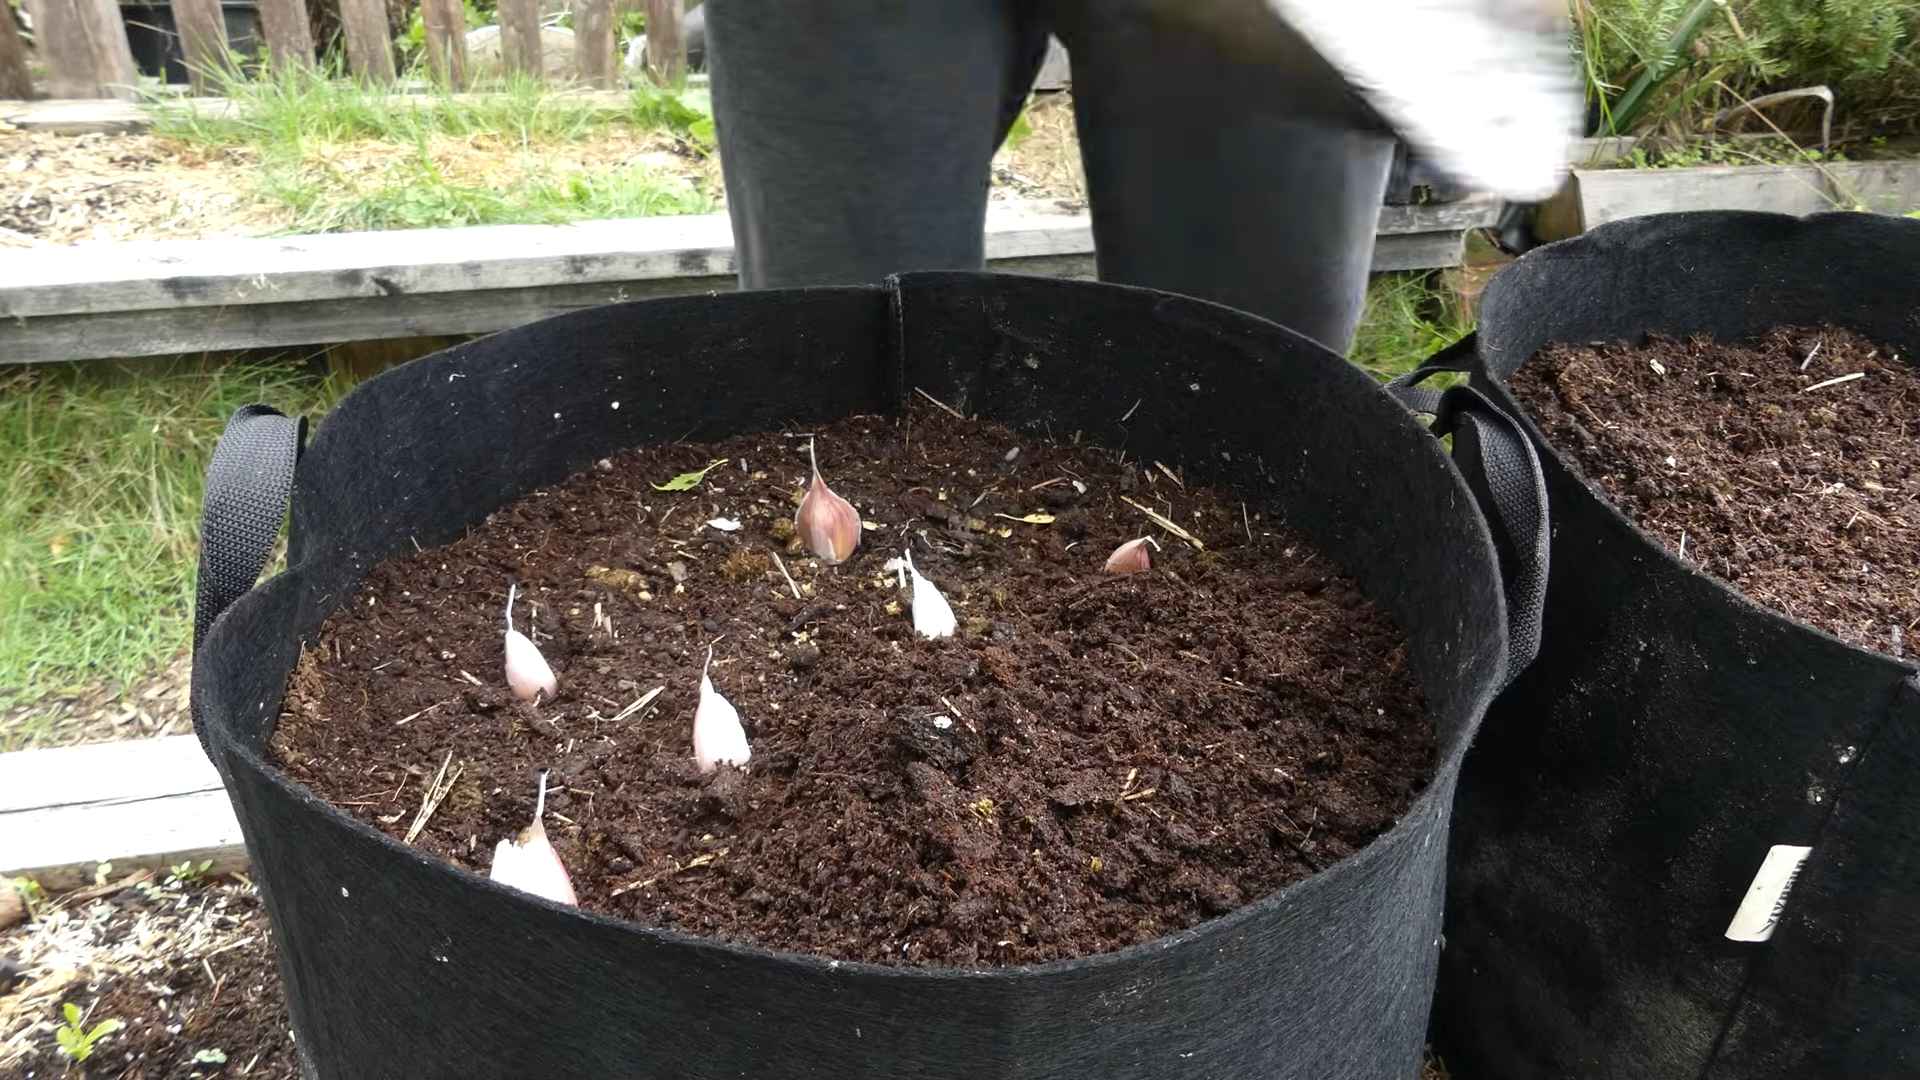
1. Prepare the Pots: Fill your pots with the potting mix, leaving about an inch of space at the top. Gently tap the pot to settle the soil.
2. Planting the Cloves: Separate the cloves from the bulb, being careful not to damage them. Plant each clove about 2 inches deep, with the pointed end facing up. Space the cloves about 3-4 inches apart in the pot. If you’re using a larger pot, you can plant multiple cloves.
3. Water Thoroughly: After planting, water the soil thoroughly until water drains out of the bottom of the pot. This helps to settle the soil around the cloves and encourages root growth.
4. Mulch (Optional): Add a thin layer of mulch, such as straw or wood chips, to help retain moisture and suppress weeds. This is especially helpful if you live in a dry climate.
Caring for Your Indoor Garlic
Once your garlic is planted, it’s time to provide the right care to help it thrive.
1. Sunlight: Place your pots in a location that receives at least 6 hours of direct sunlight per day. A south-facing window is ideal. If you don’t have enough natural light, use a grow light. Position the grow light a few inches above the plants and keep it on for 12-14 hours per day.
2. Watering: Water your garlic regularly, but avoid overwatering. The soil should be moist but not soggy. Allow the top inch of soil to dry out between waterings. Overwatering can lead to root rot, which is a common problem with indoor plants. I usually check the soil moisture every few days and water when needed.
3. Fertilizing: Garlic is a heavy feeder, so it benefits from regular fertilization. Use an organic liquid fertilizer diluted to half strength. Fertilize every 2-3 weeks during the growing season (spring and summer). Stop fertilizing when the leaves start to turn yellow.
4. Temperature: Garlic prefers cool temperatures, ideally between 60-70°F (15-21°C). Avoid placing your plants near heat sources, such as radiators or vents.
5. Pest Control: Keep an eye out for pests, such as aphids or spider mites. If you notice any pests, treat them with an organic insecticidal soap or neem oil.
Harvesting Your Garlic
Harvesting is the most rewarding part! Here’s how to know when your garlic is ready and how to harvest it.
1. When to Harvest: Your garlic will be ready to harvest when the leaves start to turn yellow and brown, usually about 8-9 months after planting. Don’t wait until all the leaves are completely brown, as this can indicate that the bulbs are overripe.
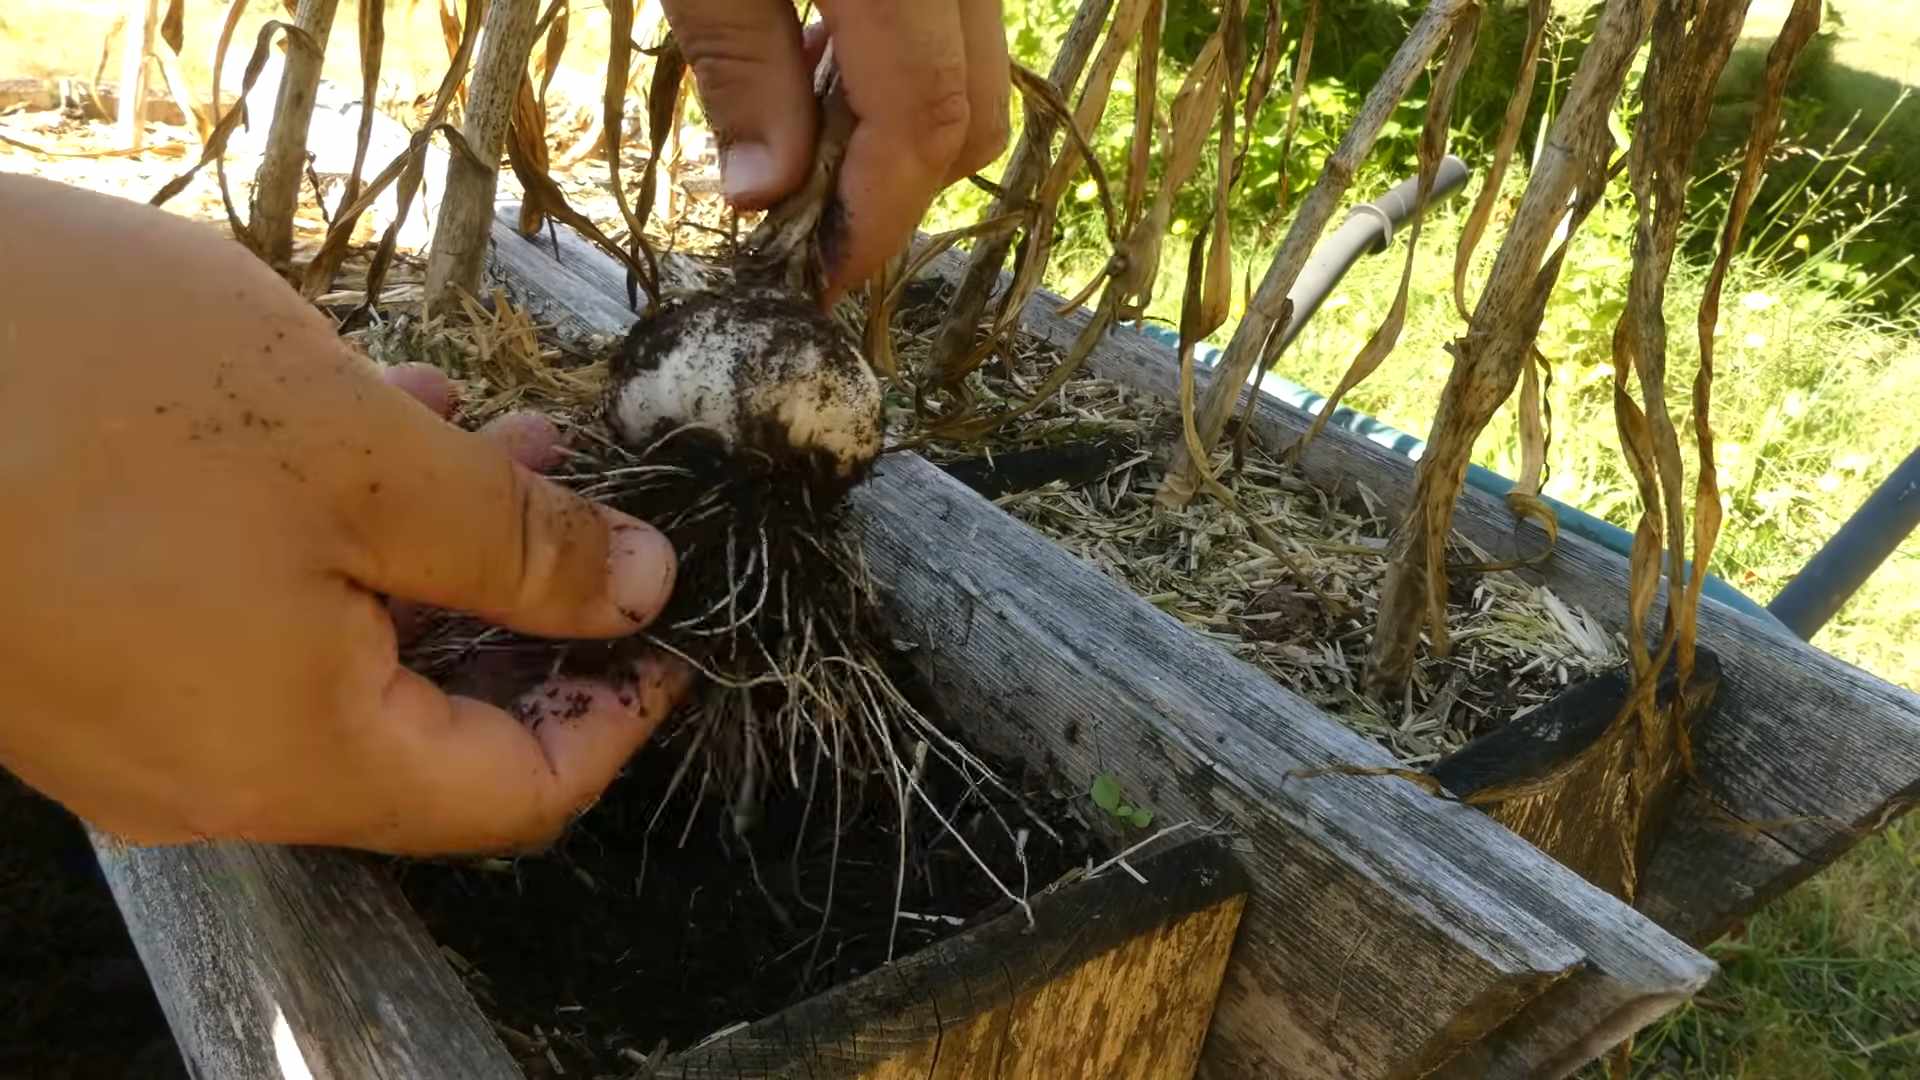
2. Harvesting the Bulbs: Gently loosen the soil around the bulbs with a trowel or hand fork. Carefully lift the bulbs out of the soil, being careful not to damage them.
3. Curing the Garlic: After harvesting, you’ll need to cure the garlic to help it store longer. Brush off any excess soil and lay the bulbs out in a single layer in a cool, dry, and well-ventilated place. Allow the garlic to cure for 2-3 weeks, or until the necks are dry and the outer skins are papery.
4. Storing the Garlic: Once the garlic is cured, you can store it in a cool, dry, and dark place. Braiding the garlic is a traditional way to store it, but you can also store it in a mesh bag or a basket. Properly cured and stored garlic can last for several months.
Harvesting Garlic Greens
You don’t have to wait for the bulbs to harvest something from your indoor garlic! You can harvest the greens (also known as garlic scapes or garlic shoots) while the plant is growing.
1. When to Harvest: You can start harvesting garlic greens when the plants are about 6-8 inches tall.
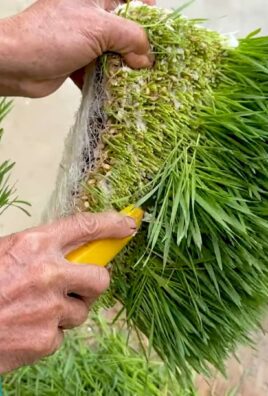
2. How to Harvest: Use scissors or a sharp knife to cut the greens about an inch above the soil line. Be careful not to cut too much, as this can weaken the plant.
3. Using Garlic Greens: Garlic greens have a mild garlic flavor and can be used in a variety of dishes. Add them to salads, soups, stir-fries, or use them as a garnish.
Troubleshooting
Even with the best care, you might encounter some challenges when growing garlic indoors. Here are some common problems and how to fix them:
* Yellowing Leaves: Yellowing leaves can be caused by overwatering, underwatering, nutrient deficiencies, or pests. Check the soil moisture and adjust your watering accordingly. Fertilize regularly with an organic liquid fertilizer. Inspect the plants for pests and treat them as needed.
* Slow Growth: Slow growth can be caused by insufficient sunlight, poor soil, or cool temperatures. Make sure your plants are getting enough sunlight and are planted in a well-draining potting mix. Provide supplemental heat if necessary.
* Root Rot: Root rot is caused by overwatering and poor drainage. Make sure your pots have drainage holes and avoid overwatering. If you suspect root rot, repot the plants in fresh potting mix.
* Pests: Common pests that affect garlic include aphids, spider mites, and thrips. Treat them with an organic insecticidal soap or neem oil.
Enjoy Your Homegrown Garlic!
Growing garlic indoors is a rewarding experience that allows you to enjoy fresh, flavorful garlic year-round. With a little patience and care, you can successfully grow your own garlic and impress your friends and family with your culinary creations. Happy gardening!
Conclusion
So, there you have it – a simple, rewarding, and surprisingly space-efficient way to bring the pungent, flavorful joy of garlic into your home, all year round. Growing garlic indoors isn’t just a gardening project; it’s an investment in fresh flavor, a sustainable practice, and a delightful connection to the natural world, even within the confines of your apartment or house. Forget those bland, pre-minced jars from the supermarket! Imagine the satisfaction of snipping fresh garlic greens to garnish your pasta, or using your own homegrown cloves to infuse your olive oil with an unparalleled depth of flavor.
This DIY trick is a must-try for several compelling reasons. First, it provides a continuous supply of fresh garlic greens, perfect for adding a subtle garlic flavor to salads, soups, and stir-fries. These greens are milder than the cloves themselves, offering a versatile culinary ingredient. Second, it’s incredibly easy and requires minimal space, making it ideal for urban dwellers or anyone with limited outdoor gardening options. Third, it’s a fantastic way to reduce food waste by utilizing those sprouting garlic cloves you might otherwise discard. Finally, and perhaps most importantly, it’s incredibly satisfying to nurture something from a single clove to a thriving plant.
But the fun doesn’t stop there! Feel free to experiment with different varieties of garlic to discover your favorite flavor profiles. Softneck varieties, known for their braiding capabilities, tend to perform well indoors. You can also try different potting mixes to see what works best for your growing environment. Consider adding a diluted liquid fertilizer every few weeks to boost growth and ensure your garlic receives the nutrients it needs.
Don’t be afraid to get creative! You can even use decorative pots to add a touch of greenery and style to your kitchen windowsill. Imagine a row of terracotta pots, each bursting with vibrant green garlic shoots – a beautiful and functional addition to any home.
We wholeheartedly encourage you to embark on this indoor garlic growing adventure. It’s a simple, rewarding, and delicious way to connect with nature and elevate your culinary creations. Once you’ve experienced the joy of harvesting your own fresh garlic, you’ll never look at store-bought garlic the same way again.
So, grab a few cloves, some potting soil, and a sunny spot, and get ready to experience the magic of growing garlic indoors. And most importantly, we want to hear about your experiences! Share your photos, tips, and triumphs in the comments below. Let’s build a community of indoor garlic growers and inspire others to embrace this simple yet transformative DIY project. What variety did you plant? What challenges did you face? What delicious dishes did you create with your homegrown garlic? We can’t wait to hear your stories!
Frequently Asked Questions (FAQ)
What kind of garlic is best for growing indoors?
While you can technically grow any type of garlic indoors, softneck varieties are generally recommended. Softneck garlic tends to be more adaptable to indoor conditions and produces more greens. Hardneck varieties, while flavorful, require a cold period to properly develop bulbs, which can be difficult to replicate indoors. However, you can still grow hardneck varieties for their greens. Experiment and see what works best for you! Elephant garlic, while technically a type of leek, can also be grown indoors for its milder garlic flavor.
How much sunlight does indoor garlic need?
Garlic thrives in bright sunlight. Aim for at least 6-8 hours of direct sunlight per day. A south-facing window is ideal. If you don’t have access to sufficient natural light, consider using a grow light to supplement. Position the grow light a few inches above the plants and keep it on for 12-14 hours per day. Insufficient light can result in leggy, weak growth and reduced flavor.
How often should I water my indoor garlic?
Water your garlic when the top inch of soil feels dry to the touch. Avoid overwatering, as this can lead to root rot. Ensure your pot has adequate drainage to prevent water from pooling at the bottom. During the active growing season (spring and summer), you may need to water more frequently than during the dormant season (fall and winter).
Can I grow garlic indoors in water only?
While you can sprout garlic cloves in water, similar to sprouting an avocado pit, this method is primarily for producing garlic greens. The cloves will eventually deplete their resources and won’t develop into full bulbs in water alone. For long-term growth and bulb development, planting in soil is essential.
How long does it take to grow garlic indoors?
You can start harvesting garlic greens within a few weeks of planting. For bulb development, it typically takes around 6-8 months. However, indoor-grown garlic bulbs may be smaller than those grown outdoors. The primary benefit of growing garlic indoors is the continuous supply of fresh greens.
What kind of soil should I use for growing garlic indoors?
Use a well-draining potting mix that is rich in organic matter. A mixture of potting soil, compost, and perlite is ideal. Avoid using garden soil, as it can be too heavy and compact, hindering drainage and root development.
Do I need to fertilize my indoor garlic?
Yes, fertilizing your indoor garlic can help promote healthy growth. Use a diluted liquid fertilizer every few weeks during the active growing season. Choose a fertilizer that is balanced or slightly higher in nitrogen, which promotes leafy growth. Avoid over-fertilizing, as this can burn the roots.
How do I harvest garlic greens from my indoor plants?
Simply snip off the garlic greens with scissors when they reach a desired length. Avoid cutting off more than one-third of the plant at a time, as this can stress the plant. The greens will continue to grow back, providing a continuous supply of fresh flavor.
What if my garlic starts to turn yellow?
Yellowing leaves can indicate several issues, including overwatering, underwatering, nutrient deficiency, or pest infestation. Check the soil moisture and adjust your watering accordingly. If the soil is consistently wet, allow it to dry out before watering again. If the leaves are pale green or yellow, consider fertilizing with a balanced fertilizer. Inspect the plants for pests, such as aphids or spider mites, and treat accordingly.
Can I grow garlic indoors year-round?
Yes, you can grow garlic indoors year-round. However, garlic typically requires a cold period (vernalization) to properly develop bulbs. Since you’re growing indoors, you can skip this step and focus on harvesting the greens. If you want to encourage bulb development, you can try placing your garlic plants in a cool (but not freezing) location for a few weeks during the winter months.
How do I deal with pests on my indoor garlic plants?
Inspect your plants regularly for pests. If you find any, try washing them off with a strong stream of water. You can also use insecticidal soap or neem oil to control pests. Avoid using harsh chemicals, as these can harm your plants and contaminate your food.
My garlic is sprouting in the refrigerator. Can I still plant it?
Absolutely! Sprouting garlic is perfect for planting. In fact, it’s a sign that the garlic is ready to grow. Simply plant the sprouted clove in soil, and it will quickly begin to develop roots and shoots. This is a great way to reduce food waste and enjoy fresh garlic greens.
Is growing garlic indoors worth it?
Absolutely! While you might not get massive bulbs like you would outdoors, the continuous supply of fresh, flavorful garlic greens makes growing garlic indoors a worthwhile endeavor. It’s a simple, rewarding, and sustainable way to add a touch of homegrown goodness to your culinary creations. Plus, it’s a fun and educational project for gardeners of all levels.
Leave a Comment