
Malabar Spinach Growing Tips: Unlock the secrets to cultivating this vibrant, nutritious leafy green right in your own backyard! Have you ever dreamed of harvesting fresh, delicious spinach that thrives even in the scorching summer heat? Forget those flimsy, store-bought greens that wilt before you even get them home. I’m here to guide you through the wonderful world of growing Malabar spinach, a climbing vine that’s as beautiful as it is beneficial.
Malabar spinach, also known as Ceylon spinach or vine spinach, boasts a rich history, particularly in Asian cuisine where it’s been enjoyed for centuries. Its succulent leaves and tender stems are packed with vitamins and minerals, making it a nutritional powerhouse. But beyond its health benefits, growing Malabar spinach is incredibly rewarding. It’s a vigorous grower, providing a continuous harvest throughout the warm season, and its climbing habit makes it perfect for adding vertical interest to your garden.
Why do you need these Malabar Spinach Growing Tips? Because let’s face it, gardening can sometimes feel like a guessing game. You plant something, hoping for the best, but often end up with disappointing results. I’m going to share my tried-and-true methods for ensuring a bountiful harvest of Malabar spinach, from selecting the right location and preparing the soil to providing the proper support and pest control. With these simple DIY tricks and hacks, you’ll be enjoying fresh, homegrown spinach in no time, impressing your friends and family with your green thumb!
Growing Malabar Spinach: A Beginner’s Guide to Lush, Edible Greens
Hey there, fellow gardening enthusiasts! I’m so excited to share my experiences and tips on growing Malabar spinach. This isn’t your typical spinach; it’s a heat-loving vine that thrives in warm weather, making it a fantastic alternative for those of us who struggle with traditional spinach bolting in the summer. Plus, it’s incredibly versatile in the kitchen! Let’s dive into how you can cultivate your own bountiful supply of this delicious and nutritious green.
Choosing the Right Variety and Starting Seeds
Before we get our hands dirty, let’s talk about selecting the right Malabar spinach variety and getting those seeds started.
* Variety Selection: There are two main types: green-stemmed and red-stemmed. Both are edible and have a similar flavor, but the red-stemmed variety adds a beautiful pop of color to your garden and dishes. I personally love the red-stemmed for its visual appeal.
* Seed Starting vs. Direct Sowing: Malabar spinach seeds have a tough outer coating, which can make germination a bit tricky. I’ve found that starting them indoors gives them a head start. However, direct sowing is also possible, especially in warmer climates with long growing seasons.
Starting Seeds Indoors (My Preferred Method)
1. Soaking the Seeds: This is crucial! Soak the seeds in warm water for 24-48 hours before planting. This helps soften the hard outer shell and encourages germination. I usually put them in a small bowl on my kitchen counter.
2. Preparing the Seed Starting Mix: Use a well-draining seed starting mix. I like to use a mix of peat moss, vermiculite, and perlite. You can also buy pre-made seed starting mixes at your local garden center.
3. Planting the Seeds: Fill your seed starting trays or small pots with the mix. Plant the soaked seeds about ½ inch deep. I usually plant 2-3 seeds per cell to increase my chances of success.
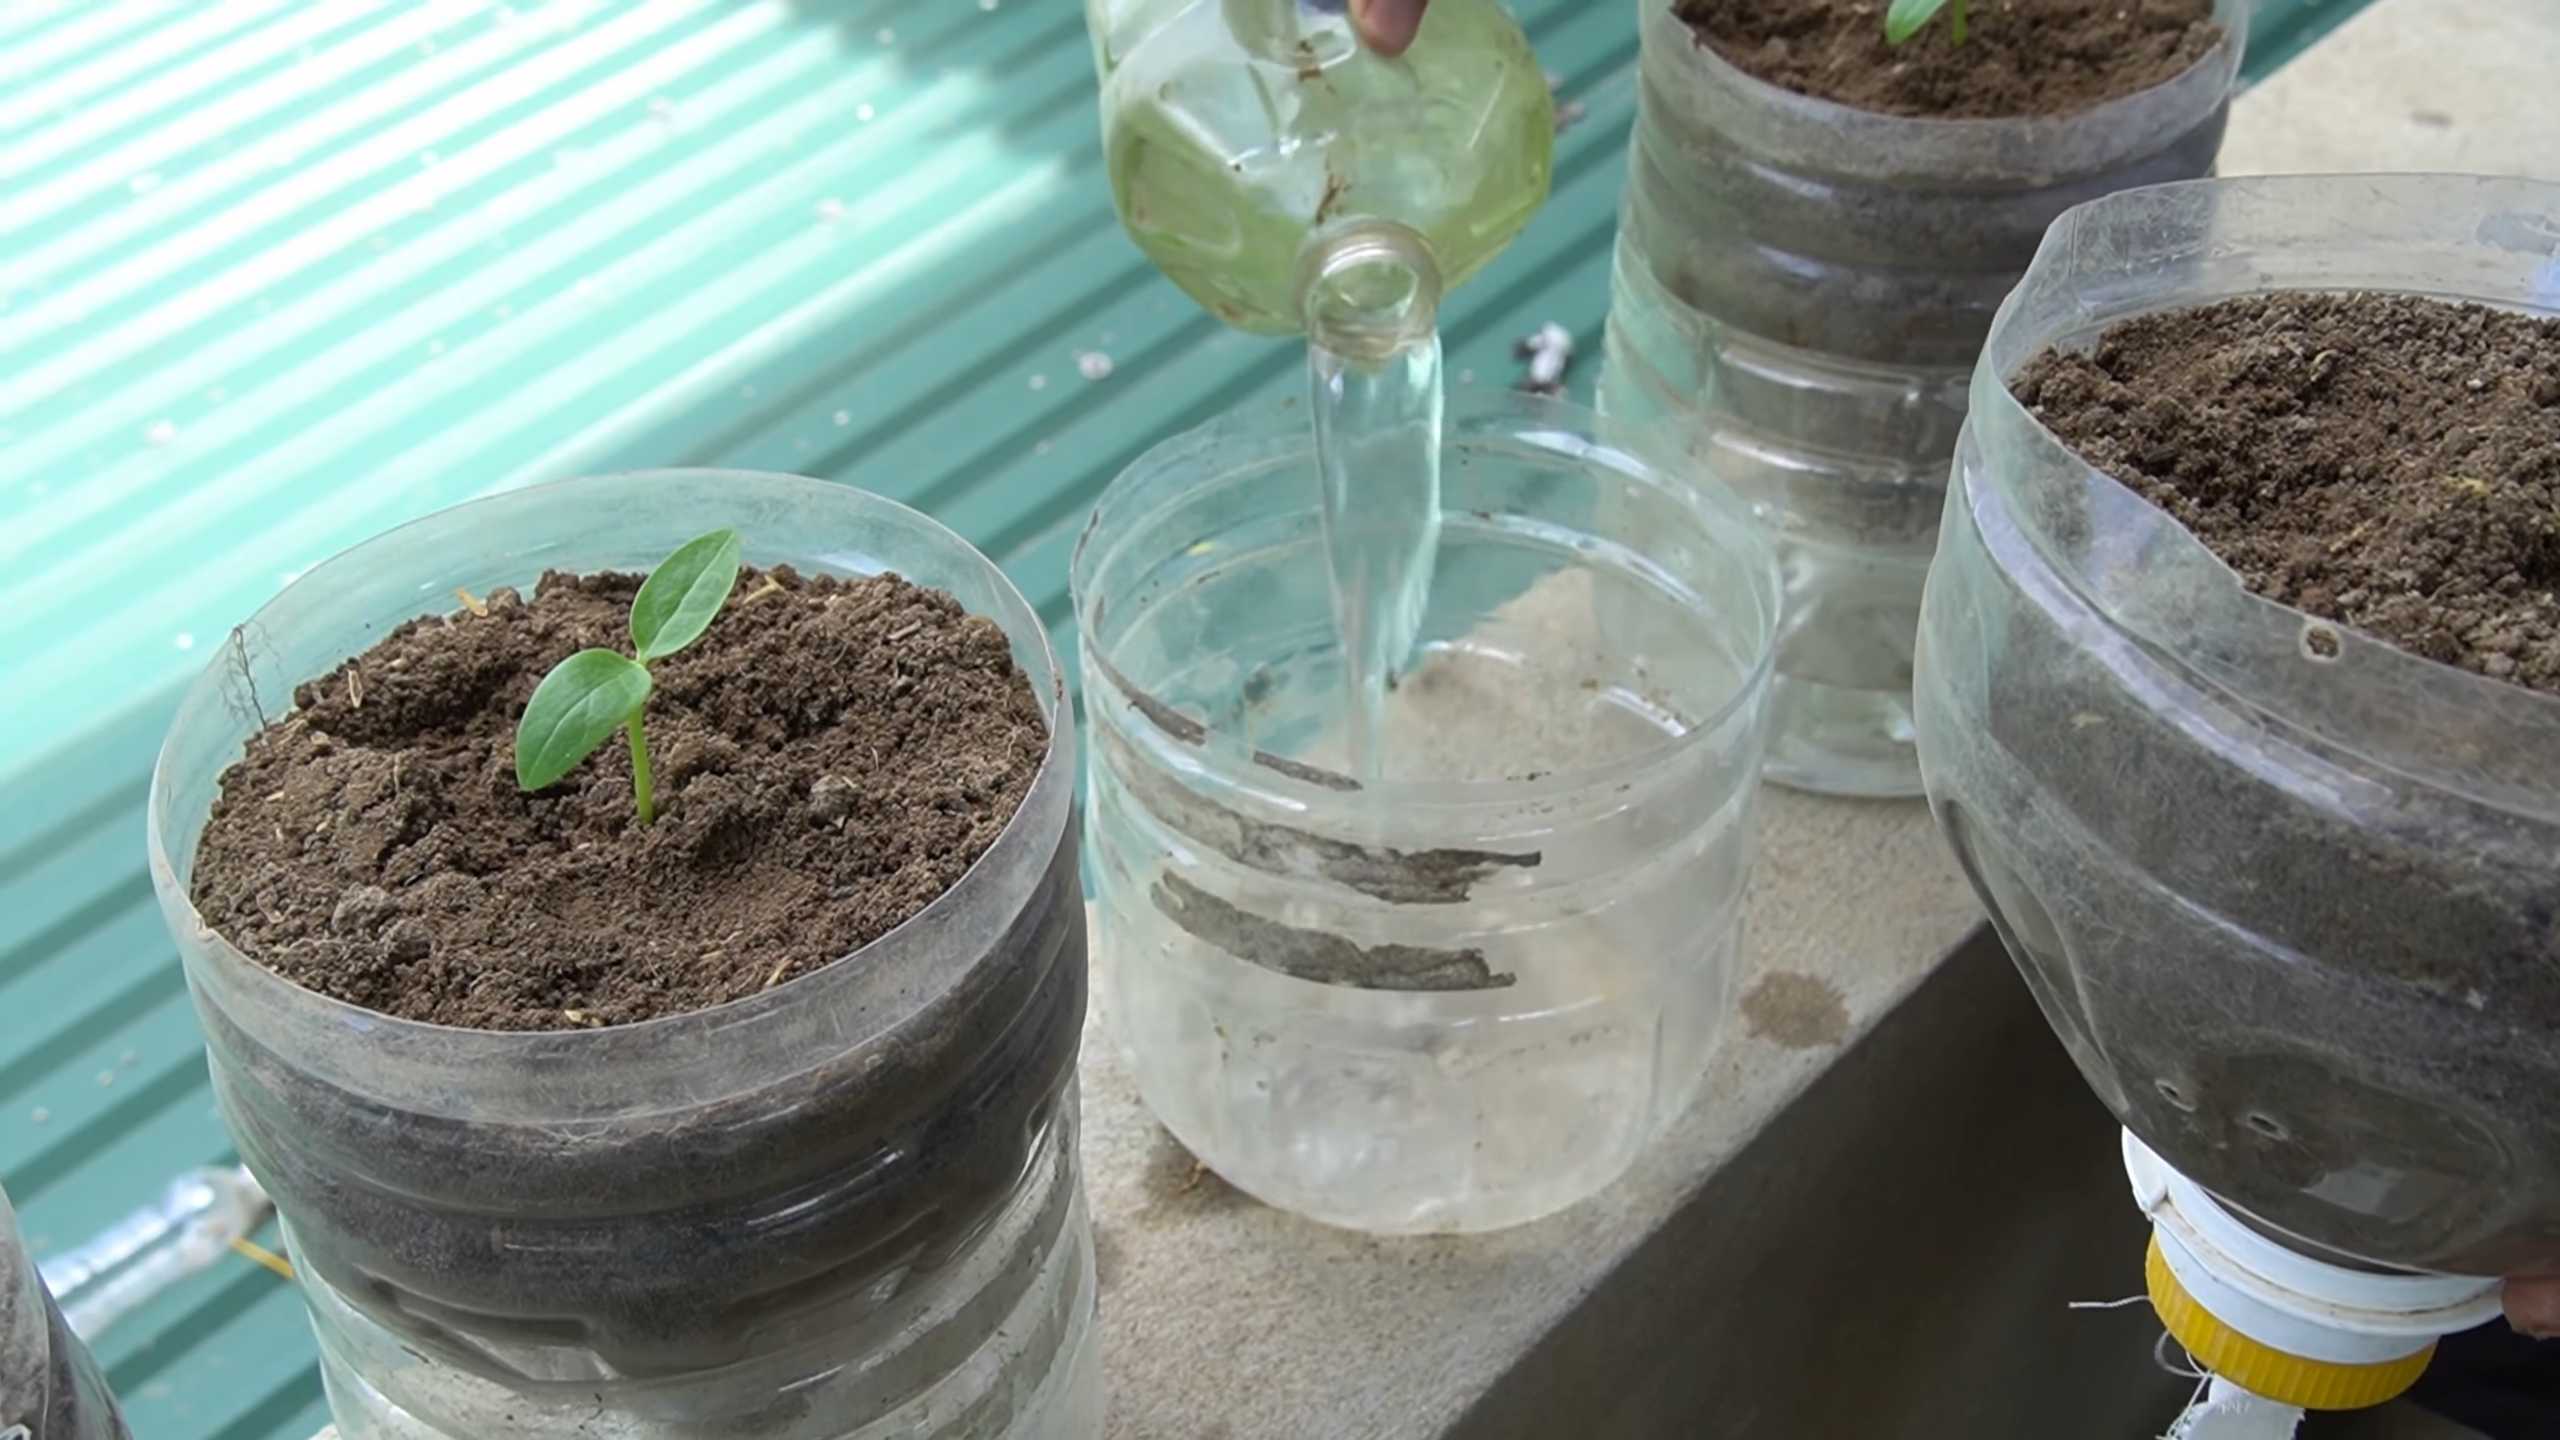
4. Providing Warmth and Moisture: Malabar spinach needs warmth to germinate. Aim for a soil temperature of 70-80°F (21-27°C). I use a heat mat under my seed starting tray to maintain consistent warmth. Keep the soil consistently moist, but not soggy. A spray bottle is perfect for this.
5. Providing Light: Once the seedlings emerge (usually in 1-3 weeks), they’ll need plenty of light. Place them under grow lights or in a sunny windowsill. If using a windowsill, rotate the tray regularly to prevent the seedlings from leaning towards the light.
6. Hardening Off: Before transplanting your seedlings outdoors, you’ll need to harden them off. This process gradually acclimates them to outdoor conditions. Start by placing them outside for an hour or two each day, gradually increasing the time over a week or two. Protect them from strong winds and direct sunlight during this process.
Direct Sowing (If You’re Feeling Lucky!)
1. Soil Preparation: Choose a sunny spot with well-drained soil. Amend the soil with compost or well-rotted manure to improve fertility and drainage.
2. Soaking the Seeds: Just like with indoor starting, soak the seeds in warm water for 24-48 hours.
3. Planting the Seeds: Sow the seeds about ½ inch deep and 2-3 inches apart.
4. Watering: Keep the soil consistently moist until the seedlings emerge.
5. Thinning: Once the seedlings are a few inches tall, thin them to about 12-18 inches apart.
Transplanting and Providing Support
Once your seedlings are hardened off (or your direct-sown seedlings are established), it’s time to transplant them into their permanent home.
1. Choosing the Right Location: Malabar spinach needs at least 6-8 hours of sunlight per day. Choose a location with well-drained soil.
2. Preparing the Soil: Amend the soil with compost or well-rotted manure. This will provide the plants with the nutrients they need to thrive.
3. Transplanting: Gently remove the seedlings from their pots or trays. Dig a hole that is slightly larger than the root ball. Place the seedling in the hole and backfill with soil. Water thoroughly. Space the plants 12-18 inches apart.
4. Providing Support: Malabar spinach is a vine, so it needs support to climb. You can use a trellis, fence, or even a sturdy stake. I’ve used all three with great success. The trellis is my favorite because it allows the plant to spread out and get plenty of sunlight.
5. Mulching: Apply a layer of mulch around the base of the plants. This will help retain moisture, suppress weeds, and regulate soil temperature. I like to use straw or wood chips.
Watering, Fertilizing, and Pest Control
Now that your Malabar spinach is planted and supported, let’s talk about how to keep it healthy and productive.
* Watering: Malabar spinach needs consistent moisture, especially during hot weather. Water deeply whenever the top inch of soil feels dry. Avoid overhead watering, as this can promote fungal diseases. Drip irrigation is ideal.
* Fertilizing: Feed your Malabar spinach every 2-3 weeks with a balanced fertilizer. I like to use a liquid fertilizer diluted to half strength. You can also use compost tea.
* Pest Control: Malabar spinach is relatively pest-resistant, but it can occasionally be bothered by aphids, spider mites, or snails. Inspect your plants regularly and take action if you see any pests. For aphids and spider mites, you can try spraying them with a strong stream of water or using insecticidal soap. For snails, you can handpick them or use snail bait. I prefer organic methods whenever possible.
Harvesting and Using Malabar Spinach
The best part of growing Malabar spinach is, of course, harvesting and eating it!
* When to Harvest: You can start harvesting leaves as soon as the plant is established and has plenty of foliage. The younger leaves are more tender and have a milder flavor.
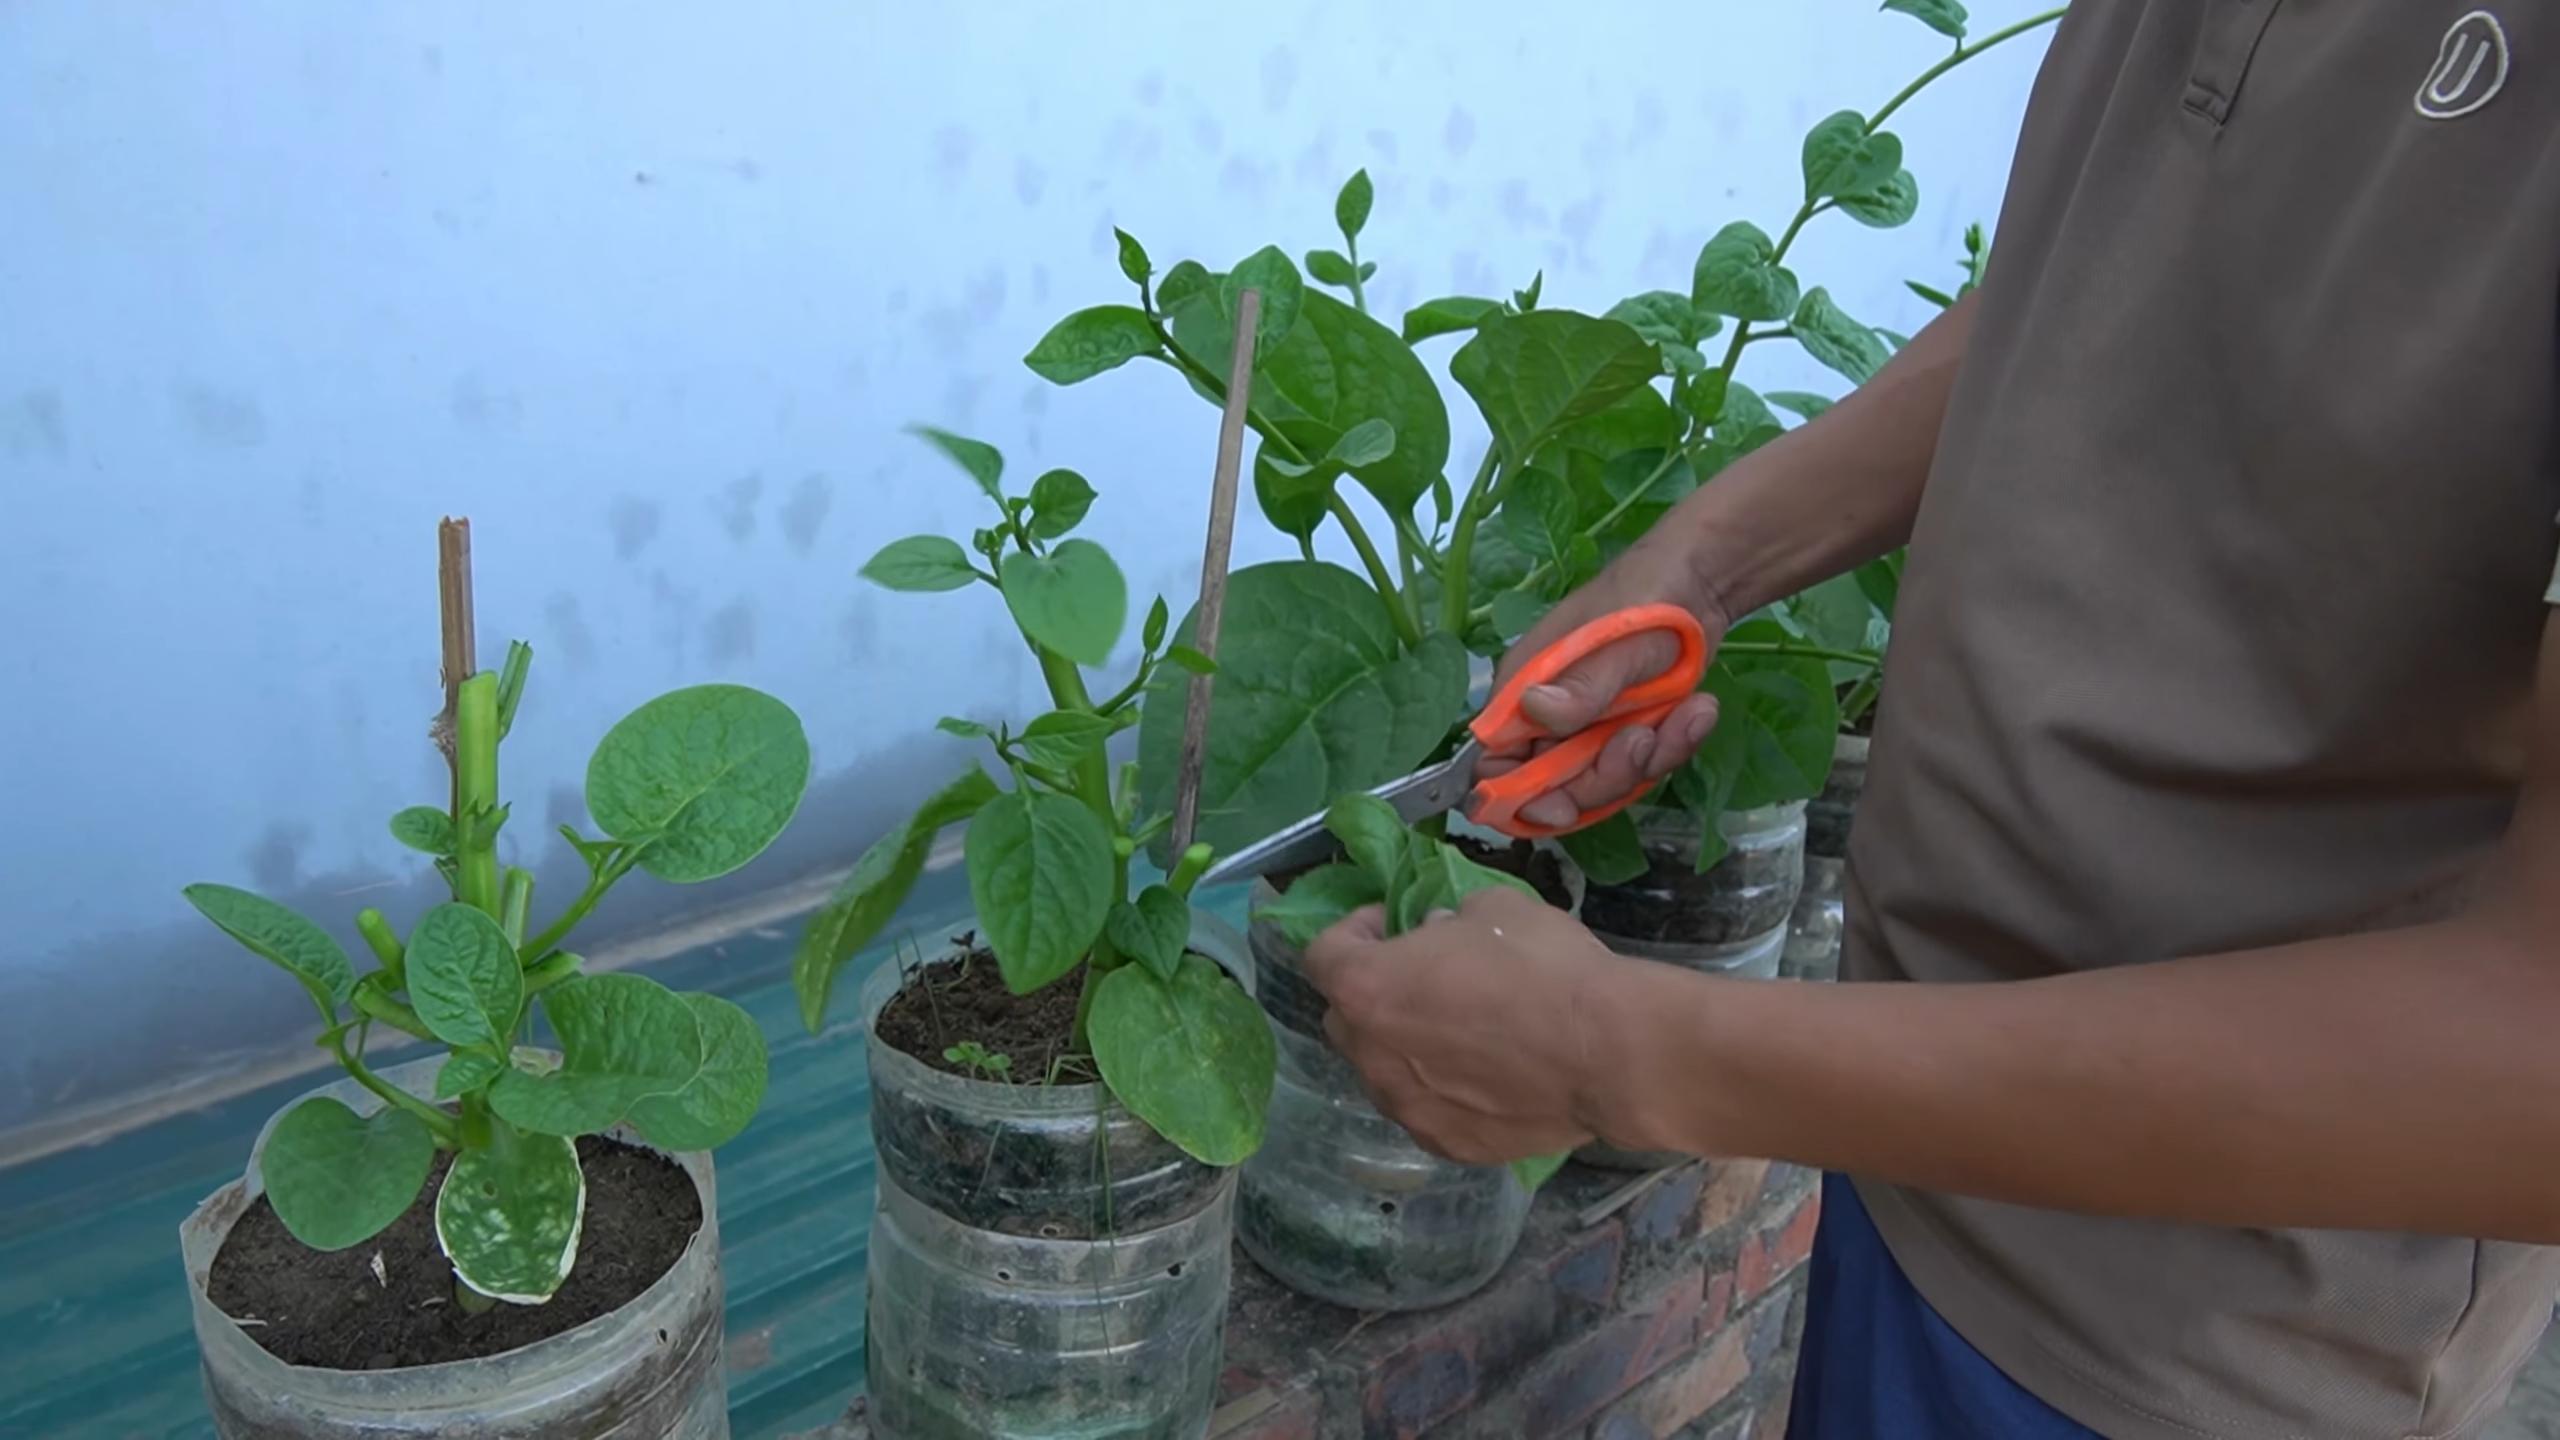
* How to Harvest: Simply snip off the leaves with scissors or your fingers. You can also harvest entire stems. Regular harvesting encourages the plant to produce more leaves.
* Using Malabar Spinach: Malabar spinach can be used in a variety of dishes. It can be eaten raw in salads, cooked in stir-fries, soups, and stews, or used as a substitute for spinach in other recipes. It has a slightly mucilaginous texture, similar to okra, which some people find off-putting. However, this texture disappears when cooked. I love adding it to my smoothies for an extra boost of nutrients.
* Storing Malabar Spinach: Freshly harvested Malabar spinach can be stored in the refrigerator for up to a week. Wrap it in a damp paper towel and place it in a plastic bag.
Troubleshooting Common Problems
Even with the best care, you might encounter some problems while growing Malabar spinach. Here are a few common issues and how to address them:
* Slow Germination: This is usually due to the hard seed coat. Make sure you soak the seeds for 24-48 hours before planting. Also, ensure the soil temperature is warm enough.
* Yellowing Leaves: This could be a sign of nutrient deficiency. Try fertilizing your plants with a balanced fertilizer. It could also be a sign of overwatering. Make sure the soil is well-drained.
* Pest Infestations: As mentioned earlier, aphids, spider mites, and snails can sometimes be a problem. Inspect your plants regularly and take action if you see any pests.
* Fungal Diseases: Overwatering and poor air circulation can lead to fungal diseases. Avoid overhead watering and ensure the plants have plenty of space to breathe.
Extending the Harvest
To keep your Malabar spinach producing throughout the growing season, here are a few tips:
* Regular Harvesting: As mentioned earlier, regular harvesting encourages the plant to produce more leaves.
* Succession Planting: Plant new seeds every few weeks to ensure a continuous supply of fresh leaves.
* Overwintering: In warmer climates, Malabar spinach can be grown as a perennial. In colder climates, you can try overwintering it indoors. Bring the plant indoors before the first frost and place it in a sunny location. Water it sparingly during the winter months.
Final Thoughts
Growing Malabar spinach is a rewarding experience. It’s a relatively easy plant to grow, and it provides a delicious and nutritious source of greens throughout the summer. With a little bit of care and attention, you can enjoy a bountiful harvest of this unique and versatile vegetable. Happy gardening!
Conclusion
So, there you have it! Mastering the art of growing Malabar spinach doesn’t require a green thumb blessed by the gardening gods. It’s about understanding its needs, providing the right environment, and being patient. This DIY approach to cultivating your own Malabar spinach is more than just a gardening project; it’s an investment in fresh, nutritious greens right at your doorstep.
Why is this a must-try? Because store-bought spinach, while convenient, often lacks the vibrant flavor and freshness of homegrown varieties. Plus, you have complete control over the growing process, ensuring your Malabar spinach is free from harmful pesticides and chemicals. Imagine stepping into your garden and harvesting crisp, succulent leaves for your salads, stir-fries, or soups. The taste difference is remarkable, and the satisfaction of nurturing your own food is unparalleled.
But the benefits extend beyond just taste and health. Growing your own Malabar spinach is also an incredibly rewarding and therapeutic experience. It connects you with nature, reduces your carbon footprint, and provides a sense of accomplishment as you watch your plants thrive.
Now, let’s talk about variations. While the tips we’ve covered provide a solid foundation, feel free to experiment and adapt them to your specific environment and preferences. For instance, if you live in a particularly hot climate, consider providing your Malabar spinach with some afternoon shade to prevent leaf scorch. If you’re short on space, you can successfully grow Malabar spinach in containers, just ensure they’re large enough to accommodate the plant’s vigorous growth. You can also try different trellising methods to see which works best for your garden setup. Some gardeners prefer bamboo stakes, while others opt for netting or even repurposed materials.
Another exciting variation is to experiment with different cultivars of Malabar spinach. While the green-stemmed variety is the most common, you might also encounter red-stemmed cultivars, which offer a slightly different flavor profile and visual appeal. Don’t be afraid to try them out and see which one you prefer.
Furthermore, consider companion planting to enhance the growth and flavor of your Malabar spinach. Basil, marigolds, and nasturtiums are all excellent companions that can help deter pests and attract beneficial insects.
Ultimately, the key to success with growing Malabar spinach is to be observant and responsive to your plants’ needs. Pay attention to their growth patterns, leaf color, and overall health. Adjust your watering, fertilizing, and pest control strategies as needed.
We wholeheartedly encourage you to give this DIY trick a try. It’s a simple, cost-effective, and incredibly rewarding way to enjoy fresh, delicious Malabar spinach. And once you’ve experienced the joy of harvesting your own homegrown greens, we’re confident you’ll be hooked!
Don’t just take our word for it. We want to hear about your experiences! Share your tips, tricks, and photos of your Malabar spinach plants in the comments section below. Let’s create a community of passionate gardeners who are dedicated to growing their own food and sharing their knowledge with others. Your insights could be invaluable to someone who’s just starting out, and together, we can all learn and grow. So, grab your seeds, get your hands dirty, and embark on this exciting gardening adventure. Happy growing!
Frequently Asked Questions (FAQ)
What exactly is Malabar spinach, and why should I grow it?
Malabar spinach (Basella alba or Basella rubra) isn’t a true spinach but a leafy green vine that thrives in warm weather. It’s a fantastic alternative to traditional spinach, especially in hot climates where spinach tends to bolt. It’s packed with vitamins A and C, iron, and calcium, making it a nutritious addition to your diet. Plus, it’s incredibly easy to grow, making it a great option for beginner gardeners. The taste is mild and slightly peppery, perfect for salads, stir-fries, and soups.
How do I start growing Malabar spinach? Seeds or seedlings?
You can start Malabar spinach from either seeds or seedlings. Starting from seeds is generally more cost-effective, but it requires a bit more patience. Soak the seeds in water for 24 hours before planting to improve germination rates. Sow the seeds directly into the garden or in seed trays, about half an inch deep. Keep the soil moist but not waterlogged. Seedlings can be purchased from nurseries and offer a head start, but ensure they are healthy and disease-free before transplanting them into your garden.
What kind of soil does Malabar spinach need?
Malabar spinach prefers well-draining, fertile soil that is rich in organic matter. Amend your soil with compost or well-rotted manure before planting to improve its fertility and drainage. A slightly acidic to neutral soil pH (around 6.0 to 7.0) is ideal. If your soil is heavy clay, consider adding sand or perlite to improve drainage.
How much sunlight does Malabar spinach require?
Malabar spinach thrives in full sun, meaning at least 6-8 hours of direct sunlight per day. However, in extremely hot climates, it can benefit from some afternoon shade to prevent leaf scorch. If you’re growing it indoors, place it near a sunny window or use grow lights to provide adequate light.
How often should I water my Malabar spinach?
Malabar spinach needs consistent moisture, especially during hot weather. Water deeply whenever the top inch of soil feels dry to the touch. Avoid overwatering, as this can lead to root rot. Mulching around the plants can help retain moisture and suppress weeds.
Does Malabar spinach need fertilizer?
Yes, Malabar spinach benefits from regular fertilization. Use a balanced fertilizer (e.g., 10-10-10) every 2-3 weeks during the growing season. Alternatively, you can use organic fertilizers like compost tea or fish emulsion. Avoid over-fertilizing, as this can lead to excessive foliage growth at the expense of flavor.
How do I trellis Malabar spinach?
Malabar spinach is a vining plant and needs a trellis or other support structure to climb on. You can use a variety of trellising methods, such as bamboo stakes, netting, or even a fence. Train the vines to climb the trellis by gently guiding them and tying them loosely with twine if needed. Trellising not only provides support but also improves air circulation and makes harvesting easier.
What are some common pests and diseases that affect Malabar spinach?
Malabar spinach is generally resistant to pests and diseases, but it can occasionally be affected by aphids, spider mites, or leaf miners. Inspect your plants regularly for signs of infestation and take action promptly. You can use insecticidal soap or neem oil to control these pests. Good air circulation and proper watering practices can help prevent fungal diseases.
When and how should I harvest Malabar spinach?
You can start harvesting Malabar spinach leaves as soon as the plant is established and has reached a decent size. Simply snip off the leaves or stems as needed. Regular harvesting encourages the plant to produce more leaves. The young, tender leaves are the most flavorful.
Can I eat Malabar spinach raw?
Yes, you can eat Malabar spinach raw, especially the young, tender leaves. They have a mild, slightly peppery flavor that is delicious in salads. However, some people prefer to cook the leaves, as this can reduce any potential bitterness.
How do I store harvested Malabar spinach?
Store harvested Malabar spinach in the refrigerator in a plastic bag or container. It will stay fresh for several days. You can also blanch and freeze Malabar spinach for longer-term storage.
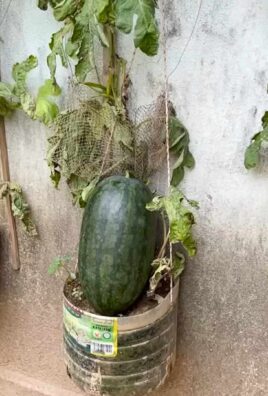
Can I grow Malabar spinach in containers?
Yes, Malabar spinach can be successfully grown in containers. Choose a large container (at least 12 inches in diameter) with good drainage. Use a well-draining potting mix and provide a trellis or other support structure for the vines to climb on. Water and fertilize regularly.
Is Malabar spinach a perennial or an annual?
Malabar spinach is a perennial in tropical and subtropical climates, meaning it can live for multiple years. However, in colder climates, it is typically grown as an annual, as it cannot tolerate frost.
Can I save seeds from my Malabar spinach plant?
Yes, you can save seeds from your Malabar spinach plant. Allow some of the flowers to develop into berries. Once the berries turn dark purple or black, they are ripe. Harvest the berries and remove the seeds. Dry the seeds thoroughly before storing them in an airtight container in a cool, dark place.
What are some creative ways to use Malabar spinach in cooking?
Besides salads and stir-fries, Malabar spinach can be used in a variety of dishes. Add it to soups, stews, and curries. Use it as a filling for dumplings or ravioli. Blend it into smoothies or juices. You can even use it as a substitute for spinach in lasagna or quiche. The possibilities are endless!


Leave a Comment