
Peroxide Grout Cleaning Hack: Are you tired of staring at dingy, discolored grout lines that seem impossible to clean? I know I was! It felt like no matter how much I scrubbed, those stubborn stains just wouldn’t budge. But what if I told you there’s a simple, effective, and surprisingly affordable solution hiding in your medicine cabinet?
Grout cleaning has been a household chore for as long as we’ve had tiled surfaces. From ancient Roman mosaics to modern kitchens, keeping grout clean has always been a challenge. Traditionally, harsh chemicals were the go-to solution, but these can be harmful to your health and the environment. That’s where this peroxide grout cleaning hack comes in – a safer, gentler, and equally powerful alternative.
Let’s face it, nobody enjoys spending hours on their hands and knees scrubbing grout. This DIY trick is a game-changer because it simplifies the cleaning process, saves you time and money, and helps you achieve sparkling clean grout without the need for expensive professional services or harsh chemicals. I’m excited to share this simple solution with you, so you can say goodbye to grimy grout and hello to a brighter, cleaner home!
DIY Peroxide Grout Cleaning Hack: Sparkling Grout Without Harsh Chemicals
Okay, let’s face it: cleaning grout is the bane of every homeowner’s existence. It’s tedious, back-breaking, and often requires harsh chemicals that leave your bathroom smelling like a science lab. But what if I told you there’s a simple, effective, and relatively eco-friendly way to get your grout sparkling clean using something you probably already have in your medicine cabinet: hydrogen peroxide?
That’s right! This DIY grout cleaning hack uses the power of hydrogen peroxide to lift stains, kill mold and mildew, and brighten your grout lines without the need for harsh chemicals like bleach. I’ve tried it myself, and I’m thrilled with the results. So, grab your supplies, and let’s get started!
What You’ll Need:
Before we dive in, let’s gather everything you’ll need. This is a pretty straightforward project, so the supply list is short and sweet:
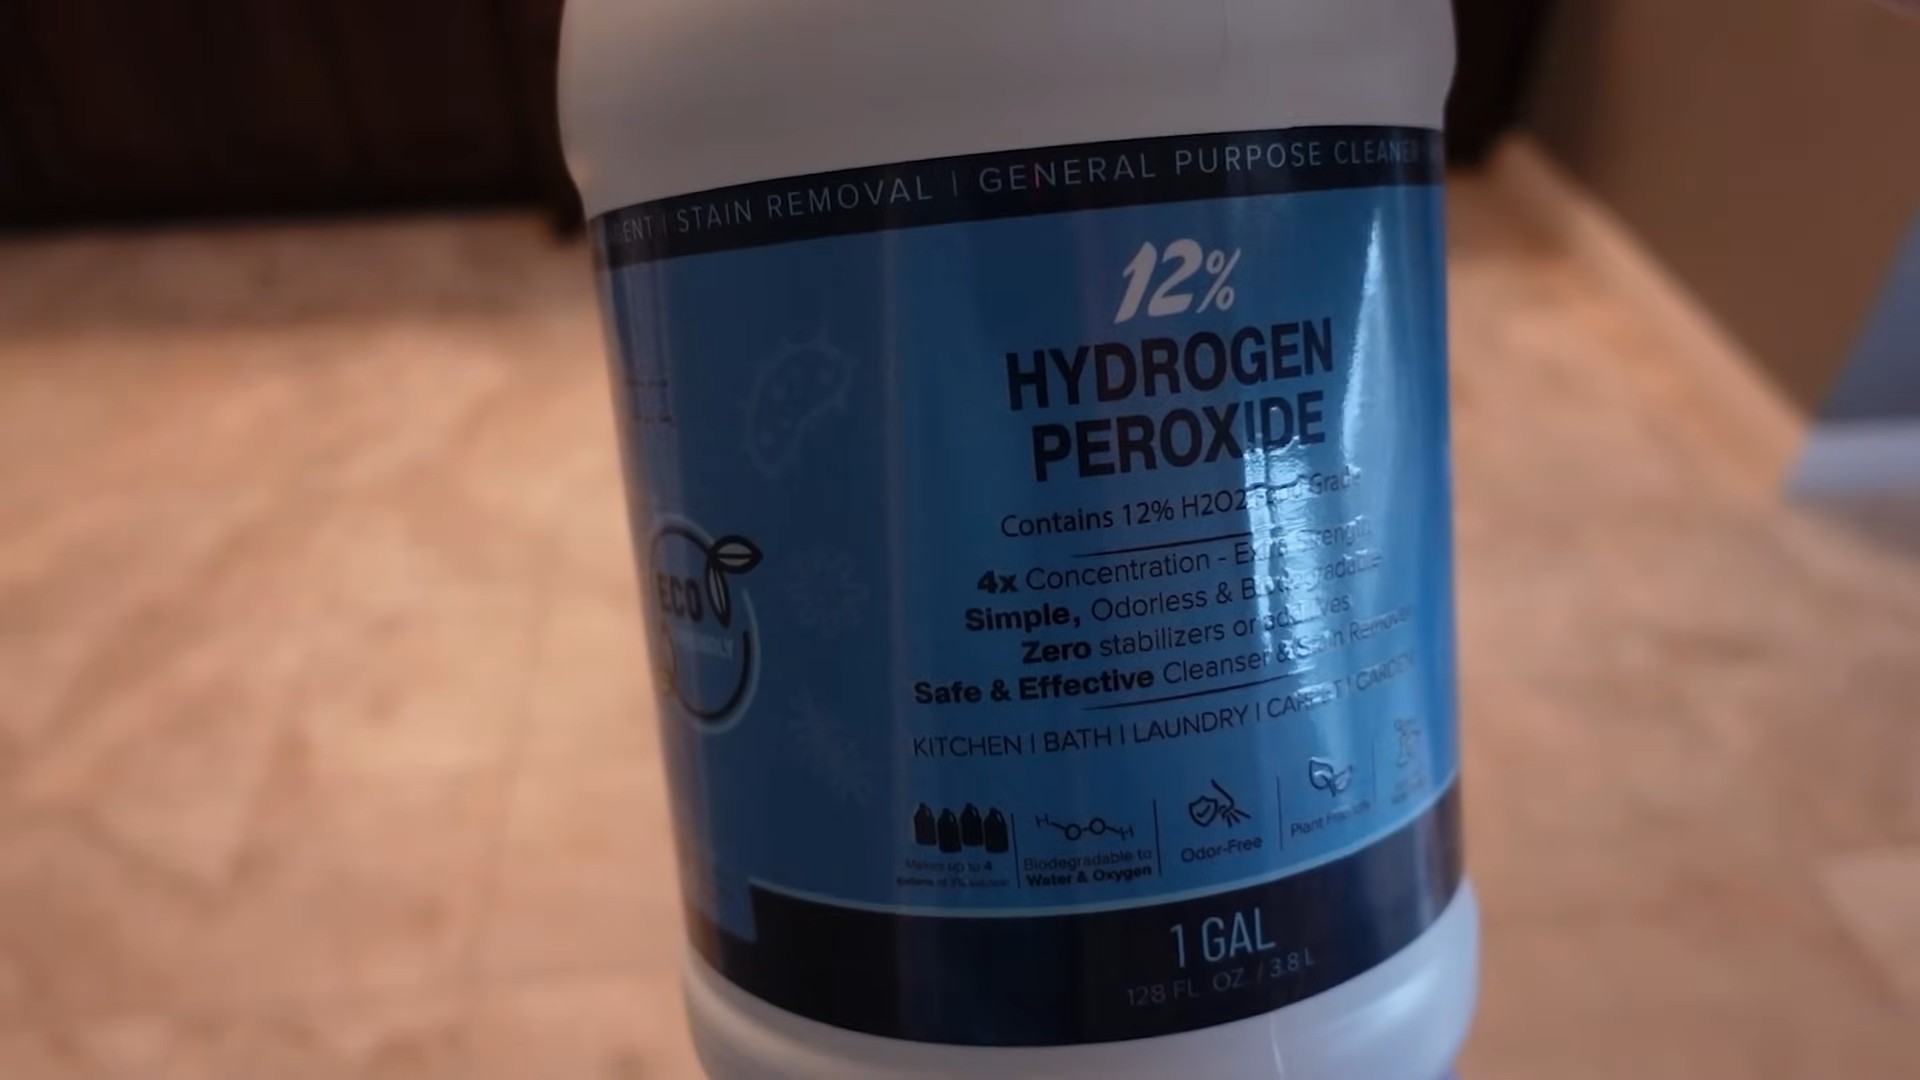
* **Hydrogen Peroxide (3%):** This is the standard concentration you find at the drugstore. Don’t go for anything stronger unless you’re a professional cleaner.
* **Baking Soda:** This acts as a mild abrasive and helps to lift stains.
* **Spray Bottle:** For applying the hydrogen peroxide solution.
* **Old Toothbrush or Grout Brush:** For scrubbing those stubborn stains.
* **Small Bowl:** For mixing the baking soda and hydrogen peroxide paste (optional).
* **Gloves:** To protect your hands from irritation.
* **Eye Protection (Optional):** Just in case of splashes.
* **Clean Cloth or Sponge:** For wiping away the residue.
* **Vacuum or Broom:** To remove loose debris before you start.
* **Water:** For rinsing.
Step-by-Step Instructions:
Here’s the breakdown of how to get your grout looking brand new:
1. **Prepare the Area:**
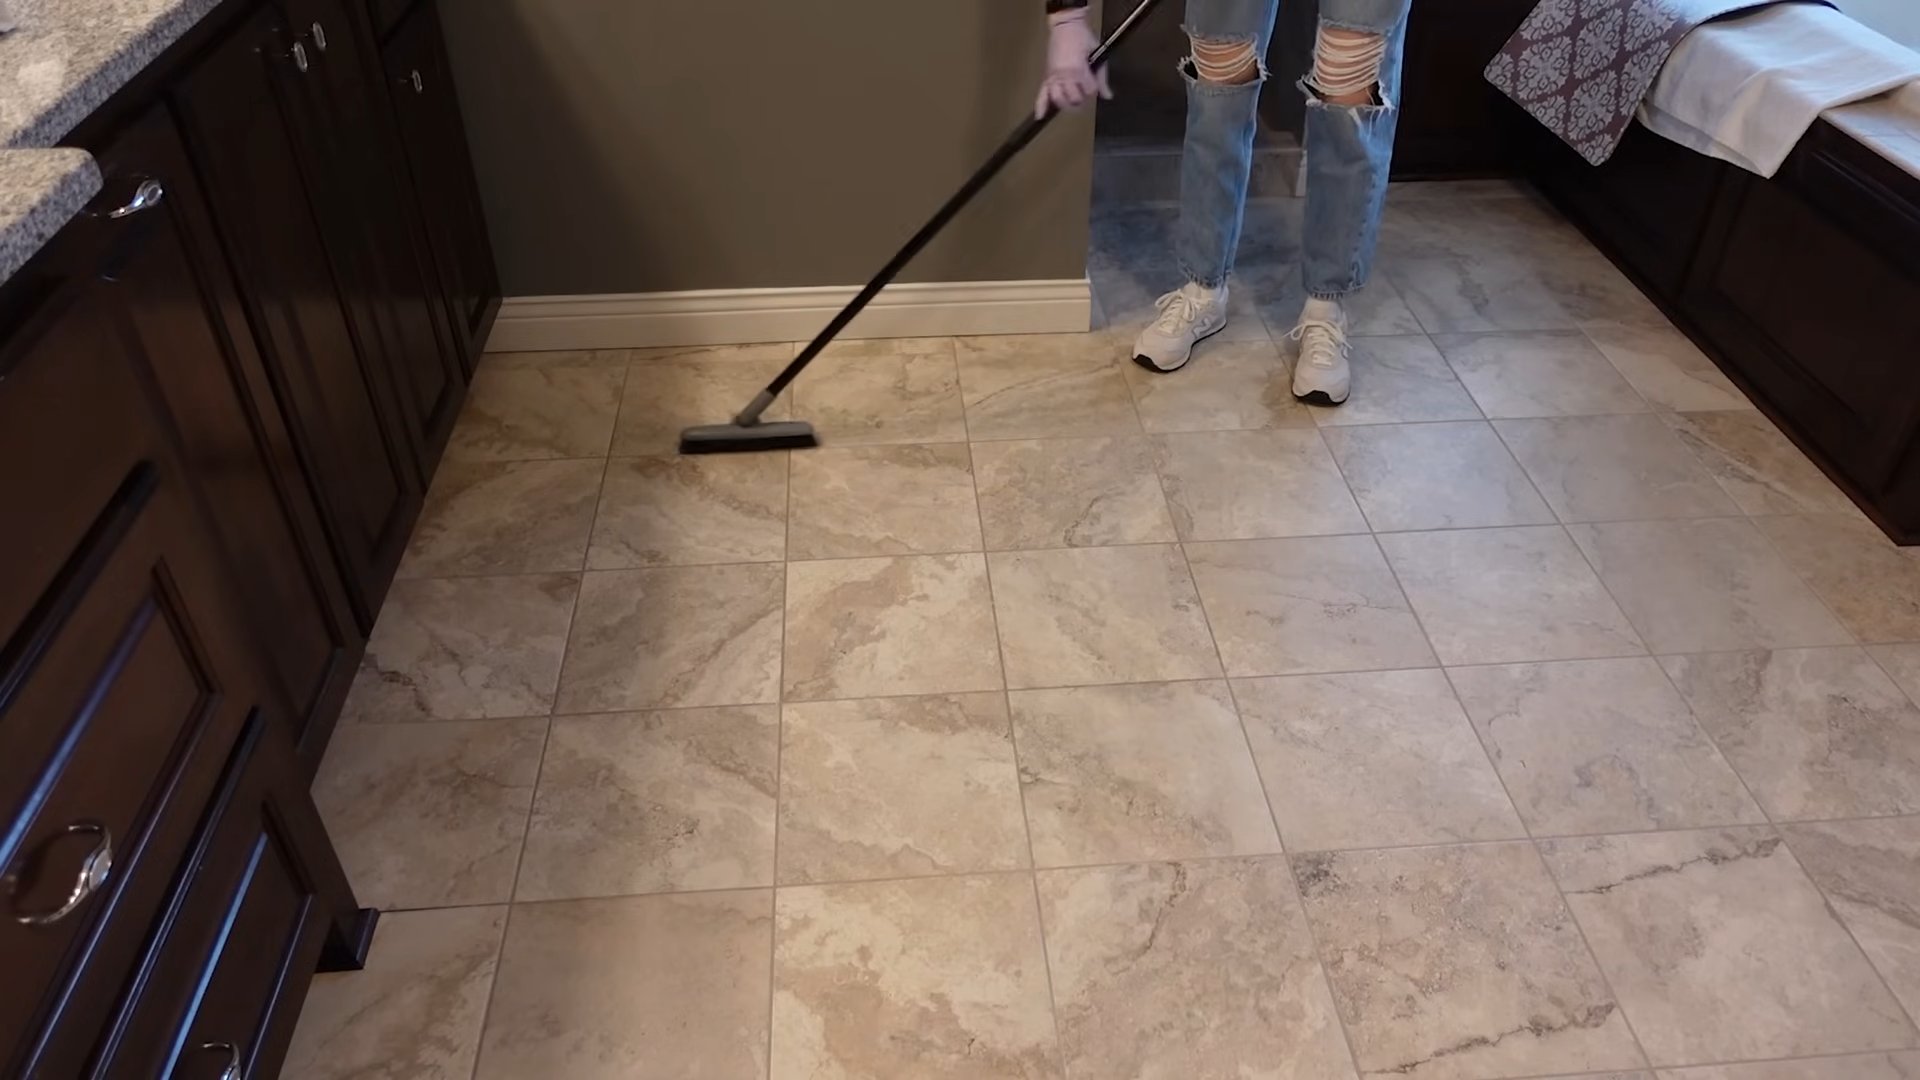
* First things first, give the area a good sweep or vacuum to remove any loose dirt, dust, or debris. This will prevent you from just pushing the grime around when you start cleaning.
* If you’re cleaning a shower, give it a quick rinse with water to loosen any surface dirt.
* Make sure the area is well-ventilated. Open a window or turn on the exhaust fan.
2. **Choose Your Cleaning Method: Paste or Spray:**
You have two options for applying the hydrogen peroxide: a paste or a spray. Both are effective, but the paste is generally better for heavily stained grout.
* **Option 1: Hydrogen Peroxide and Baking Soda Paste:**
* In a small bowl, mix baking soda and hydrogen peroxide to form a thick paste. The consistency should be similar to toothpaste. I usually start with about 1/2 cup of baking soda and add hydrogen peroxide a little at a time until I get the right consistency.
* Apply the paste directly to the grout lines using your fingers (with gloves on, of course!) or a small spatula. Make sure to cover the grout completely.
* Let the paste sit for at least 5-10 minutes. For really stubborn stains, you can let it sit for up to 30 minutes. The longer it sits, the more time the hydrogen peroxide has to work its magic.
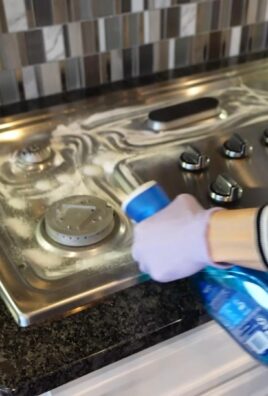
* **Option 2: Hydrogen Peroxide Spray:**
* Pour hydrogen peroxide directly into a spray bottle.
* Spray the hydrogen peroxide liberally onto the grout lines, making sure to saturate them.
* Let the hydrogen peroxide sit for 5-10 minutes. Again, for tougher stains, you can let it sit longer.
3. **Scrub the Grout:**
* Using your old toothbrush or grout brush, scrub the grout lines thoroughly. Apply firm pressure and work in small sections. You’ll likely see the dirt and grime start to lift as you scrub.
* If you’re using the paste method, the paste will start to turn a bit gray or brown as it absorbs the dirt.
* Don’t be afraid to really get in there and scrub! This is where the elbow grease comes in.
4. **Rinse and Wipe Clean:**
* Once you’ve scrubbed all the grout lines, rinse the area thoroughly with clean water. You can use a spray bottle, a sponge, or even a bucket of water.
* Wipe away any remaining residue with a clean cloth or sponge.
* If you’re cleaning a shower, you can simply rinse the area with the showerhead.
5. **Dry the Area:**
* After rinsing and wiping, dry the area with a clean towel. This will help prevent water spots and further mildew growth.
* If you’re cleaning a shower, you can leave the shower door or curtain open to allow the area to air dry completely.
Dealing with Stubborn Stains:
Sometimes, you’ll encounter grout stains that are particularly stubborn. Don’t worry, there are a few things you can try:
* **Repeat the Process:** For really tough stains, you may need to repeat the cleaning process a few times. Apply the paste or spray, let it sit, scrub, rinse, and repeat until the stain is gone.
* **Longer Soak Time:** Try letting the hydrogen peroxide sit on the grout for a longer period of time, up to an hour. Just make sure to keep an eye on it and don’t let it dry out completely.
* **More Abrasive Scrubbing:** If the toothbrush isn’t cutting it, try using a more abrasive grout brush or even a scrub pad. Just be careful not to scratch the surrounding tiles.
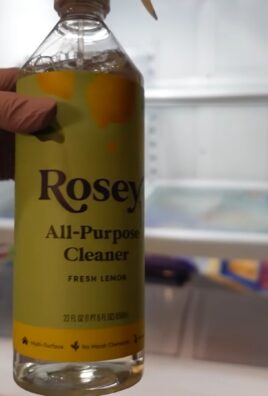
* Consider a Commercial Grout Cleaner (as a last resort): If all else fails, you may need to resort to a commercial grout cleaner. However, be sure to choose one that is specifically designed for grout and follow the manufacturer’s instructions carefully. Always test the cleaner in an inconspicuous area first to make sure it doesn’t damage the tiles.
Tips and Tricks for Success:
Here are a few extra tips to help you get the best results:
* **Test in an Inconspicuous Area:** Before cleaning your entire grout surface, test the hydrogen peroxide on a small, hidden area to make sure it doesn’t discolor or damage the tiles.
* **Work in Small Sections:** Cleaning grout can be tiring, so work in small sections to avoid getting overwhelmed.
* **Ventilate the Area:** Make sure the area is well-ventilated to avoid inhaling any fumes.
* **Wear Gloves:** Hydrogen peroxide can irritate your skin, so wear gloves to protect your hands.
* **Clean Regularly:** The best way to keep your grout clean is to clean it regularly. A quick wipe-down with hydrogen peroxide every week or two can prevent stains from building up.
* Consider Sealing Your Grout: Once your grout is clean, consider sealing it to help prevent future stains. Grout sealers create a barrier that repels water and dirt, making it easier to keep your grout clean. You can find grout sealers at most home improvement stores.
* Don’t Mix with Other Cleaners: Never mix hydrogen peroxide with other cleaning products, especially bleach. This can create dangerous fumes.
Safety Precautions:
While hydrogen peroxide is generally safe, it’s important to take a few precautions:
* **Avoid Contact with Eyes:** Hydrogen peroxide can irritate your eyes, so wear eye protection if you’re concerned about splashes. If you do get hydrogen peroxide in your eyes, rinse them immediately with plenty of water.
* **Keep Out of Reach of Children and Pets:** Hydrogen peroxide should be stored out of reach of children and pets.
* **Don’t Ingest:** Hydrogen peroxide is not meant to be ingested. If you accidentally swallow hydrogen peroxide, drink plenty of water and seek medical attention.
Why This Hack Works: The Science Behind It
So, why does this simple hack work so well? It all comes down to the chemical properties of hydrogen peroxide.
Hydrogen peroxide (H2O2) is a mild antiseptic with oxidizing properties. This means it can break down organic compounds, such as mold, mildew, and dirt, that cause grout stains. When hydrogen peroxide comes into contact with these compounds, it releases oxygen, which helps to lift the stains and kill the bacteria.
Baking soda (sodium bicarbonate) is a mild abrasive that helps to scrub away the loosened dirt and grime. It also helps to neutralize any odors.
Together, hydrogen peroxide and baking soda create a powerful cleaning combination that is both effective and relatively safe.
Alternative Solutions
While I find the hydrogen peroxide and baking soda method to be quite effective, there are other alternatives you can try:
* **Vinegar and Baking Soda:** This is another popular DIY cleaning solution. Mix vinegar and baking soda to form a paste, apply it to the grout, let it sit, scrub, and rinse. However, be careful when using vinegar on natural stone tiles, as it can etch the surface.
* **Commercial Grout Cleaners:** As mentioned earlier, there are many commercial grout cleaners available. Choose one that is specifically designed
Conclusion
So, there you have it! This simple, yet incredibly effective, peroxide grout cleaning hack is a game-changer for anyone battling dingy, stained grout. We’ve walked you through the process, highlighting just how easy it is to achieve professional-level results without harsh chemicals or back-breaking scrubbing. The beauty of this method lies in its simplicity and accessibility. You likely already have the key ingredient – hydrogen peroxide – sitting in your medicine cabinet.
Why is this a must-try? Because it’s a time-saver, a money-saver, and a sanity-saver! Forget spending hours on your hands and knees, scrubbing with expensive and often ineffective commercial cleaners. This DIY approach is gentle on your grout, tough on stains, and safe for your family and pets (when used as directed, of course!). The visual difference is truly remarkable, transforming your tiled surfaces from drab to dazzling.
But don’t just take our word for it. We encourage you to experiment and find what works best for your specific grout and tile type. For instance, if you’re dealing with particularly stubborn stains, consider adding a small amount of baking soda to the peroxide to create a paste. This abrasive action can help lift even the most deeply embedded grime. Alternatively, for colored grout, test the peroxide in an inconspicuous area first to ensure it doesn’t affect the color. You can also try using a grout brush with stiffer bristles for more aggressive cleaning, but always be mindful of potentially damaging the grout itself.
This peroxide grout cleaning hack is more than just a cleaning method; it’s an investment in the beauty and longevity of your home. Imagine the satisfaction of stepping into a bathroom or kitchen with sparkling clean grout, knowing you achieved those results with a simple, affordable, and environmentally conscious solution.
We’re confident that once you try this method, you’ll be amazed by the results. It’s a truly transformative cleaning experience that will leave your grout looking brand new. So, grab your hydrogen peroxide, gather your supplies, and prepare to be amazed.
Now, we want to hear from you! Have you tried this peroxide grout cleaning hack? What were your results? Do you have any tips or variations to share? Head over to the comments section and let us know. Your experiences can help others discover the power of this simple cleaning solution and achieve their own grout-cleaning success stories. We can’t wait to see your before-and-after photos and hear your tips! Share your experience and help others discover the magic of peroxide for grout cleaning!
Frequently Asked Questions (FAQ)
What concentration of hydrogen peroxide should I use for grout cleaning?
The standard 3% hydrogen peroxide solution, commonly found in drugstores and pharmacies, is generally sufficient for most grout cleaning tasks. This concentration is effective at breaking down stains and grime without being overly harsh on the grout itself. However, for particularly stubborn stains or heavily soiled grout, you might consider using a slightly higher concentration, such as 6% (often labeled as a hair bleaching solution). If you opt for a higher concentration, exercise extra caution and wear gloves to protect your skin. Always test the solution in an inconspicuous area first to ensure it doesn’t damage or discolor the grout. Remember, more isn’t always better; starting with the 3% solution is usually the safest and most effective approach.
Can I use this peroxide grout cleaning hack on all types of grout?
While hydrogen peroxide is generally safe for most types of grout, it’s always a good idea to test it in an inconspicuous area first, especially if you have colored grout. Some colored grouts may be susceptible to fading or discoloration when exposed to peroxide. If you notice any adverse effects after testing, discontinue use. For epoxy grout, which is known for its resistance to staining, hydrogen peroxide may not be as effective. In such cases, you might need to explore alternative cleaning methods specifically designed for epoxy grout. Always err on the side of caution and test before applying the solution to the entire area.
How often should I clean my grout with hydrogen peroxide?
The frequency of grout cleaning depends on several factors, including the amount of foot traffic, the type of tile, and the overall cleanliness of the area. In high-traffic areas like bathrooms and kitchens, you might need to clean your grout every few weeks to prevent stains from setting in. In less frequently used areas, cleaning every few months may suffice. Regular maintenance, such as wiping up spills promptly and using a daily shower cleaner, can also help reduce the need for frequent deep cleaning. Observe your grout and clean it when you notice discoloration or staining.
What if the hydrogen peroxide doesn’t remove all the stains?
If hydrogen peroxide alone isn’t enough to remove stubborn stains, there are several things you can try. First, create a paste by mixing hydrogen peroxide with baking soda. The baking soda acts as a mild abrasive, helping to scrub away the stains. Apply the paste to the grout, let it sit for 5-10 minutes, and then scrub with a grout brush. You can also try using a steam cleaner to loosen the stains before applying the hydrogen peroxide. For extremely stubborn stains, you might consider using a commercial grout cleaner specifically designed for tough stains. Always follow the manufacturer’s instructions and wear appropriate safety gear when using commercial cleaners.
Is hydrogen peroxide safe to use around children and pets?
Hydrogen peroxide is generally considered safe when used as directed, but it’s important to take precautions when cleaning around children and pets. Keep them away from the area while you’re cleaning and ensure the area is well-ventilated. Avoid spraying hydrogen peroxide directly into their faces or allowing them to ingest it. Once the grout is dry, it’s generally safe for children and pets to be in the area. However, if you’re concerned, you can rinse the grout with water after cleaning to remove any residual peroxide. Always store hydrogen peroxide out of reach of children and pets.
Can I use this method on vertical grout lines, like in a shower?
Yes, this method works well on vertical grout lines. The key is to apply the hydrogen peroxide in a way that allows it to stay in contact with the grout for a sufficient amount of time. You can use a spray bottle to apply the peroxide, or you can soak a cotton ball or cloth in peroxide and press it against the grout line. For particularly stubborn stains, you can create a paste of hydrogen peroxide and baking soda and apply it to the grout line. Let it sit for 10-15 minutes before scrubbing. Gravity can cause the solution to run, so you may need to reapply it several times.
Will this peroxide grout cleaning hack damage my tile?
Hydrogen peroxide is generally safe for most types of tile, including ceramic, porcelain, and glass. However, it’s always a good idea to test it in an inconspicuous area first to ensure it doesn’t damage or discolor the tile. Some natural stone tiles, such as marble or granite, may be more sensitive to hydrogen peroxide. If you have natural stone tiles, consult the manufacturer’s instructions or a professional before using hydrogen peroxide. Avoid using abrasive scrub brushes on delicate tiles, as they can scratch the surface.
What type of brush is best for scrubbing grout?
A grout brush with stiff nylon bristles is ideal for scrubbing grout. The stiff bristles can effectively reach into the grout lines and dislodge dirt and grime. Look for a brush with an ergonomic handle for comfortable use. You can also use an old toothbrush for smaller areas or hard-to-reach spots. Avoid using metal brushes or abrasive pads, as they can scratch the tile and damage the grout.
How do I prevent grout from getting dirty in the future?
Preventing grout from getting dirty in the first place is the best way to avoid the need for frequent deep cleaning. Here are a few tips:
* Wipe up spills promptly to prevent stains from setting in.
* Use a daily shower cleaner to prevent soap scum and mildew buildup.
* Seal your grout to protect it from moisture and stains.
* Place mats or rugs in high-traffic areas to reduce dirt and grime.
* Ventilate your bathroom properly to prevent moisture buildup.
By following these tips, you can keep your grout looking clean and fresh for longer.

Leave a Comment