
Pet Hair Removal Rubber Glove: Sounds simple, right? But trust me, this little trick is about to revolutionize your cleaning routine! We all love our furry friends, but let’s be honest, the constant shedding can be a real headache. I’ve tried everything – vacuums, lint rollers, special brushes – and nothing seemed to truly conquer the pet hair invasion until I stumbled upon this genius DIY hack.
The concept of using rubber to attract hair isn’t exactly new. Think about those rubber brooms you sometimes see – they work on a similar principle. But the beauty of the rubber glove method lies in its accessibility and affordability. You probably already have a pair lying around! For centuries, people have been devising clever ways to manage household messes, and this feels like a modern, eco-friendly twist on those time-tested techniques.
Why do you need this pet hair removal rubber glove trick in your life? Because it’s effective, inexpensive, and incredibly versatile! It’s perfect for tackling pet hair on furniture, carpets, car interiors, and even clothing. No more struggling with sticky lint rollers or lugging out the vacuum for a quick clean-up. I’m going to show you exactly how to use a simple rubber glove to effortlessly banish pet hair from your home, leaving you with more time to enjoy the company of your beloved pets (and a cleaner living space!).
DIY Pet Hair Removal with a Rubber Glove: A Fur-tastic Solution!
Hey fellow pet lovers! Are you constantly battling pet hair clinging to your furniture, carpets, and clothes? I know the struggle all too well! As a proud owner of a fluffy Golden Retriever (who sheds enough to knit a whole new dog every week!), I’ve tried countless methods to combat the fur invasion. From expensive vacuums to sticky lint rollers, nothing seemed to truly conquer the problem. That is, until I stumbled upon this incredibly simple and effective DIY hack: using a rubber glove!
Seriously, it’s a game-changer. It’s cheap, easy, and surprisingly effective. So, ditch the frustration and let’s get started on this fur-busting adventure!
What You’ll Need:
* A rubber glove (latex, nitrile, or even a dishwashing glove will work!)
* A spray bottle filled with water (optional, but recommended for better results)
* A microfiber cloth (for wiping up any excess moisture)
How It Works: The Science Behind the Magic
The magic lies in the rubber’s ability to create static electricity. When you rub the glove over a surface, it generates a slight static charge that attracts pet hair like a magnet. The textured surface of the glove also helps to grab and lift the hair, making it easier to collect. The optional water spray adds a bit of moisture, which further enhances the static cling and helps to loosen stubborn hairs.
Step-by-Step Guide: Unleashing the Fur-Fighting Power of Your Glove
Here’s the breakdown of how to use your rubber glove to banish pet hair from your life:
1. Prepare Your Glove:
* Choose the right glove: Any rubber glove will work, but I find that gloves with a textured surface (like dishwashing gloves) are the most effective. The texture provides extra grip and helps to lift the hair more easily.
* Clean your glove: Make sure your glove is clean and dry before you start. Any dirt or debris on the glove will reduce its effectiveness. Just give it a quick rinse with water and dry it thoroughly.
* Optional: Lightly dampen the glove: If you’re dealing with particularly stubborn pet hair, lightly dampen the glove with water. You can either spray it directly with a spray bottle or run it under the tap for a second. Just make sure it’s not soaking wet – you want it to be slightly damp, not dripping.
2. Choose Your Battlefield: Identifying Hair Hotspots
* Assess the situation: Take a look at the area you want to clean and identify the areas with the most pet hair. Common hotspots include:
* Furniture (couches, chairs, ottomans)
* Carpets and rugs
* Car interiors
* Clothing
* Prioritize: If you’re short on time, focus on the areas that are most visible or that you use most often.
3. The Rubbing Technique: Mastering the Art of Hair Removal
* Put on your glove: Slip on your rubber glove and make sure it fits snugly.
* Start rubbing: Begin rubbing the gloved hand over the surface in a circular motion. Apply gentle pressure, but don’t press down too hard.
* Observe the magic: As you rub, you’ll start to see the pet hair clumping together and sticking to the glove.
* Adjust your technique: Experiment with different rubbing motions to see what works best for you. Some people prefer circular motions, while others find that back-and-forth strokes are more effective.
* Focus on problem areas: Pay extra attention to areas with a lot of pet hair. You may need to rub these areas more vigorously to loosen the hair.
4. Hair Collection and Disposal: Keeping Things Clean
* Gather the clumps: As you rub, the pet hair will start to clump together on the glove.
* Remove the hair: Periodically, remove the accumulated hair from the glove. You can do this by:
* Peeling the hair off the glove with your other hand.
* Rinsing the glove under running water.
* Using a vacuum cleaner to suck the hair off the glove.
* Dispose of the hair: Dispose of the collected pet hair in a trash can or vacuum cleaner bag.
5. Finishing Touches: Ensuring a Hair-Free Zone
* Wipe down the surface: After you’ve removed the majority of the pet hair, use a microfiber cloth to wipe down the surface. This will help to remove any remaining loose hairs and leave the surface looking clean and fresh.
* Repeat as needed: If you’re dealing with a particularly hairy situation, you may need to repeat the process several times.
* Enjoy your hair-free space: Step back and admire your handiwork! You’ve successfully banished pet hair from your home using the power of a simple rubber glove.
Specific Applications: Conquering Different Surfaces
This rubber glove trick works wonders on a variety of surfaces. Here’s how to adapt the technique for different materials:
Furniture (Upholstery):
* Fabric couches and chairs: These are prime targets for pet hair. Use the rubber glove to rub the fabric in a circular motion, paying close attention to crevices and seams.
* Leather furniture: Be gentle when using the rubber glove on leather furniture. Avoid rubbing too hard, as this could damage the leather. Lightly dampen the glove for best results.
* Microfiber furniture: Microfiber is notorious for attracting pet hair. The rubber glove works exceptionally well on microfiber, lifting the hair without damaging the fabric.
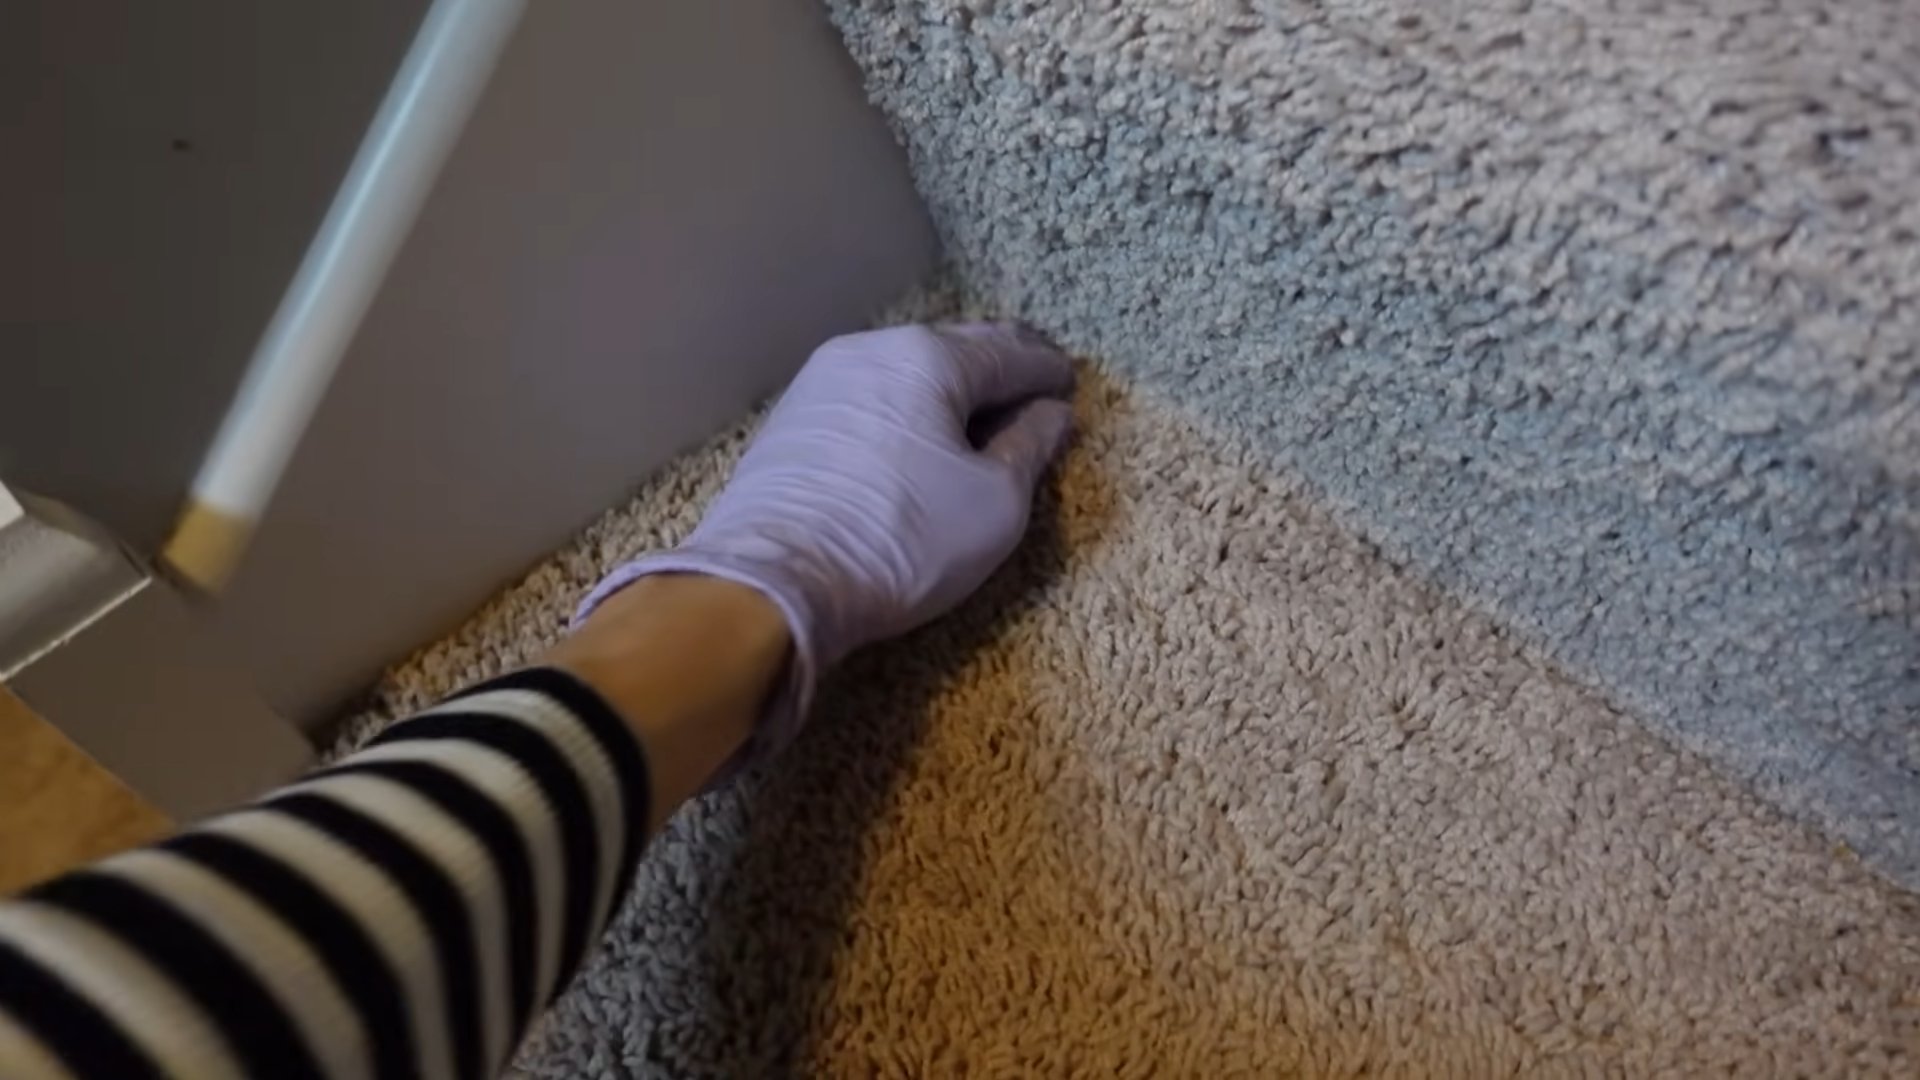
Carpets and Rugs:
* Low-pile carpets: The rubber glove can be used to loosen pet hair from low-pile carpets. Rub the glove over the carpet in a back-and-forth motion.
* High-pile carpets: For high-pile carpets, you may need to use a bit more pressure and work in smaller sections.
* Area rugs: The rubber glove is perfect for cleaning area rugs, especially those with intricate patterns.
Car Interiors:
* Seats: Use the rubber glove to remove pet hair from car seats. Pay attention to the seams and crevices.
* Carpets: The rubber glove can also be used to clean car carpets.
* Dashboard: Be gentle when using the rubber glove on the dashboard, as some dashboards are made of delicate materials.
Clothing:
* Sweaters: The rubber glove is a great way to remove pet hair from sweaters. Gently rub the glove over the sweater to lift the hair.
* Pants: Use the rubber glove to remove pet hair from pants, especially dark-colored pants that tend to show hair more easily.
* Jackets: The rubber glove can also be used to clean jackets, especially those with fuzzy or textured fabrics.
Tips and Tricks for Maximum Fur-Fighting Power:
* Use a new glove: If your glove is old or worn, it may not be as effective at attracting pet hair. Consider using a new glove for best results.
* Clean your glove regularly: As you use the glove, it will accumulate pet hair and debris. Clean it regularly to maintain its effectiveness.
* Experiment with different techniques: Don’t be afraid to experiment with different rubbing motions and pressures to see what works best for you.
* Combine with other methods: The rubber glove trick works best when combined with other pet hair removal methods, such as vacuuming and lint rolling.
* Be patient: Removing pet hair can be a time-consuming process, so be patient and don’t get discouraged.
* Make it a routine: Incorporate pet hair removal into your regular cleaning routine to prevent buildup.
* Static cling spray: For extra stubborn hair, consider using a static cling spray in conjunction with the rubber glove.
* Dryer sheets: Rubbing a dryer sheet on the surface after using the glove can help to repel pet hair.
Why This Works Better Than Other Methods:
* Cost-effective: Rubber gloves are inexpensive and readily available.
* Reusable: Unlike lint rollers, rubber gloves can be reused multiple times.
* Effective: The static electricity generated by the rubber glove attracts pet hair more effectively than many other methods.
* Gentle: The rubber glove is gentle on most surfaces and won’t damage delicate fabrics.
* Easy to use: The rubber glove is easy to use and requires no special skills or equipment.
So there you have it! My tried-and-true method for battling pet hair using a simple rubber glove. I hope this helps you conquer the fur invasion in your home. Happy cleaning!
Conclusion
So, there you have it! The humble rubber glove, often relegated to dishwashing duty, reveals its surprising superpower: effortless pet hair removal. We’ve explored how this simple household item can transform your cleaning routine, saving you time, money, and frustration. Forget expensive lint rollers and specialized pet hair vacuums – the solution has been in your kitchen drawer all along.
Why is this DIY trick a must-try? Because it’s incredibly effective, remarkably affordable, and surprisingly versatile. The rubber’s natural friction creates an electrostatic cling that lifts pet hair from fabrics with minimal effort. Think about it: no more endless scrubbing, no more sticky residue from lint rollers, and no more lugging around heavy vacuums for small touch-ups. This method is gentle on your furniture and clothing, preventing damage that can occur with harsher cleaning tools. Plus, it’s eco-friendly! You’re repurposing an item you likely already own, reducing waste and avoiding the need to purchase disposable alternatives.
But the benefits don’t stop there. This method is also incredibly adaptable. For larger areas like carpets or car interiors, try using a damp rubber glove. The moisture enhances the glove’s grip, allowing it to gather even more hair. You can also experiment with different types of rubber gloves to find the one that works best for your pet’s hair type and the surfaces you’re cleaning. Thicker gloves might be better for coarse hair, while thinner gloves could be more effective on delicate fabrics.
Consider these variations to further optimize your pet hair removal strategy:
* The Damp Glove Technique: Lightly dampen the rubber glove with water before using it on upholstery or carpets. The moisture helps to clump the hair together, making it easier to collect.
* The Glove and Spray Bottle Combo: For stubborn pet hair embedded in car seats or rugs, lightly spray the area with a fabric refresher or a diluted vinegar solution before using the rubber glove. This can help loosen the hair and make it easier to remove.
* The Textured Glove Advantage: Opt for rubber gloves with a textured surface. The added texture provides extra grip, enhancing the glove’s ability to attract and lift pet hair.
* The Static Guard Boost: A light spritz of static guard on the glove can further enhance its hair-attracting capabilities, especially in dry environments.
Beyond furniture and clothing, this DIY trick can also be used to remove pet hair from other surfaces, such as car interiors, pet beds, and even your own clothing before you leave the house. It’s a quick and easy way to maintain a clean and hair-free environment, even with the most enthusiastic shedding companions.
We are confident that this simple yet effective DIY pet hair removal rubber glove trick will become an indispensable part of your cleaning arsenal. It’s a game-changer for pet owners who are tired of battling the never-ending shedding cycle.
So, grab your rubber gloves, put on some music, and get ready to say goodbye to pet hair woes! We encourage you to try this DIY trick and share your experience with us. Let us know what variations you’ve discovered and how it’s transformed your cleaning routine. Your feedback will help other pet owners discover the magic of the rubber glove and create a cleaner, happier home for everyone. Don’t forget to share your before-and-after photos on social media using #RubberGlovePetHairRemoval – we can’t wait to see your results!
Frequently Asked Questions (FAQs)
Q: What type of rubber glove works best for pet hair removal?
A: While any rubber glove will work to some extent, gloves with a textured surface tend to be the most effective. The added texture provides extra grip, helping to lift and trap more pet hair. Thicker gloves may be better for removing coarse hair from rougher surfaces, while thinner gloves can be more gentle on delicate fabrics. Experiment with different types to find what works best for your pet’s hair and your cleaning needs. Latex, nitrile, or even silicone gloves can be used, depending on your preference and any allergies.
Q: Will this trick work on all types of pet hair?
A: Yes, this trick is generally effective on all types of pet hair, from short and fine to long and thick. However, the effectiveness may vary depending on the surface you’re cleaning and the amount of hair present. For particularly stubborn or deeply embedded hair, you may need to use a bit more pressure or repeat the process several times. Using a damp glove or a fabric refresher spray can also help loosen the hair and make it easier to remove.
Q: Is this method safe for all types of fabrics?
A: Yes, this method is generally safe for most types of fabrics, including upholstery, clothing, and carpets. However, it’s always a good idea to test it on a small, inconspicuous area first to ensure that it doesn’t damage or discolor the fabric. Avoid using excessive pressure, especially on delicate fabrics like silk or velvet. If you’re concerned about damaging a particular item, consult the manufacturer’s care instructions or consider taking it to a professional cleaner.
Q: How do I clean the rubber glove after using it to remove pet hair?
A: Cleaning the rubber glove is simple. After using it to remove pet hair, simply rinse it under running water to remove the accumulated hair. You can also use a mild soap or detergent to help remove any lingering dirt or grime. Allow the glove to air dry completely before storing it. For gloves that are heavily soiled, you can soak them in a solution of warm water and dish soap for a few minutes before rinsing.
Q: Can I use this trick on my pet directly?
A: While you can technically use a rubber glove to groom your pet, it’s generally not the most effective or comfortable method. There are specialized grooming tools, such as brushes and combs, that are designed to remove loose hair from your pet’s coat without causing discomfort. Using a rubber glove on your pet may also cause static electricity, which can be unpleasant for them. However, some pets may enjoy the gentle massage-like sensation of the glove, so it’s worth trying to see if your pet tolerates it.
Q: How often should I use this trick to remove pet hair?
A: The frequency with which you use this trick will depend on how much your pet sheds and how clean you want to keep your home. For pets that shed heavily, you may need to use it daily or every other day. For pets that shed less, you may only need to use it once or twice a week. Regular maintenance will help prevent pet hair from accumulating and becoming difficult to remove.
Q: Can I use this trick on car interiors?
A: Yes, this trick is excellent for removing pet hair from car interiors, especially from seats and carpets. The rubber glove can easily reach into tight spaces and crevices, making it ideal for cleaning hard-to-reach areas. For best results, use a damp glove and work in small sections. You can also use a vacuum cleaner with a brush attachment to remove any remaining hair.
Q: Is this trick better than using a lint roller?
A: The rubber glove trick offers several advantages over using a lint roller. It’s more cost-effective, as you’re repurposing an item you likely already own. It’s also more environmentally friendly, as it eliminates the need for disposable lint roller sheets. Additionally, the rubber glove can be more effective at removing deeply embedded pet hair than a lint roller. However, lint rollers can be more convenient for quick touch-ups or for removing hair from delicate fabrics.
Q: Will this trick damage my furniture or clothing?
A: When used correctly, this trick should not damage your furniture or clothing. However, it’s important to use gentle pressure and avoid scrubbing too vigorously, especially on delicate fabrics. Always test the method on a small, inconspicuous area first to ensure that it doesn’t cause any damage or discoloration. If you’re concerned about damaging a particular item, consult the manufacturer’s care instructions or consider taking it to a professional cleaner.
Q: Where can I buy rubber gloves suitable for pet hair removal?
A: You can find suitable rubber gloves at most grocery stores, drugstores, and hardware stores. Look for gloves with a textured surface for optimal grip. You can also purchase rubber gloves online from various retailers. Consider buying a multi-pack so you always have a clean pair on hand for pet hair removal.
Leave a Comment