
Plant Pink Radish in Pots? Absolutely! Imagine harvesting vibrant, peppery pink radishes right from your balcony or patio. There’s something incredibly satisfying about growing your own food, and radishes are the perfect gateway vegetable for beginner gardeners. I’m so excited to share this easy and rewarding DIY project with you!
Radishes have a surprisingly long and fascinating history. Originating in Asia, they were cultivated even before the pyramids were built! The ancient Greeks and Romans highly valued them, not just for their taste but also for their medicinal properties. Today, radishes remain a popular and versatile vegetable enjoyed worldwide.
But why plant pink radish in pots, you might ask? Well, not everyone has access to a sprawling garden. Apartment living, limited space, or even poor soil conditions can make traditional gardening a challenge. That’s where container gardening comes in! Growing radishes in pots allows you to control the growing environment, ensuring optimal conditions for a bountiful harvest. Plus, it’s incredibly convenient – you can move your radish pots to chase the sun or protect them from harsh weather. This DIY trick is perfect for anyone who wants to enjoy fresh, homegrown radishes, regardless of their living situation. Let’s get started and bring a pop of pink to your plate!
Growing Pink Radishes in Pots: A Beginner’s Guide
Hey there, fellow gardening enthusiasts! Ever thought about growing your own radishes? They’re super easy, incredibly fast, and add a delightful peppery crunch to salads and snacks. Plus, those vibrant pink varieties are just so darn cute! I’m going to walk you through everything you need to know to successfully grow pink radishes in pots, even if you’re a complete beginner. Trust me, if I can do it, you can too!
What You’ll Need
Before we dive in, let’s gather our supplies. Here’s a checklist of everything you’ll need to get started:
* Radish Seeds: Obviously! Look for pink radish varieties like ‘French Breakfast’ (which is actually red and white, but close enough!), ‘Pink Beauty’, or ‘Cherry Belle’.
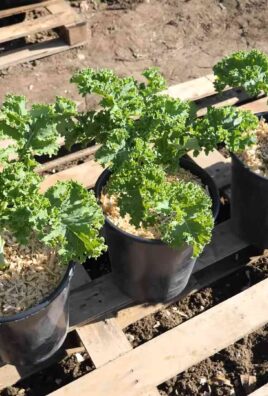
* Pots: Choose pots that are at least 6 inches deep. Radishes don’t need a ton of space, but they do need enough room to develop their roots. Make sure your pots have drainage holes!
* Potting Mix: Use a good quality potting mix. Avoid using garden soil, as it can compact in pots and hinder drainage.
* Watering Can or Hose: For keeping your radishes happy and hydrated.
* Optional:
* Fertilizer: A balanced liquid fertilizer can give your radishes a boost, but it’s not strictly necessary.
* Row Covers: To protect your seedlings from pests like flea beetles.
* Plant Labels: To keep track of what you’ve planted.
Choosing the Right Pot
The right pot makes all the difference. Here’s what I look for:
* Size: As I mentioned, at least 6 inches deep is ideal. A wider pot is better than a narrow one, as it gives the radishes more room to spread out.
* Material: Plastic, terracotta, or ceramic pots all work well. Terracotta pots dry out faster, so you’ll need to water more frequently.
* Drainage: This is crucial! Make sure your pot has drainage holes to prevent waterlogging, which can lead to root rot.
Preparing the Potting Mix
Good soil is the foundation of any successful garden. Here’s how I prepare my potting mix for radishes:
* Choose a Quality Mix: I prefer a mix that’s light, airy, and well-draining. Look for a mix that contains ingredients like peat moss, perlite, or vermiculite.
* Moisten the Mix: Before filling your pots, lightly moisten the potting mix. It should be damp but not soggy.
* Fill the Pots: Fill your pots with the moistened potting mix, leaving about an inch of space at the top.
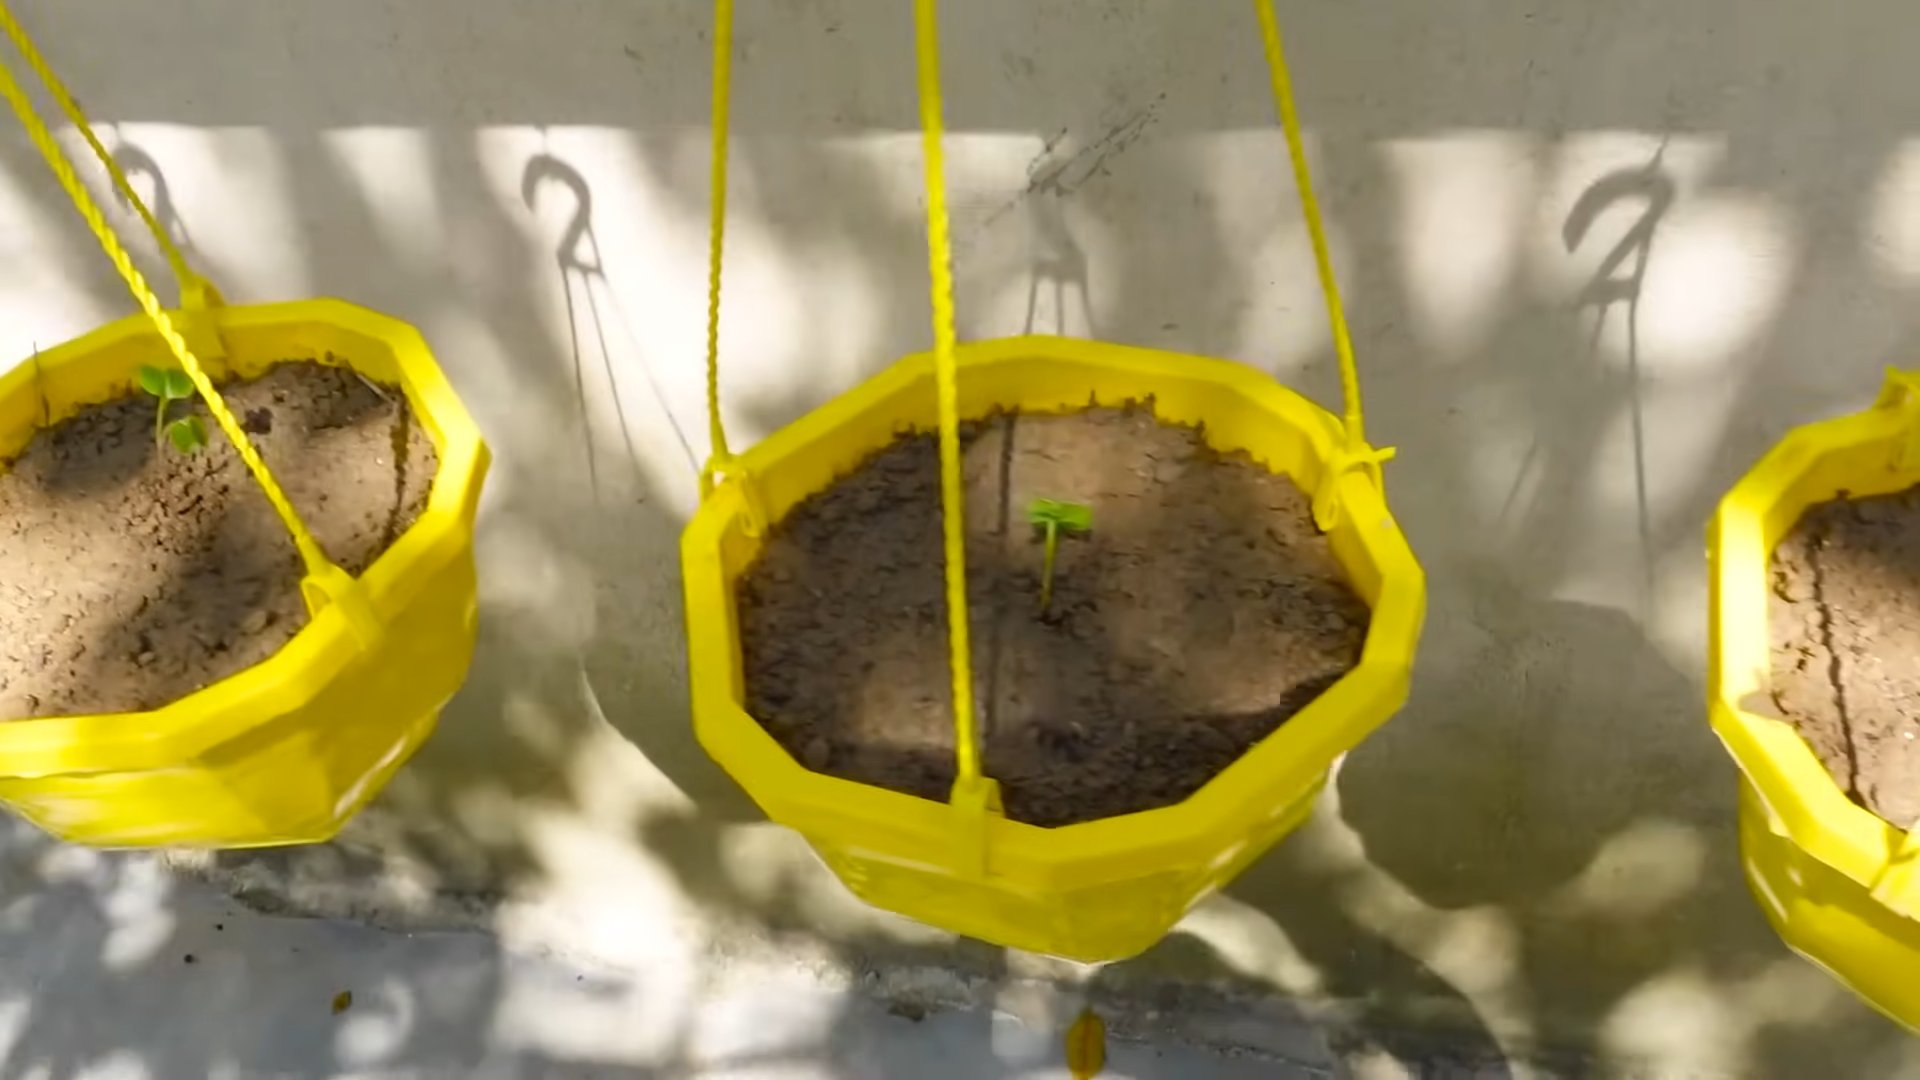
Planting the Radish Seeds
Now for the fun part! Here’s how to plant your radish seeds:
1. Sow the Seeds: Sprinkle the radish seeds evenly over the surface of the potting mix.
2. Cover the Seeds: Cover the seeds with a thin layer of potting mix, about 1/4 to 1/2 inch deep.
3. Water Gently: Water the soil gently to avoid disturbing the seeds. I like to use a watering can with a rose attachment to create a gentle shower.
4. Label Your Pots: Don’t forget to label your pots with the date and type of radish you planted. This will help you keep track of when to expect your harvest.
Caring for Your Radishes
Radishes are relatively low-maintenance, but they do need a few things to thrive.
1. Watering: Keep the soil consistently moist, but not waterlogged. Water when the top inch of soil feels dry to the touch. Radishes need consistent moisture to grow quickly and develop a crisp texture. Inconsistent watering can lead to tough, woody radishes.
2. Sunlight: Radishes need at least 6 hours of sunlight per day. Place your pots in a sunny location, such as a patio, balcony, or windowsill.
3. Thinning: Once your seedlings emerge, you’ll need to thin them out. This means removing some of the seedlings to give the remaining ones enough space to grow. Thin the seedlings to about 1-2 inches apart. Don’t just pull them out! Gently snip them off at the soil line with scissors to avoid disturbing the roots of the remaining seedlings.
4. Fertilizing (Optional): If you want to give your radishes a boost, you can fertilize them with a balanced liquid fertilizer every 2-3 weeks. Follow the instructions on the fertilizer label.
5. Pest Control: Radishes can be susceptible to pests like flea beetles, which can chew small holes in the leaves. If you notice flea beetles, you can cover your plants with row covers or spray them with an organic insecticide like neem oil.
Harvesting Your Radishes
The best part! Radishes are incredibly fast-growing, and you can usually harvest them in about 3-4 weeks.
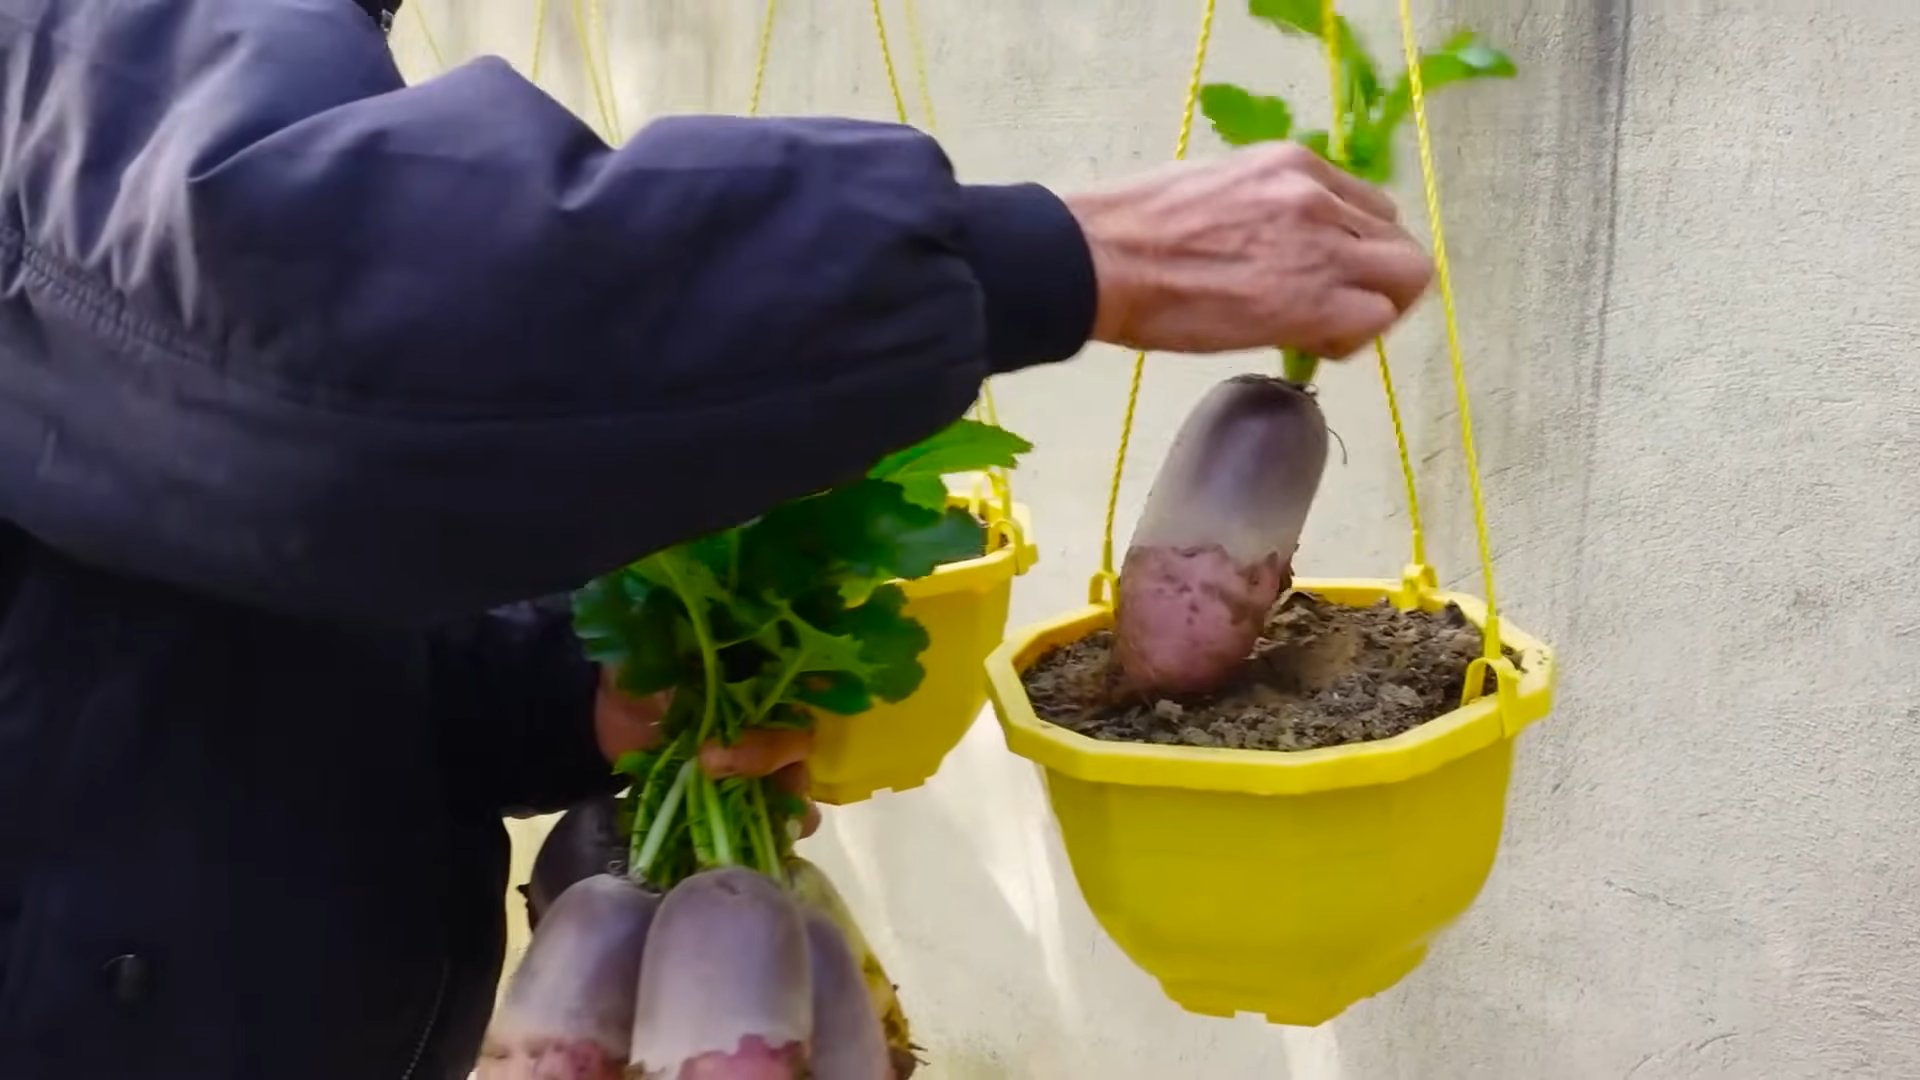
1. Check for Maturity: Radishes are ready to harvest when they are about 1 inch in diameter. You can gently brush away some of the soil around the base of the plant to check the size of the radish.
2. Harvest Carefully: To harvest, gently pull the radishes out of the soil. If the soil is dry, you may need to loosen it with a trowel first.
3. Enjoy Your Harvest: Wash your radishes thoroughly and enjoy them fresh in salads, sandwiches, or as a crunchy snack. You can also roast or sauté them for a more savory dish.
Troubleshooting
Even with the best care, you might encounter a few problems along the way. Here are some common issues and how to fix them:
* Radishes are not forming bulbs: This is usually caused by overcrowding, lack of sunlight, or inconsistent watering. Make sure you thin your seedlings properly, provide plenty of sunlight, and keep the soil consistently moist.
* Radishes are tough and woody: This is often caused by inconsistent watering or letting the radishes grow too large. Harvest your radishes when they are about 1 inch in diameter and keep the soil consistently moist.
* Radishes are splitting: This is usually caused by uneven watering. Avoid letting the soil dry out completely and then watering heavily.
* Pests are attacking my radishes: Flea beetles are a common pest of radishes. Cover your plants with row covers or spray them with an organic insecticide like neem oil.
Succession Planting for a Continuous Harvest
Want to enjoy fresh radishes all season long? Try succession planting! This means planting a new batch of seeds every 1-2 weeks. This will ensure that you have a continuous supply of radishes throughout the growing season.
Choosing the Right Variety
While I’ve focused on pink radishes, there are tons of varieties to choose from! Experiment with different colors, shapes, and flavors to find your favorites. Some popular varieties include:
* Cherry Belle: A classic round, red radish with a mild flavor.
* French Breakfast: An elongated, red and white radish with a slightly peppery flavor.
* Easter Egg: A mix of colorful radishes in shades of red, pink, purple, and white.
* Black Spanish: A large, black radish with a strong, pungent flavor.
* Watermelon Radish: A large, round radish with a green exterior and a bright pink interior.
Beyond the Bulb: Don’t Forget the Greens!
Did you know that radish greens are also edible? They have a peppery flavor similar to arugula and can be used in salads, soups, or stir-fries. Just make sure to wash them thoroughly before using.
Extra Tips for Radish Growing Success
* Cool Weather is Key: Radishes thrive in cool weather. Plant them in early spring or late summer for the best results.
* Don’t Over-Fertilize: Too much nitrogen can lead to lush foliage but small, underdeveloped radishes.
* Rotate Your Crops: Avoid planting radishes in the same spot year after year to prevent soilborne diseases.
* Have Fun! Gardening should be enjoyable. Don’t be afraid to experiment and learn from your mistakes.
Growing radishes in pots is a rewarding experience that anyone can enjoy. With a little bit of planning and care, you can have a bountiful harvest of fresh, flavorful radishes right at your fingertips. So get out there, get your hands dirty, and start growing! Happy gardening!
Conclusion
So, there you have it! Planting pink radishes in pots is not only achievable but also incredibly rewarding. This simple DIY trick transforms even the smallest balcony or patio into a vibrant, edible garden. Forget those bland, store-bought radishes; imagine the crisp, peppery bite of freshly harvested, homegrown pink radishes gracing your salads and snacks.
Why is this a must-try? Because it’s accessible, space-saving, and delivers a burst of flavor and color that you just can’t find anywhere else. It’s a fantastic project for beginners, a fun activity for families, and a satisfying way to connect with nature, even in the heart of the city. Plus, you’ll be amazed at how quickly these little gems grow, offering a near-instant gratification that’s hard to beat.
But the fun doesn’t stop there! Feel free to experiment with different radish varieties. While we’ve focused on pink radishes, consider adding some French Breakfast radishes for a milder flavor or even some black Spanish radishes for a bolder, more pungent kick. You can also try companion planting. Marigolds, for instance, can help deter pests, while chives can improve the flavor of your radishes.
Don’t be afraid to get creative with your container choices, too. While standard pots work perfectly well, you could also repurpose old buckets, baskets, or even grow bags. Just make sure whatever you choose has adequate drainage.
We’re confident that once you experience the joy of harvesting your own pink radishes, you’ll be hooked. It’s a simple pleasure that brings a touch of nature and a whole lot of flavor to your life.
So, grab your potting mix, your radish seeds, and get planting! We can’t wait to hear about your experiences. Share your photos, tips, and tricks in the comments below. Let’s create a community of radish-growing enthusiasts and spread the joy of homegrown goodness! Happy gardening!
Frequently Asked Questions (FAQs)
What kind of soil is best for planting pink radishes in pots?
Radishes thrive in well-draining, loose soil that is rich in organic matter. A good potting mix specifically formulated for vegetables is ideal. Avoid heavy clay soils, as they can hinder root development and result in misshapen radishes. You can also amend your potting mix with compost or well-rotted manure to provide extra nutrients. The pH level should ideally be between 6.0 and 7.0.
How often should I water my potted pink radishes?
Consistent moisture is crucial for radish growth. Water your radishes regularly, especially during hot and dry periods. The soil should be kept consistently moist but not waterlogged. Check the soil moisture by sticking your finger about an inch deep. If it feels dry, it’s time to water. Overwatering can lead to root rot, so ensure your pots have adequate drainage. A good rule of thumb is to water deeply when the top inch of soil feels dry.
How much sunlight do pink radishes need when grown in pots?
Radishes need at least 6 hours of direct sunlight per day to thrive. Choose a sunny location for your pots, such as a south-facing balcony or patio. If you don’t have a spot that receives full sun, you can supplement with grow lights. Insufficient sunlight can result in leggy plants and small, underdeveloped radishes.
How long does it take for pink radishes to mature in pots?
One of the great things about radishes is their quick growth rate. Most varieties of pink radishes mature in just 3-4 weeks. Check the seed packet for specific maturity times for your chosen variety. You can start harvesting radishes when they reach about an inch in diameter. Don’t let them get too large, as they can become pithy and develop a stronger, less desirable flavor.
What are some common pests and diseases that affect pink radishes in pots, and how can I prevent them?
Common pests that can affect radishes include flea beetles, aphids, and root maggots. To prevent flea beetles, cover your plants with row covers. Aphids can be controlled with insecticidal soap or a strong blast of water from a hose. Root maggots can be a more serious problem, so it’s important to use clean potting mix and practice crop rotation.
Diseases that can affect radishes include damping-off and white rust. Damping-off is a fungal disease that can kill seedlings, so it’s important to use sterile potting mix and avoid overwatering. White rust is another fungal disease that can cause white spots on the leaves. To prevent white rust, ensure good air circulation and avoid overhead watering.
Can I grow pink radishes in pots during the winter?
Yes, you can grow radishes in pots during the winter, especially in milder climates. However, you may need to provide some protection from frost. You can move your pots indoors or cover them with a frost blanket. In colder climates, you may need to grow your radishes indoors under grow lights.
How do I know when my pink radishes are ready to harvest?
You can harvest your pink radishes when they reach about an inch in diameter. Gently pull one up to check its size. If it’s the size you want, you can harvest the rest. Don’t let them get too large, as they can become pithy and develop a stronger, less desirable flavor.
Can I eat the radish greens?
Yes, radish greens are edible and nutritious! They have a peppery flavor similar to the radishes themselves. You can add them to salads, stir-fries, or soups. Make sure to wash them thoroughly before eating.
What are some good companion plants for pink radishes in pots?
Good companion plants for radishes include carrots, lettuce, spinach, and marigolds. Carrots help to break up the soil, making it easier for radishes to grow. Lettuce and spinach provide shade, which can help to keep the soil cool and moist. Marigolds deter pests.
How do I store harvested pink radishes?
To store harvested radishes, remove the greens and store the radishes in a plastic bag in the refrigerator. They will keep for about a week. You can also store the greens separately in a plastic bag in the refrigerator. They will keep for a few days.
Leave a Comment