
Restore Frying Pan Baking Soda: Is your trusty frying pan looking a little worse for wear? Are stubborn stains and burnt-on food clinging on for dear life, making you consider tossing it out? Don’t despair! Before you resign yourself to buying a new one, I’m here to share a simple, effective, and surprisingly satisfying DIY trick that will breathe new life into your beloved cookware.
For generations, resourceful cooks have relied on simple, natural ingredients to maintain their kitchen tools. Baking soda, a humble yet powerful household staple, has been a go-to cleaning agent for centuries. Its mild abrasive properties and ability to neutralize acids make it perfect for tackling tough messes without harsh chemicals. Think of your grandmother’s sparkling clean kitchen – chances are, baking soda played a starring role!
Let’s face it, a clean frying pan isn’t just about aesthetics. Burnt food residue can affect the taste of your meals and even leach harmful substances into your food. Plus, a clean pan heats more evenly, leading to better cooking results. This DIY trick to restore frying pan baking soda method is not only cost-effective but also environmentally friendly, allowing you to avoid harsh chemicals and extend the life of your cookware. I’m excited to show you how easy it is to bring your frying pan back to its former glory with just a few simple steps and the magic of baking soda!
Revive Your Scorched Frying Pan with Baking Soda: A DIY Guide
Okay, let’s face it, we’ve all been there. You’re cooking up a storm, get distracted for a minute, and BAM! Your favorite frying pan is now sporting a lovely layer of burnt-on gunk. Don’t despair! Before you toss it in the trash, let me show you how to bring it back to life using the magic of baking soda. This method is super effective, budget-friendly, and way less elbow grease than you might think.
What You’ll Need
Before we dive in, gather your supplies. You probably have most of these already:
* Baking Soda (the star of the show!)
* Water
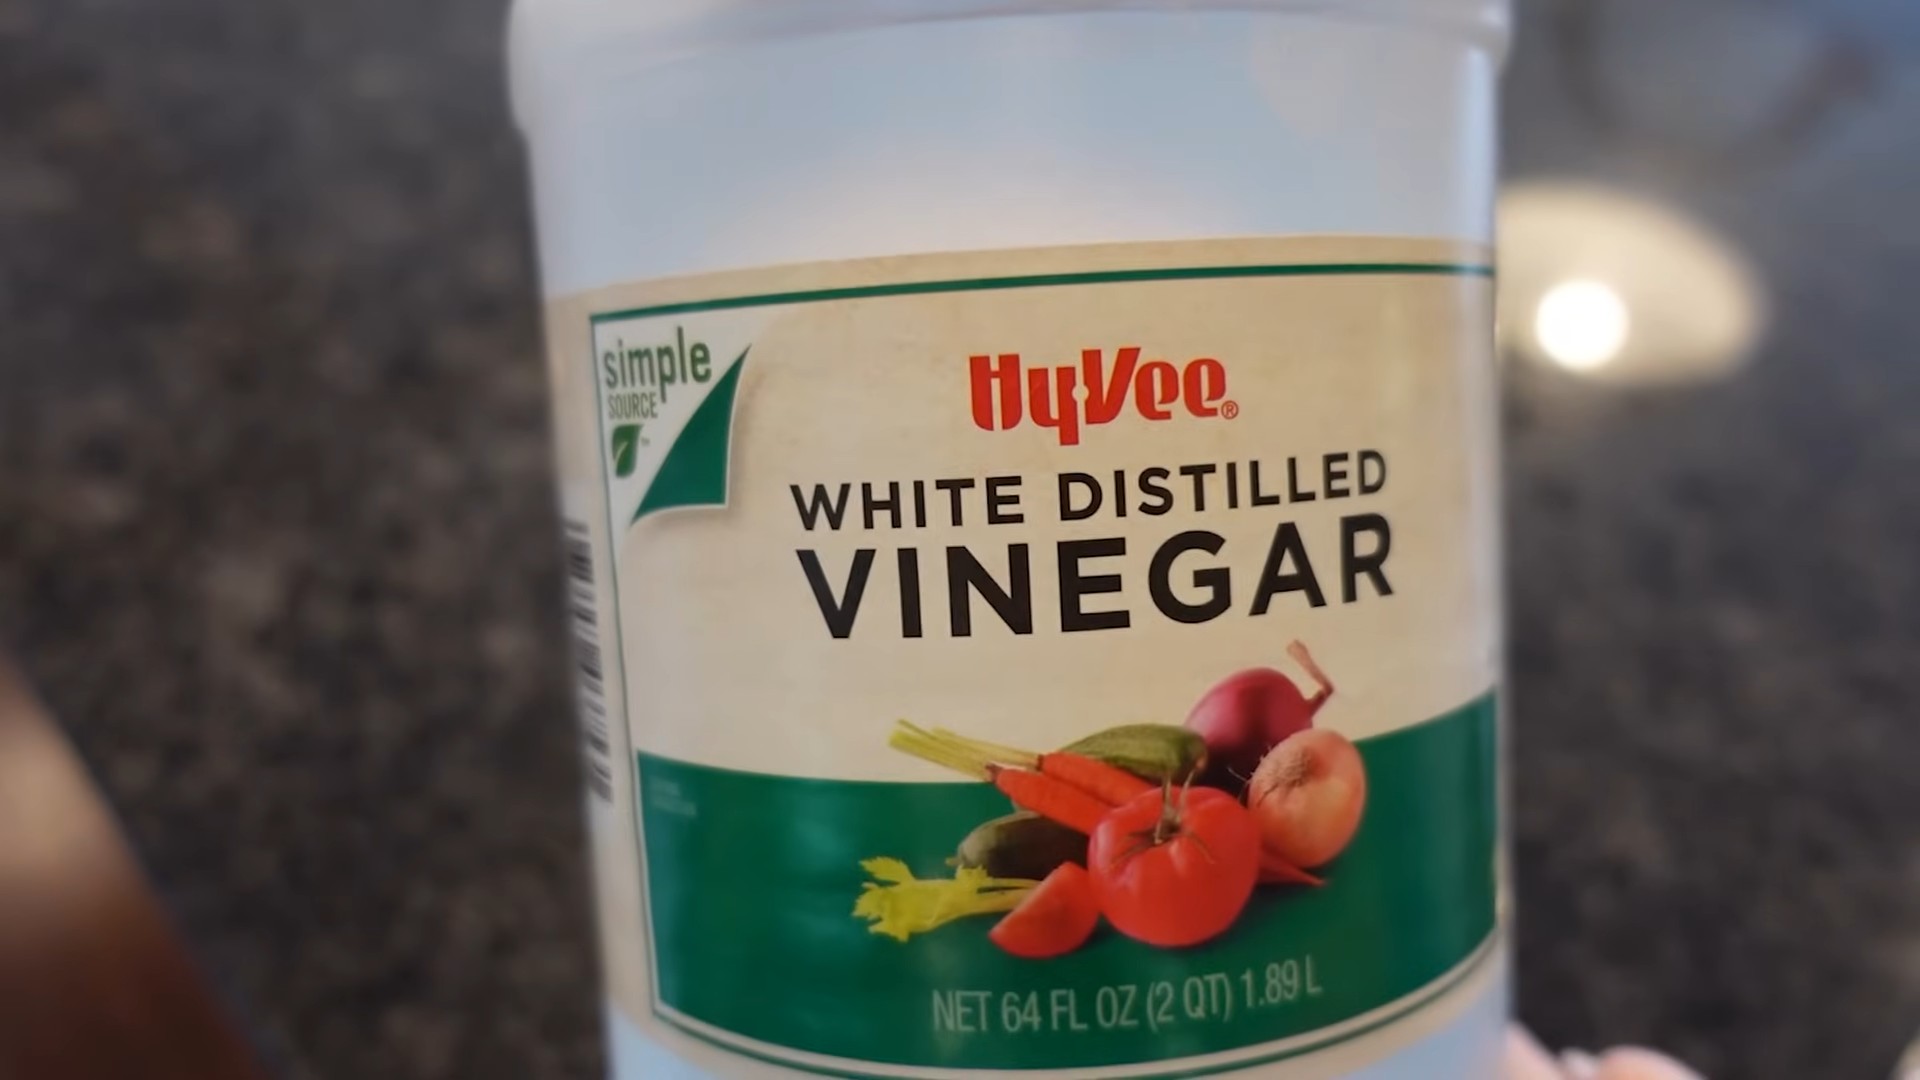
* White Vinegar (optional, but it adds some extra oomph)
* Dish Soap
* A Non-Abrasive Sponge or Scrub Brush (avoid steel wool or anything too harsh)
* A Soft Cloth or Paper Towels
* A Large Pot (big enough to submerge your pan, if needed)
* Tongs (for safely handling the hot pan)
* Gloves (optional, but recommended if you have sensitive skin)
The Baking Soda Paste Method: For Light to Medium Burns
This is my go-to method for everyday burnt-on food. It’s gentle yet effective.
1. Prepare the Pan: First, let the pan cool completely. Trying to clean a hot pan is a recipe for disaster (literally!). Once it’s cool, scrape off any loose bits of burnt food with a spatula or spoon. Get rid of as much of the surface debris as possible.
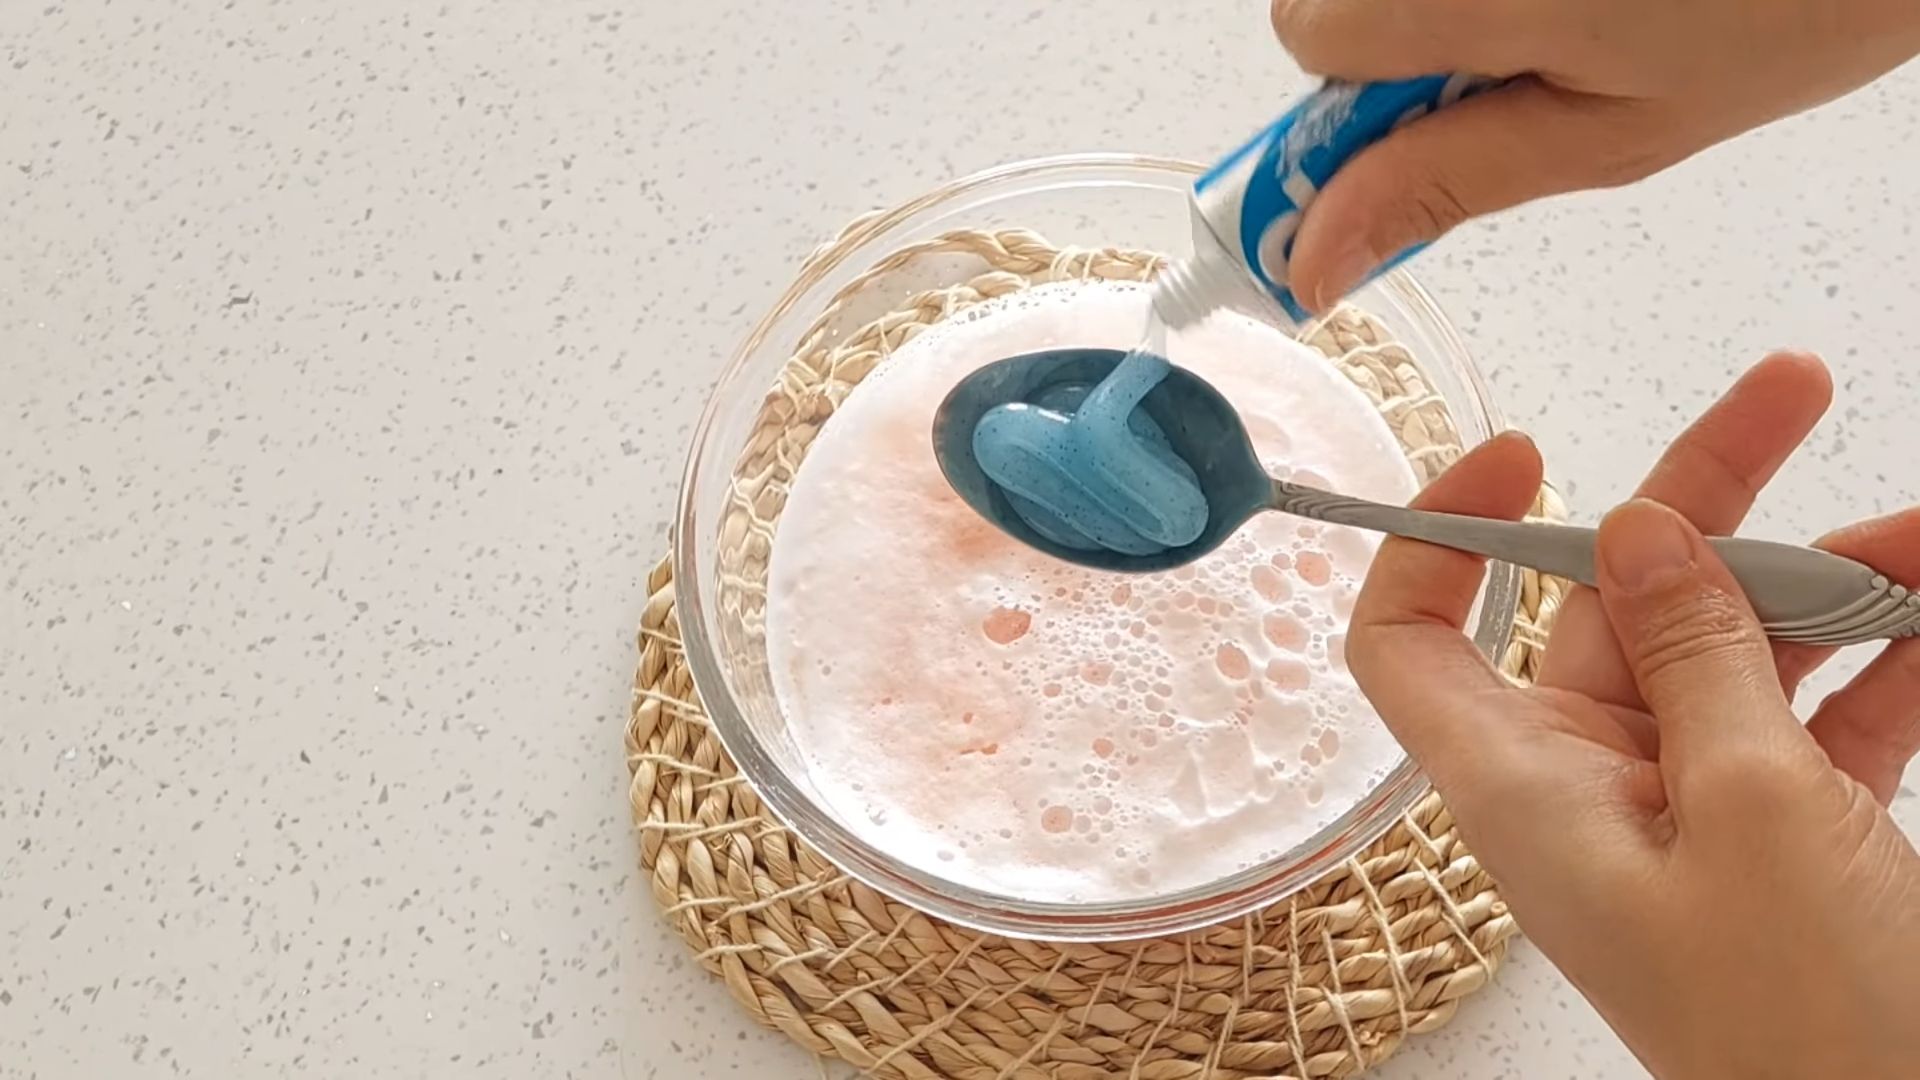
2. Make the Baking Soda Paste: In a bowl, mix baking soda with a little water to form a thick paste. The consistency should be similar to toothpaste. You want it thick enough to stick to the burnt areas. I usually start with about 1/2 cup of baking soda and add water a tablespoon at a time until I get the right consistency.
3. Apply the Paste: Generously apply the baking soda paste to all the burnt areas of the pan. Make sure you cover everything completely. Don’t be shy! The more paste you use, the better it will work.
4. Let it Sit: This is the key! Let the paste sit for at least 30 minutes, or even longer for tougher burns. I often leave it overnight for really stubborn messes. The baking soda needs time to loosen the burnt-on food.
5. Scrub Gently: After the soaking time, use your non-abrasive sponge or scrub brush to gently scrub the burnt areas. You should see the burnt food starting to lift away. Don’t scrub too hard, as you don’t want to scratch the surface of your pan.
6. Rinse and Repeat (if needed): Rinse the pan thoroughly with warm water. If there are still some stubborn spots, repeat steps 3-5. Sometimes, it takes a couple of applications to completely remove all the burnt residue.
7. Wash with Dish Soap: Once you’ve removed all the burnt food, wash the pan with dish soap and water as you normally would. This will remove any remaining baking soda residue and leave your pan sparkling clean.
8. Dry Thoroughly: Dry the pan completely with a soft cloth or paper towels. This will prevent rust and water spots.
The Baking Soda Boil Method: For Heavy-Duty Burns
If your pan is seriously scorched, the baking soda boil method is your best bet. This method involves boiling a baking soda solution in the pan to loosen the burnt-on food.
1. Prepare the Pan: As with the previous method, let the pan cool completely and scrape off any loose bits of burnt food.
2. Add Baking Soda and Water: Fill the pan with enough water to cover the burnt areas. Add 2 tablespoons of baking soda per cup of water. For example, if you’re using 4 cups of water, add 8 tablespoons of baking soda.
3. Boil the Solution: Bring the water and baking soda mixture to a boil over medium heat. Let it simmer for 15-30 minutes, or until the burnt food starts to loosen. Keep an eye on the pan and add more water if needed to prevent it from boiling dry.
4. Let it Cool: Carefully remove the pan from the heat and let it cool completely. The water will be hot, so be careful not to burn yourself.
5. Scrub Gently: Once the pan is cool enough to handle, use your non-abrasive sponge or scrub brush to gently scrub the burnt areas. The burnt food should now be much easier to remove.
6. Rinse and Repeat (if needed): Rinse the pan thoroughly with warm water. If there are still some stubborn spots, repeat steps 2-5.
7. Wash with Dish Soap: Wash the pan with dish soap and water as you normally would.
8. Dry Thoroughly: Dry the pan completely with a soft cloth or paper towels.
The Baking Soda and Vinegar Power Duo: For Extra Cleaning Power
For those extra-stubborn burns, adding vinegar to the mix can really boost the cleaning power. This method combines the abrasive action of baking soda with the acidity of vinegar to break down the burnt-on food.
1. Prepare the Pan: Cool the pan and scrape off any loose food particles.
2. Sprinkle with Baking Soda: Generously sprinkle baking soda over the burnt areas of the pan.
3. Add Vinegar: Pour a small amount of white vinegar over the baking soda. You’ll see it fizz – that’s the chemical reaction working its magic!
4. Let it Sit: Let the mixture sit for 30 minutes to an hour. The fizzing action will help to loosen the burnt-on food.
5. Add Water and Boil (Optional): For really tough burns, you can add water to the pan and bring it to a boil for 10-15 minutes after the soaking period. This will further loosen the burnt residue. Let it cool before proceeding.
6. Scrub Gently: Use your non-abrasive sponge or scrub brush to gently scrub the burnt areas.
7. Rinse and Repeat (if needed): Rinse the pan thoroughly with warm water. Repeat steps 2-6 if necessary.
8. Wash with Dish Soap: Wash the pan with dish soap and water.
9. Dry Thoroughly: Dry the pan completely.
Important Considerations for Different Pan Types
* Non-Stick Pans: Be extra gentle when cleaning non-stick pans. Avoid using abrasive scrub brushes or steel wool, as these can damage the non-stick coating. Stick to the baking soda paste method and use a soft sponge.
* Stainless Steel Pans: Stainless steel pans are more durable and can withstand a bit more scrubbing. However, still avoid using steel wool, as it can scratch the surface. The baking soda boil method and the baking soda and vinegar method work well for stainless steel.
* Cast Iron Pans: Cast iron pans require special care. Avoid soaking them in water for extended periods, as this can cause them to rust. After cleaning, make sure to dry the pan thoroughly and season it with oil to prevent rust. The baking soda paste method is generally safe for cast iron, but avoid using vinegar, as it can strip the seasoning.
* Enameled Pans: Enameled pans are delicate and can chip easily. Be gentle when cleaning them and avoid using abrasive cleaners or scrub brushes. The baking soda paste method is a good option for enameled pans.
Preventing Future Burns
Of course, the best way to deal with burnt-on food is to prevent it from happening in the first place! Here are a few tips:
* Keep an Eye on Your Cooking: This seems obvious, but it’s the most important thing you can do. Don’t get distracted while you’re cooking, especially when you’re using high heat.
* Use the Right Heat: Use the appropriate heat setting for the type of food you’re cooking. High heat is great for searing, but it’s also more likely to cause burning.
* Stir Frequently: Stir your food frequently to prevent it from sticking to the bottom of the pan.
* Add Liquid: If your food starts to stick, add a little bit of liquid (water, broth, or oil) to the pan. This will help to loosen the food and prevent it from burning.
* Clean Your Pan Immediately: The sooner you clean your pan after cooking, the easier it will be to remove any burnt-on food.
A Few Extra Tips and Tricks
* Lemon Juice: For a fresh scent and extra cleaning power, add a squeeze of lemon juice to your baking soda paste or boiling water.
* Salt: Adding a bit of salt to your baking soda paste can also help to scrub away stubborn stains.
* Patience is Key: Don’
Conclusion
So, there you have it! Reviving your beloved frying pan with the power of baking soda is not just a clever trick; it’s a kitchen revolution waiting to happen. We’ve all been there – staring at a pan coated in stubborn, burnt-on residue, contemplating whether to toss it and buy a new one. But before you reach for your wallet, remember this simple, effective, and incredibly affordable solution.
Why is this DIY trick a must-try? Because it saves you money, reduces waste, and breathes new life into a kitchen staple. Think about it: replacing frying pans can be costly, and those old pans end up contributing to landfill waste. By using baking soda, a readily available and environmentally friendly ingredient, you’re not only saving money but also making a conscious choice to reduce your environmental footprint. Plus, the satisfaction of restoring something you thought was beyond repair is incredibly rewarding.
But the benefits don’t stop there. This method is also incredibly versatile. While we’ve focused on restoring frying pans, the same principle can be applied to other cookware, like pots, baking sheets, and even oven racks. The abrasive yet gentle nature of baking soda makes it perfect for tackling a wide range of cleaning challenges without damaging the surface of your cookware.
Looking for variations? Absolutely! For particularly stubborn stains, try adding a splash of white vinegar to the baking soda paste. The fizzing action helps to loosen the grime and make it easier to scrub away. You can also experiment with different scrubbing tools. While a non-scratch sponge is generally recommended, a soft-bristled brush can be helpful for reaching tight corners and crevices. For cast iron pans, be sure to re-season them after cleaning to maintain their non-stick properties.
This baking soda method is a game-changer for anyone who wants to keep their cookware in top condition without resorting to harsh chemicals or expensive replacements. It’s a simple, effective, and eco-friendly way to tackle even the most challenging cleaning tasks.
We wholeheartedly encourage you to try this DIY trick and experience the magic of baking soda for yourself. Don’t just take our word for it – see the results firsthand! And more importantly, we want to hear about your experience. Did you find this method helpful? Did you discover any variations that worked particularly well for you? Share your tips, tricks, and before-and-after photos in the comments below. Let’s create a community of resourceful cooks who are passionate about keeping their kitchens clean and their cookware in tip-top shape.
So, grab your baking soda, your favorite scrubbing tool, and get ready to transform your frying pan. You’ll be amazed at the results! And remember, a clean pan is a happy pan, and a happy pan makes for happy cooking. Let’s get scrubbing!
Frequently Asked Questions (FAQ)
What kind of baking soda should I use?
Plain, regular baking soda (sodium bicarbonate) is all you need for this cleaning method. There’s no need to buy any special or expensive varieties. The baking soda you find in the baking aisle of your grocery store will work perfectly. Make sure it’s not baking powder, which is a different ingredient with different properties.
Can I use this method on non-stick pans?
Yes, you can use this method on non-stick pans, but with caution. The key is to be gentle and avoid using abrasive scrubbing tools that could scratch the non-stick coating. A soft sponge or microfiber cloth is recommended. Also, avoid prolonged soaking, as it can sometimes weaken the non-stick layer. If you’re concerned, test the method on a small, inconspicuous area of the pan first.
How often should I clean my frying pan with baking soda?
The frequency depends on how often you use your frying pan and how much residue builds up. For pans that are used frequently, a weekly cleaning with baking soda can help prevent stubborn stains from forming. For pans that are used less often, you can clean them as needed. It’s always best to address stains and residue as soon as possible to prevent them from becoming more difficult to remove.
What if the baking soda paste doesn’t remove all the burnt-on food?
If the baking soda paste isn’t enough to remove all the burnt-on food, you can try a few things. First, make sure you’re using enough baking soda and water to create a thick paste. Second, try adding a splash of white vinegar to the paste. The fizzing action can help to loosen the grime. Third, let the paste sit on the affected area for a longer period of time, even overnight for particularly stubborn stains. Finally, you can try using a more abrasive scrubbing tool, but be careful not to scratch the surface of your pan.
Can I use this method on cast iron pans?
Yes, you can use baking soda to clean cast iron pans, but there are a few important considerations. Baking soda can remove the seasoning from cast iron, so it’s important to re-season the pan after cleaning. To clean a cast iron pan with baking soda, use a gentle scrubbing motion and avoid prolonged soaking. After cleaning, dry the pan thoroughly and re-season it by coating it with a thin layer of oil and baking it in the oven at a high temperature.
Is baking soda safe to use on all types of cookware?
Baking soda is generally safe to use on most types of cookware, including stainless steel, glass, ceramic, and enamel. However, it’s always a good idea to test the method on a small, inconspicuous area of the pan first, especially if you’re unsure about the material. Avoid using baking soda on delicate or antique cookware, as it could potentially damage the finish.
Can I use this method to clean the outside of my frying pan?
Yes, you can use this method to clean the outside of your frying pan. The baking soda paste can help to remove grease, grime, and discoloration from the exterior of the pan. However, be careful not to get the paste inside the pan, especially if it’s a non-stick pan.
Does baking soda have any other uses in the kitchen?
Absolutely! Baking soda is a versatile ingredient with a wide range of uses in the kitchen. It can be used to deodorize your refrigerator, clean your microwave, remove stains from your countertops, and even leaven baked goods. It’s a true kitchen staple that every home cook should have on hand.
How do I prevent my frying pan from getting so dirty in the first place?
Prevention is always better than cure! To prevent your frying pan from getting so dirty, try these tips:
* Don’t overheat your pan. Overheating can cause food to burn and stick to the surface.
* Use enough oil or cooking spray. This will help to prevent food from sticking.
* Clean your pan immediately after use. The longer you wait, the harder it will be to remove the residue.
* Avoid using metal utensils on non-stick pans. Metal utensils can scratch the non-stick coating.
* Store your pans properly. Stacking pans on top of each other can scratch the surface.
What if I don’t have baking soda? Are there any alternatives?
While baking soda is the most effective and readily available option, you can try a few alternatives. A mixture of salt and water can sometimes work for removing light stains. You can also try using a commercial oven cleaner, but be sure to follow the instructions carefully and wear gloves to protect your hands. However, for the best results and a safe, natural cleaning solution, baking soda is the way to go. The power of baking soda is undeniable!


Leave a Comment