
Shaving Foam Hacks: Who knew that fluffy cloud of shaving cream hiding in your bathroom cabinet held the key to unlocking a world of DIY magic? I certainly didn’t, until I stumbled upon this treasure trove of clever uses! Forget just softening your skin before a shave; this humble product is about to become your new best friend for everything from cleaning to crafting.
While shaving foam’s primary purpose has always been grooming, its unique properties – its foamy texture, gentle cleansing agents, and ability to lift dirt – have been recognized and repurposed throughout the years. Think of it as a modern-day, multi-purpose cleaning solution, echoing the resourcefulness of generations past who found innovative uses for everyday items.
In today’s busy world, we’re all looking for ways to simplify our lives and save a little money. That’s where these shaving foam hacks come in! Imagine effortlessly removing stubborn stains, creating stunning marbled art, or even preventing foggy mirrors – all with a product you already have on hand. This article is packed with easy-to-follow DIY tricks that will not only save you time and money but also unleash your inner creativity. Get ready to be amazed by the surprising versatility of shaving foam!
Unlock the Magic: Shaving Foam Hacks You Need to Know!
Hey there, DIY enthusiasts! Get ready to be amazed because today, we’re diving deep into the surprisingly versatile world of shaving foam. Yes, you read that right! That fluffy stuff you use (or your partner uses!) for shaving has a ton of hidden talents. I’m going to show you some incredible shaving foam hacks that will simplify your life and maybe even save you some money. Let’s get started!
Cleaning Powerhouse: Shaving Foam as a Stain Remover
Forget expensive stain removers! Shaving foam is a gentle yet effective way to tackle various stains around your home. Its foamy texture helps lift dirt and grime without damaging surfaces.
Here’s the lowdown:
* Gentle on Fabrics: Shaving foam is safe for most fabrics, making it ideal for clothing, carpets, and upholstery.
* Effective on Various Stains: It works wonders on everything from makeup and food spills to grease and even some ink stains.
* Easy to Use: Application is a breeze – just apply, let it sit, and wipe away!
Step-by-Step Stain Removal Guide:
1. Identify the Stain: First, figure out what kind of stain you’re dealing with. This will help you gauge how long to let the shaving foam sit.
2. Apply Shaving Foam: Generously apply shaving foam directly onto the stain. Make sure the entire stained area is covered.
3. Gentle Massage: Using your fingers or a soft cloth, gently massage the shaving foam into the stain. This helps the foam penetrate the fibers and lift the stain.
4. Wait Patiently: Let the shaving foam sit for about 15-30 minutes. For tougher stains, you might need to let it sit a bit longer, even up to an hour. Keep an eye on it to make sure it doesn’t dry out completely.
5. Wipe Away the Foam: After the waiting period, use a clean, damp cloth to wipe away the shaving foam. Rinse the cloth frequently to remove the lifted stain.
6. Inspect and Repeat (If Necessary): Check if the stain is completely gone. If not, repeat the process. For stubborn stains, you might need to try a different stain removal method if the shaving foam doesn’t completely do the trick.
7. Air Dry: Allow the cleaned area to air dry completely. Avoid using a dryer, as heat can sometimes set the stain further.
Mirror, Mirror: Shaving Foam as a Fog Preventer
Tired of foggy mirrors after a hot shower? Shaving foam to the rescue! This hack is super simple and incredibly effective.
Why it works:
* Creates a Protective Barrier: Shaving foam creates a thin, invisible barrier on the mirror’s surface, preventing condensation from forming.
* Long-Lasting Effect: A single application can keep your mirror fog-free for several days, even weeks!
* Crystal-Clear Reflection: Say goodbye to blurry reflections and hello to a clear view after every shower.
Fog-Free Mirror in Minutes:
1. Apply a Thin Layer: Apply a small amount of shaving foam to the entire surface of your mirror. You don’t need a lot – a thin layer is all it takes.
2. Spread Evenly: Using a clean, dry cloth or paper towel, spread the shaving foam evenly across the mirror. Make sure to cover every inch of the surface.
3. Wipe Away the Residue: Now, here’s the key: use a clean, dry cloth to wipe away the shaving foam completely. You want to remove all visible traces of the foam, leaving only a thin, invisible film behind.
4. Admire Your Work: That’s it! Your mirror is now fog-proof. Enjoy your clear reflection after your next shower.
Sparkling Surfaces: Shaving Foam as a Cleaner
Shaving foam isn’t just for stains and mirrors; it’s also a fantastic all-purpose cleaner for various surfaces around your home.
Where to use it:
* Bathroom Fixtures: Clean sinks, faucets, and shower doors with ease.
* Kitchen Counters: Wipe away grease and grime from kitchen countertops.
* Stainless Steel Appliances: Give your stainless steel appliances a streak-free shine.
Cleaning with Shaving Foam:
1. Apply to the Surface: Apply a generous amount of shaving foam to the surface you want to clean.
2. Let it Sit: Allow the shaving foam to sit for a few minutes to loosen dirt and grime.
3. Wipe Clean: Use a damp cloth or sponge to wipe away the shaving foam and dirt.
4. Rinse (If Necessary): If there’s any residue left behind, rinse the surface with clean water.
5. Dry with a Clean Cloth: Dry the surface with a clean, dry cloth for a sparkling finish.
DIY Fun: Shaving Foam for Sensory Play
Looking for a fun and engaging activity for kids? Shaving foam is a safe and versatile material for sensory play.
Why it’s great for kids:
* Safe and Non-Toxic: Most shaving foams are non-toxic, making them safe for children to play with (always supervise, of course!).
* Tactile Experience: The fluffy texture provides a stimulating tactile experience for kids.
* Creative Outlet: Shaving foam can be used for various creative activities, such as painting, sculpting, and sensory bins.
Sensory Play Ideas:
1. Shaving Foam Painting: Mix shaving foam with food coloring to create colorful paints. Let your kids paint on paper, trays, or even in the bathtub (easy cleanup!).
2. Shaving Foam Sensory Bin: Fill a bin with shaving foam and add toys, utensils, and other objects for kids to explore.
3. Shaving Foam Sculptures: Let your kids sculpt with shaving foam on a tray or table. They can create shapes, animals, or anything their imagination comes up with.
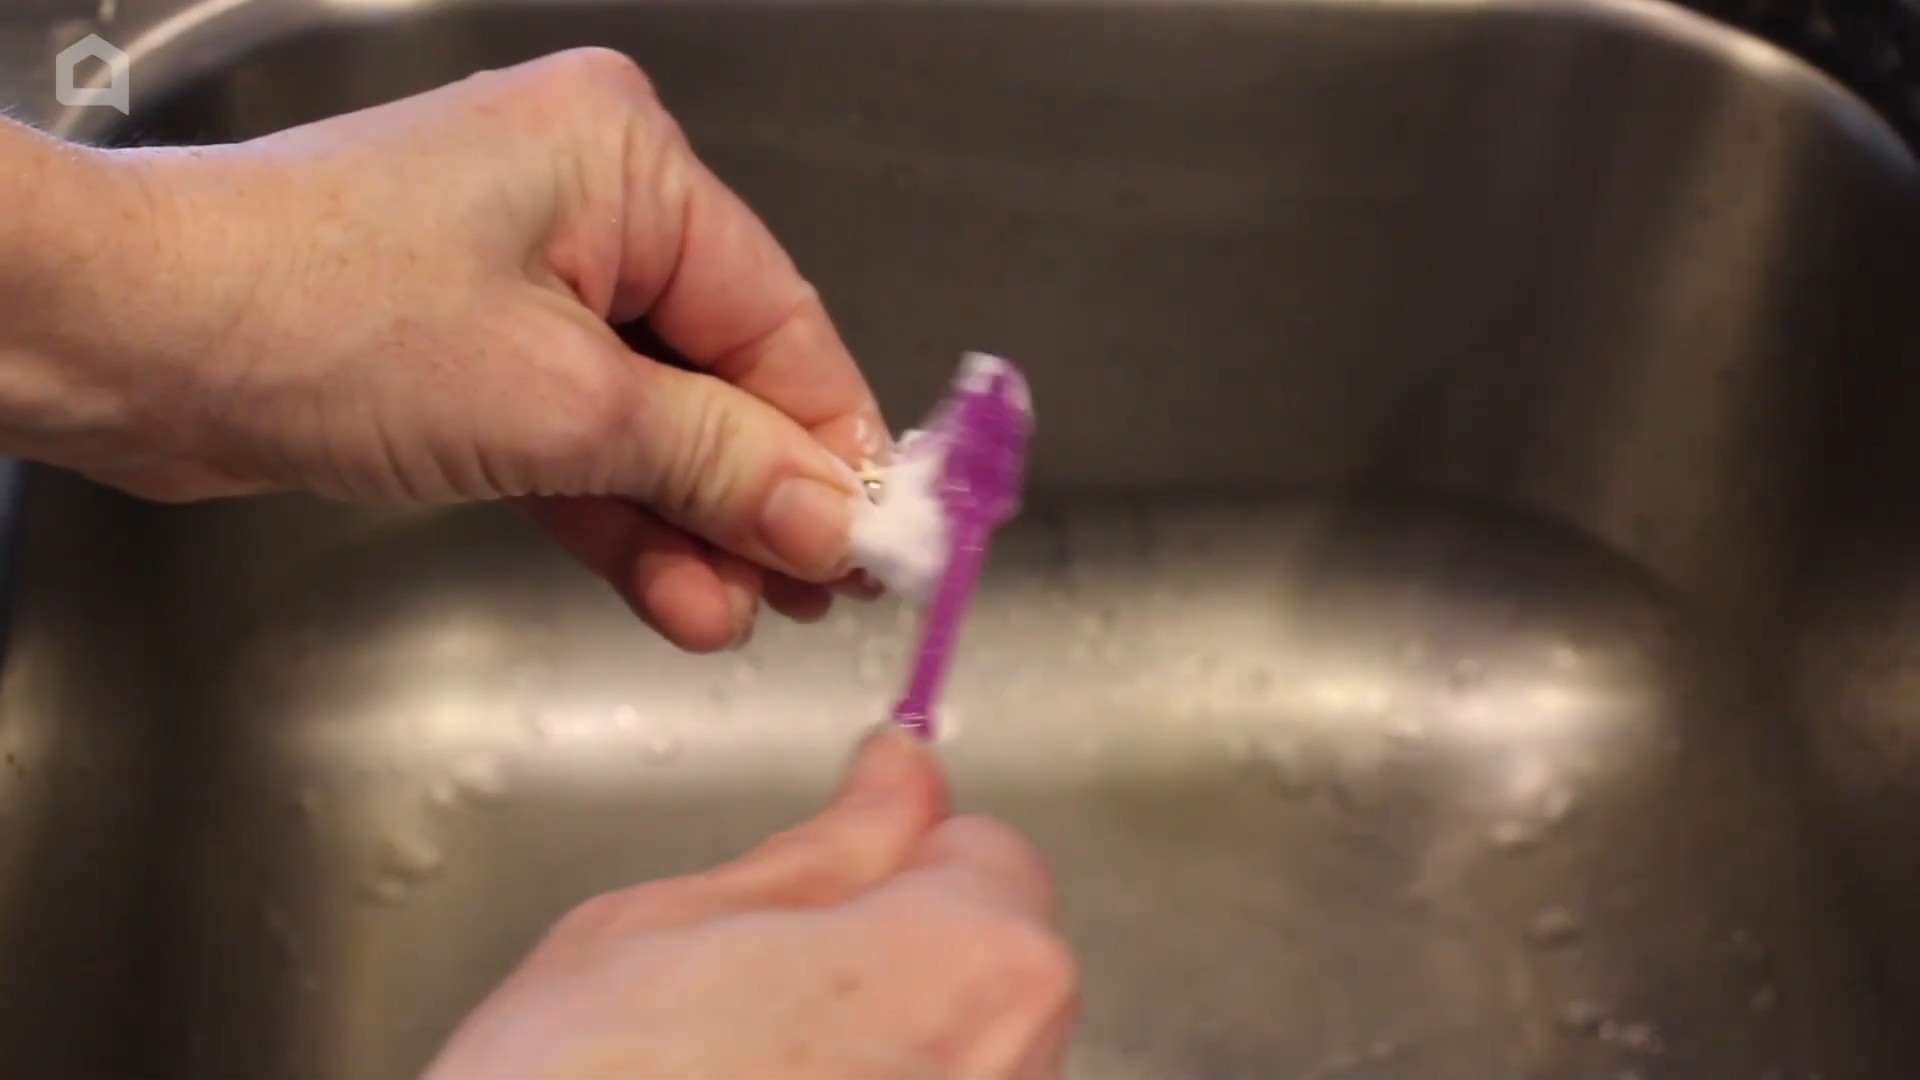
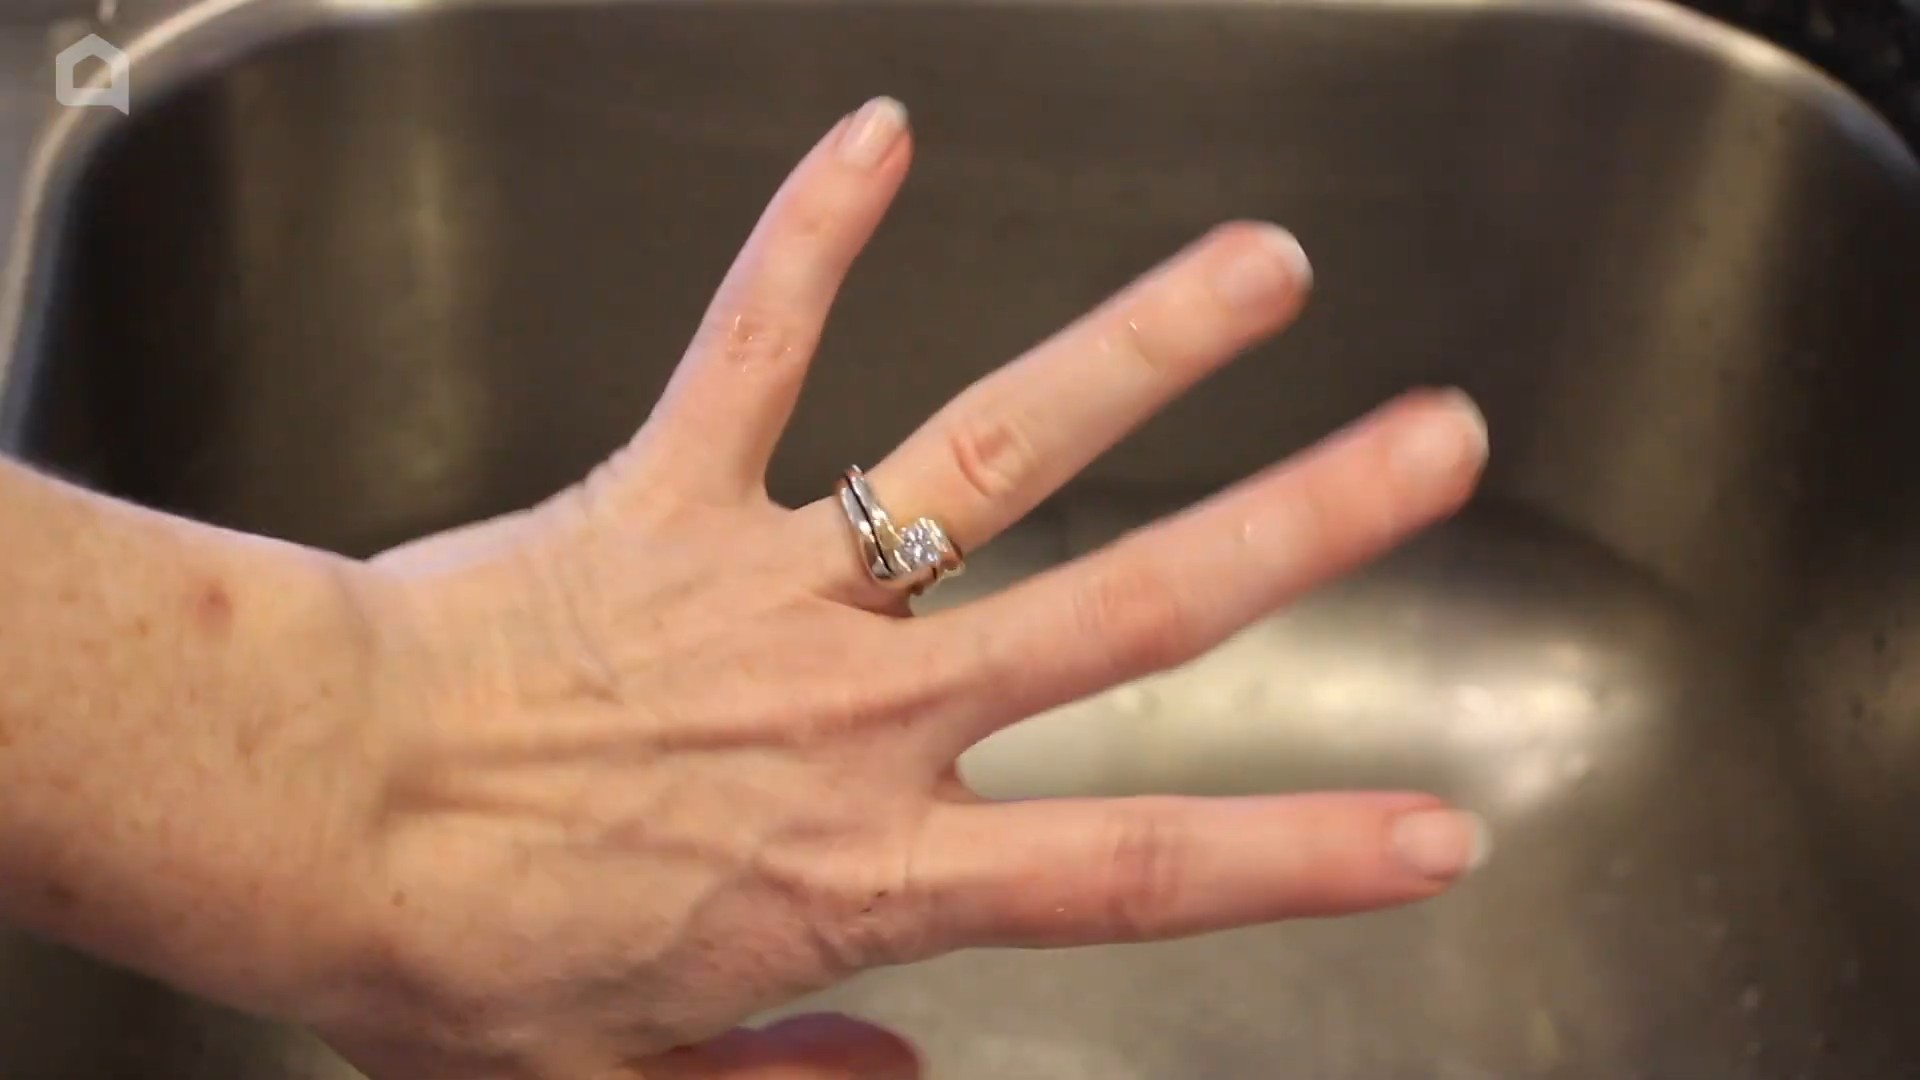
Jewelry Sparkle: Shaving Foam as a Jewelry Cleaner
Want to give your jewelry a quick and easy shine? Shaving foam can help!
How it works:
* Gentle Cleaning: Shaving foam is gentle enough to clean delicate jewelry without scratching or damaging it.
* Removes Tarnish: It helps remove tarnish and buildup, restoring your jewelry’s sparkle.
* Easy Application: The foamy texture makes it easy to apply and clean even intricate jewelry pieces.
Jewelry Cleaning Steps:
1. Apply Shaving Foam: Apply a small amount of shaving foam to your jewelry.
2. Gently Rub: Gently rub the shaving foam into the jewelry with your fingers or a soft brush.
3. Rinse Thoroughly: Rinse the jewelry thoroughly with warm water to remove all traces of shaving foam.
4. Dry with a Soft Cloth: Dry the jewelry with a soft, lint-free cloth.
Soften Leather: Shaving Foam as a Leather Conditioner
Did you know shaving foam can also be used to condition leather? It’s a great way to keep your leather goods soft and supple.
Why it works:
* Moisturizes Leather: Shaving foam contains ingredients that help moisturize and soften leather.
* Restores Shine: It can help restore the natural shine of leather goods.
* Prevents Cracking: Regular conditioning with shaving foam can help prevent leather from cracking and drying out.
Leather Conditioning Guide:
1. Apply a Small Amount: Apply a small amount of shaving foam to a clean, soft cloth.
2. Rub into Leather: Gently rub the shaving foam into the leather in a circular motion.
3. Let it Sit: Allow the shaving foam to sit for a few minutes to absorb into the leather.
4. Wipe Away Excess: Wipe away any excess shaving foam with a clean, dry cloth.
5. Buff to Shine: Buff the leather with a clean, dry cloth to restore its shine.
Bonus Tip: Soothing Sunburns
While not a primary use, some people find that applying a thin layer of shaving foam to mild sunburns can provide a cooling and soothing effect. The moisturizing properties can help alleviate dryness and discomfort. However, always consult a doctor for severe sunburns.
Important Considerations:
* Test First: Before using shaving foam on any surface or material, test it on a small, inconspicuous area to ensure it doesn’t cause any damage or discoloration.
* Use Plain Shaving Foam: Avoid using shaving foams that contain dyes, fragrances, or other additives, as these can potentially stain or damage surfaces. Opt for plain, white shaving foam for the best results.
* Supervise Children: When using shaving foam for sensory play
Conclusion
So, there you have it! These shaving foam hacks are more than just quirky internet trends; they’re genuinely useful, time-saving, and cost-effective solutions to everyday problems. From banishing stubborn stains to creating mesmerizing marbled art, the versatility of this humble bathroom staple is truly remarkable. We’ve explored how shaving foam can transform your cleaning routine, unleash your inner artist, and even provide sensory play for children.
Why is this a must-try? Because it simplifies your life. Imagine effortlessly removing grease from your oven door, creating stunning artwork without expensive supplies, or providing your child with hours of safe, engaging fun – all with a product you likely already have in your bathroom. It’s about resourcefulness, creativity, and discovering the hidden potential in the ordinary.
But don’t stop there! The possibilities are endless. Experiment with different types of shaving foam – gel, cream, or even sensitive skin formulas – to see which works best for each application. For stain removal, consider adding a few drops of essential oil like lemon or tea tree for extra cleaning power and a fresh scent. When creating marbled paper, try using food coloring instead of paint for a vibrant, edible-safe option. And for sensory play, add glitter, small toys, or even different textures like rice or beans to the shaving foam for a truly engaging experience.
We encourage you to dive in and try these shaving foam hacks for yourself. Don’t be afraid to get creative and adapt them to your own needs and preferences. The beauty of these tricks lies in their simplicity and adaptability. Once you start exploring, you’ll be amazed at the number of ways you can incorporate shaving foam into your daily life.
More importantly, we want to hear about your experiences! Did you discover a new and innovative use for shaving foam? Did you find a variation that worked particularly well? Share your tips, tricks, and photos in the comments below. Let’s build a community of shaving foam enthusiasts and unlock even more of its hidden potential together. Your insights could inspire others and help us all discover new and exciting ways to make life a little easier and a lot more fun. So go ahead, grab that can of shaving foam, and get ready to be amazed!
Frequently Asked Questions (FAQs)
1. What type of shaving foam works best for these hacks?
Generally, most types of shaving foam will work for these hacks, but the consistency can make a difference depending on the application. For cleaning, a thicker, creamier foam tends to cling better to surfaces and provide more cleaning power. For art projects, a lighter, airier foam might be easier to spread and manipulate. Gel shaving foam can also work, but it may dry out faster than cream-based foams. Experiment with different types to see what works best for your specific needs. Sensitive skin formulas are generally safe for most applications, especially when working with children.
2. Is shaving foam safe to use on all surfaces?
While shaving foam is generally safe, it’s always a good idea to test it on an inconspicuous area first, especially on delicate or sensitive surfaces like painted walls or antique furniture. Avoid using it on electronics or anything that could be damaged by moisture. For cleaning upholstery, be sure to blot the area dry after applying the shaving foam to prevent water stains.
3. Can I use shaving cream instead of shaving foam?
Yes, shaving cream can be used as a substitute for shaving foam in most of these hacks. The main difference is the consistency. Shaving cream is typically thicker and richer than shaving foam, so you may need to use a little less. The results should be similar, but you may need to adjust the application slightly.
4. How do I remove shaving foam residue after cleaning?
After using shaving foam for cleaning, simply wipe the surface with a damp cloth to remove any residue. For stubborn residue, you can use a mild solution of soap and water. Be sure to dry the surface thoroughly to prevent water spots or mildew growth.
5. Is shaving foam safe for children to play with?
Shaving foam is generally considered safe for children to play with, but adult supervision is always recommended. Choose a sensitive skin formula to minimize the risk of irritation. Avoid getting shaving foam in the eyes or mouth. If your child has sensitive skin or allergies, it’s best to do a patch test on a small area of skin before allowing them to play with shaving foam.
6. How long does shaving foam last once opened?
Most shaving foam products have a shelf life of about two to three years once opened. However, the foam may start to lose its consistency or effectiveness over time. If the foam appears discolored or has a strange odor, it’s best to discard it.
7. Can I add essential oils to shaving foam for cleaning?
Yes, adding a few drops of essential oils to shaving foam can enhance its cleaning power and add a pleasant scent. Lemon, tea tree, and lavender essential oils are popular choices for cleaning. Be sure to use pure essential oils and avoid adding too much, as some essential oils can be irritating to the skin.
8. What are some other creative uses for shaving foam?
Beyond cleaning and art projects, shaving foam can also be used to:
* Defog mirrors in the bathroom.
* Shine stainless steel appliances.
* Remove makeup stains from clothing.
* Create a temporary “snow” effect for holiday decorations.
* Lubricate squeaky hinges.
9. Where can I buy shaving foam in bulk?
Shaving foam is readily available at most drugstores, supermarkets, and online retailers. If you plan to use it frequently for these hacks, consider buying it in bulk to save money. Warehouse clubs like Costco and Sam’s Club often offer shaving foam in bulk at discounted prices.
10. How can I dispose of shaving foam properly?
Empty shaving foam cans can usually be recycled. Check the label on the can for specific recycling instructions. If the can is not empty, you can dispose of it in your regular trash. Do not puncture or incinerate the can.
Leave a Comment