
Soilless Gardening Techniques: Ever dreamt of a lush, thriving garden bursting with fresh vegetables and vibrant flowers, even if you’re short on space or cursed with less-than-ideal soil? Well, dream no more! I’m here to let you in on a secret – you don’t actually need soil to grow amazing plants.
For centuries, cultures around the globe have experimented with alternative growing methods. From the floating gardens of the Aztecs to modern hydroponic farms, the idea of nurturing plants without traditional soil has captivated innovators and gardeners alike. But you don’t need to be an expert to get started!
In today’s world, where urban living is increasingly common and concerns about soil health are growing, mastering soilless gardening techniques is more relevant than ever. Imagine harvesting fresh herbs from your balcony, enjoying homegrown tomatoes on your patio, or cultivating a stunning indoor garden, all without the mess and limitations of soil. This DIY guide will equip you with the knowledge and simple hacks to unlock the potential of soilless gardening, regardless of your experience level. Get ready to ditch the dirt and embrace a cleaner, more efficient, and incredibly rewarding way to grow!
DIY Hydroponic Herb Garden: From Seed to Salad on Your Windowsill
Hey there, fellow plant enthusiasts! Ever dreamed of having fresh herbs right at your fingertips, without the mess of soil? Well, get ready to ditch the dirt and dive into the wonderful world of hydroponics! I’m going to walk you through building your very own simple hydroponic herb garden, perfect for a sunny windowsill. It’s easier than you think, and the results are incredibly rewarding.
What is Hydroponics, Anyway?
Hydroponics is basically growing plants without soil. Instead of getting nutrients from the earth, the roots are bathed in a nutrient-rich water solution. This allows the plants to focus their energy on growing above ground, leading to faster growth and bigger yields. Plus, it’s super space-saving, making it ideal for apartment dwellers or anyone with limited outdoor space.
Materials You’ll Need:
Before we get started, let’s gather our supplies. Don’t worry, you probably have a lot of this stuff lying around already!
* Two plastic containers (one opaque, one clear or translucent). The opaque one will be the reservoir, and the clear one will hold the plants. Make sure the clear container can fit inside the opaque one with a few inches of space below. I used a large yogurt container for the opaque one and a clear plastic storage container for the plant holder.
* Net pots (small plastic pots with holes in the sides and bottom). These will hold your plants and allow the roots to access the nutrient solution. You can find these at most garden centers or online.
* Hydroponic growing medium (like rockwool cubes, coco coir, or clay pebbles). This provides support for the plants and helps retain moisture. I prefer coco coir because it’s sustainable and holds water well.
* Hydroponic nutrient solution. This is the food for your plants! You can buy pre-mixed solutions specifically formulated for herbs.
* Air pump and air stone. This will oxygenate the nutrient solution, which is crucial for healthy root growth.
* Air tubing. To connect the air pump to the air stone.
* Drill with a hole saw attachment (the size of your net pots).
* Seedlings or seeds. Choose your favorite herbs! Basil, mint, chives, parsley, and oregano are all great choices for hydroponics.
* pH testing kit (optional, but recommended). Maintaining the correct pH level is important for nutrient absorption.
* Measuring cups and spoons. For mixing the nutrient solution.
* Water. Preferably filtered or distilled.
Building Your Hydroponic System: Step-by-Step
Okay, let’s get our hands dirty (well, not really, since it’s hydroponics!). Follow these steps to build your own windowsill herb garden:
1. Prepare the Top Container: Take your clear or translucent plastic container and use the hole saw attachment on your drill to create holes in the lid. The holes should be slightly smaller than the diameter of your net pots, so they sit snugly in place. Space the holes evenly across the lid, allowing enough room for each plant to grow. I usually aim for about 3-4 inches between each hole. Be careful when drilling, and wear safety glasses!
2. Prepare the Reservoir: This is the opaque container. We don’t need to drill any holes in this one. Its job is to hold the nutrient solution and protect it from light, which can promote algae growth.
3. Assemble the Air Pump System: Connect one end of the air tubing to the air pump and the other end to the air stone. Place the air stone in the bottom of the opaque container (the reservoir). This will provide oxygen to the nutrient solution.
4. Prepare the Net Pots: Place your chosen hydroponic growing medium (rockwool, coco coir, or clay pebbles) into the net pots. If you’re using rockwool, soak it in water for a few hours before using it. If you’re using coco coir, rinse it thoroughly to remove any excess salts.
5. Plant Your Seedlings or Seeds: If you’re using seedlings, gently remove them from their original containers and place them in the net pots, nestled in the growing medium. If you’re starting from seeds, sow a few seeds in each net pot, following the instructions on the seed packet. I like to pre-sprout my seeds in a damp paper towel before transferring them to the net pots.
6. Place the Net Pots in the Lid: Carefully place the net pots into the holes you drilled in the lid of the clear container. Make sure they are secure and won’t fall through.
7. Mix the Nutrient Solution: Follow the instructions on your hydroponic nutrient solution to mix it properly. Use filtered or distilled water for best results. I always double-check the instructions to make sure I’m using the correct ratio of nutrients to water.
8. Fill the Reservoir: Pour the nutrient solution into the opaque container (the reservoir). The level of the solution should be high enough to reach the bottom of the net pots, allowing the growing medium to wick up the moisture. But don’t overfill it! You want to leave some space for air circulation.
9. Assemble the System: Place the clear container (with the net pots and plants) inside the opaque container (the reservoir). Make sure the air stone is submerged in the nutrient solution.
10. Plug in the Air Pump: Plug in the air pump and make sure it’s working properly. You should see bubbles rising from the air stone in the reservoir.
11. Place in a Sunny Location: Place your hydroponic herb garden on a sunny windowsill or under a grow light. Herbs need plenty of light to thrive.
12. Monitor and Maintain: Check the nutrient solution level regularly and add more as needed. Change the nutrient solution every 1-2 weeks to prevent nutrient buildup and algae growth. Also, monitor the pH level of the solution and adjust it as necessary. Most herbs prefer a pH between 5.5 and 6.5.
Troubleshooting Tips:
Even with the best planning, sometimes things don’t go exactly as expected. Here are a few common issues you might encounter and how to fix them:
* Yellowing Leaves: This could be a sign of nutrient deficiency. Make sure you’re using the correct nutrient solution and following the instructions carefully. It could also be a sign of overwatering, so make sure the roots aren’t constantly submerged in water.
* Slow Growth: This could be due to insufficient light. Move your herb garden to a sunnier location or supplement with a grow light. It could also be a sign of incorrect pH levels.
* Algae Growth: Algae growth is common in hydroponic systems, especially if the reservoir is exposed to light. Make sure your reservoir is opaque and change the nutrient solution regularly. You can also add a small amount of hydrogen peroxide to the solution to kill algae.
* Root Rot: Root rot is a fungal disease that can occur if the roots are constantly wet and lack oxygen. Make sure your air pump is working properly and providing adequate oxygen to the nutrient solution. You can also add a fungicide to the solution to prevent root rot.
Harvesting Your Herbs:
The best part of growing your own herbs is, of course, harvesting them! Once your herbs have grown to a reasonable size, you can start harvesting them. Simply snip off the leaves or stems as needed. Regular harvesting will encourage the plants to grow bushier and produce more leaves.
Choosing the Right Herbs:
While many herbs thrive in hydroponic systems, some are easier to grow than others. Here are a few of my favorites:
* Basil: Basil is a classic herb that’s perfect for hydroponics. It grows quickly and produces lots of flavorful leaves.
* Mint: Mint is another easy-to-grow herb that’s great for hydroponics. Be careful, though, as mint can be invasive.
* Chives: Chives are a versatile herb that’s perfect for adding a mild onion flavor to dishes.
* Parsley: Parsley is a staple herb that’s easy to grow hydroponically.
* Oregano: Oregano is a flavorful herb that’s great for Italian and Mediterranean dishes.
Maintaining Your System for Long-Term Success:
To keep your hydroponic herb garden thriving, here are a few tips for long-term maintenance:
* Regularly Check the Nutrient Solution: Monitor the nutrient solution level and pH regularly. Adjust as needed to ensure your plants are getting the nutrients they need.
* Change the Nutrient Solution: Change the nutrient solution every 1-2 weeks to prevent nutrient buildup and algae growth.
* Clean the System: Every few months, disassemble the system and clean all the components with soap and water. This will help prevent the buildup of algae and bacteria.
* Prune Your Plants: Regularly prune your plants to encourage bushier growth and prevent them from getting too leggy.
* Watch for Pests and Diseases: Keep an eye out for pests and diseases
Conclusion
So, there you have it! Embracing soilless gardening techniques isn’t just a trendy experiment; it’s a game-changer for anyone looking to cultivate fresh produce, vibrant flowers, or lush greenery, regardless of space constraints or soil quality. We’ve explored the core principles and benefits, and hopefully, demystified the process, showing you that it’s more accessible than you might think.
Why is this a must-try? Because soilless gardening offers unparalleled control over the growing environment. You dictate the nutrient levels, water availability, and even the pH, leading to healthier, faster-growing plants. Imagine harvesting crisp lettuce in the dead of winter, or enjoying a bounty of tomatoes from your balcony, all thanks to the precision and efficiency of soilless methods. It’s also incredibly water-wise, often using significantly less water than traditional soil-based gardening. Plus, it eliminates the need for weeding and reduces the risk of soilborne diseases.
But the beauty of soilless gardening lies in its adaptability. Feel free to experiment! Try different nutrient solutions to see what works best for your chosen plants. Consider incorporating vertical gardening techniques to maximize space, or explore aquaponics by integrating fish into your system for a truly sustainable and self-sufficient setup. You could even try different growing mediums like coco coir, perlite, or rockwool to find your preferred method.
Don’t be afraid to start small. A simple hydroponic setup with herbs on your kitchen windowsill is a fantastic way to dip your toes into the world of soilless gardening. As you gain confidence and experience, you can expand your operation and tackle more ambitious projects.
We are confident that once you experience the ease and rewards of soilless gardening, you’ll be hooked. It’s a sustainable, efficient, and incredibly satisfying way to connect with nature and grow your own food.
Now, we want to hear from you! Have you tried soilless gardening before? What are your favorite techniques? What challenges have you faced, and how did you overcome them? Share your experiences, tips, and photos in the comments below. Let’s build a community of soilless gardening enthusiasts and learn from each other. Your insights could inspire others to take the plunge and discover the joys of growing without soil. We can’t wait to see what you create!
Frequently Asked Questions (FAQ)
What exactly is soilless gardening?
Soilless gardening, at its core, is growing plants without using soil as the primary growing medium. Instead, plants receive nutrients and support from alternative materials like perlite, vermiculite, coco coir, rockwool, or even just water enriched with nutrients (hydroponics). The key is providing the plants with everything they need – water, nutrients, and physical support – in a way that bypasses the traditional role of soil.
What are the main benefits of soilless gardening compared to traditional gardening?
There are several compelling advantages:
* Faster Growth: Plants in soilless systems often grow faster because they have direct access to nutrients and water, without having to expend energy searching for them in the soil.
* Higher Yields: The controlled environment and optimized nutrient delivery can lead to significantly higher yields compared to traditional gardening.
* Water Conservation: Soilless systems, especially hydroponics, can use significantly less water than soil-based gardening because water is recirculated and not lost to evaporation or runoff.
* Reduced Pest and Disease Problems: Without soil, there’s a lower risk of soilborne diseases and pests, reducing the need for pesticides.
* Space Efficiency: Soilless gardening is ideal for small spaces, such as apartments, balconies, and patios. Vertical gardening techniques can further maximize space.
* Year-Round Growing: With the right setup (e.g., grow lights and temperature control), you can grow plants year-round, regardless of the outdoor climate.
* Precise Control: You have complete control over the nutrient levels, pH, and other environmental factors, allowing you to optimize growing conditions for specific plants.
What types of plants are best suited for soilless gardening?
Many plants thrive in soilless systems. Some popular choices include:
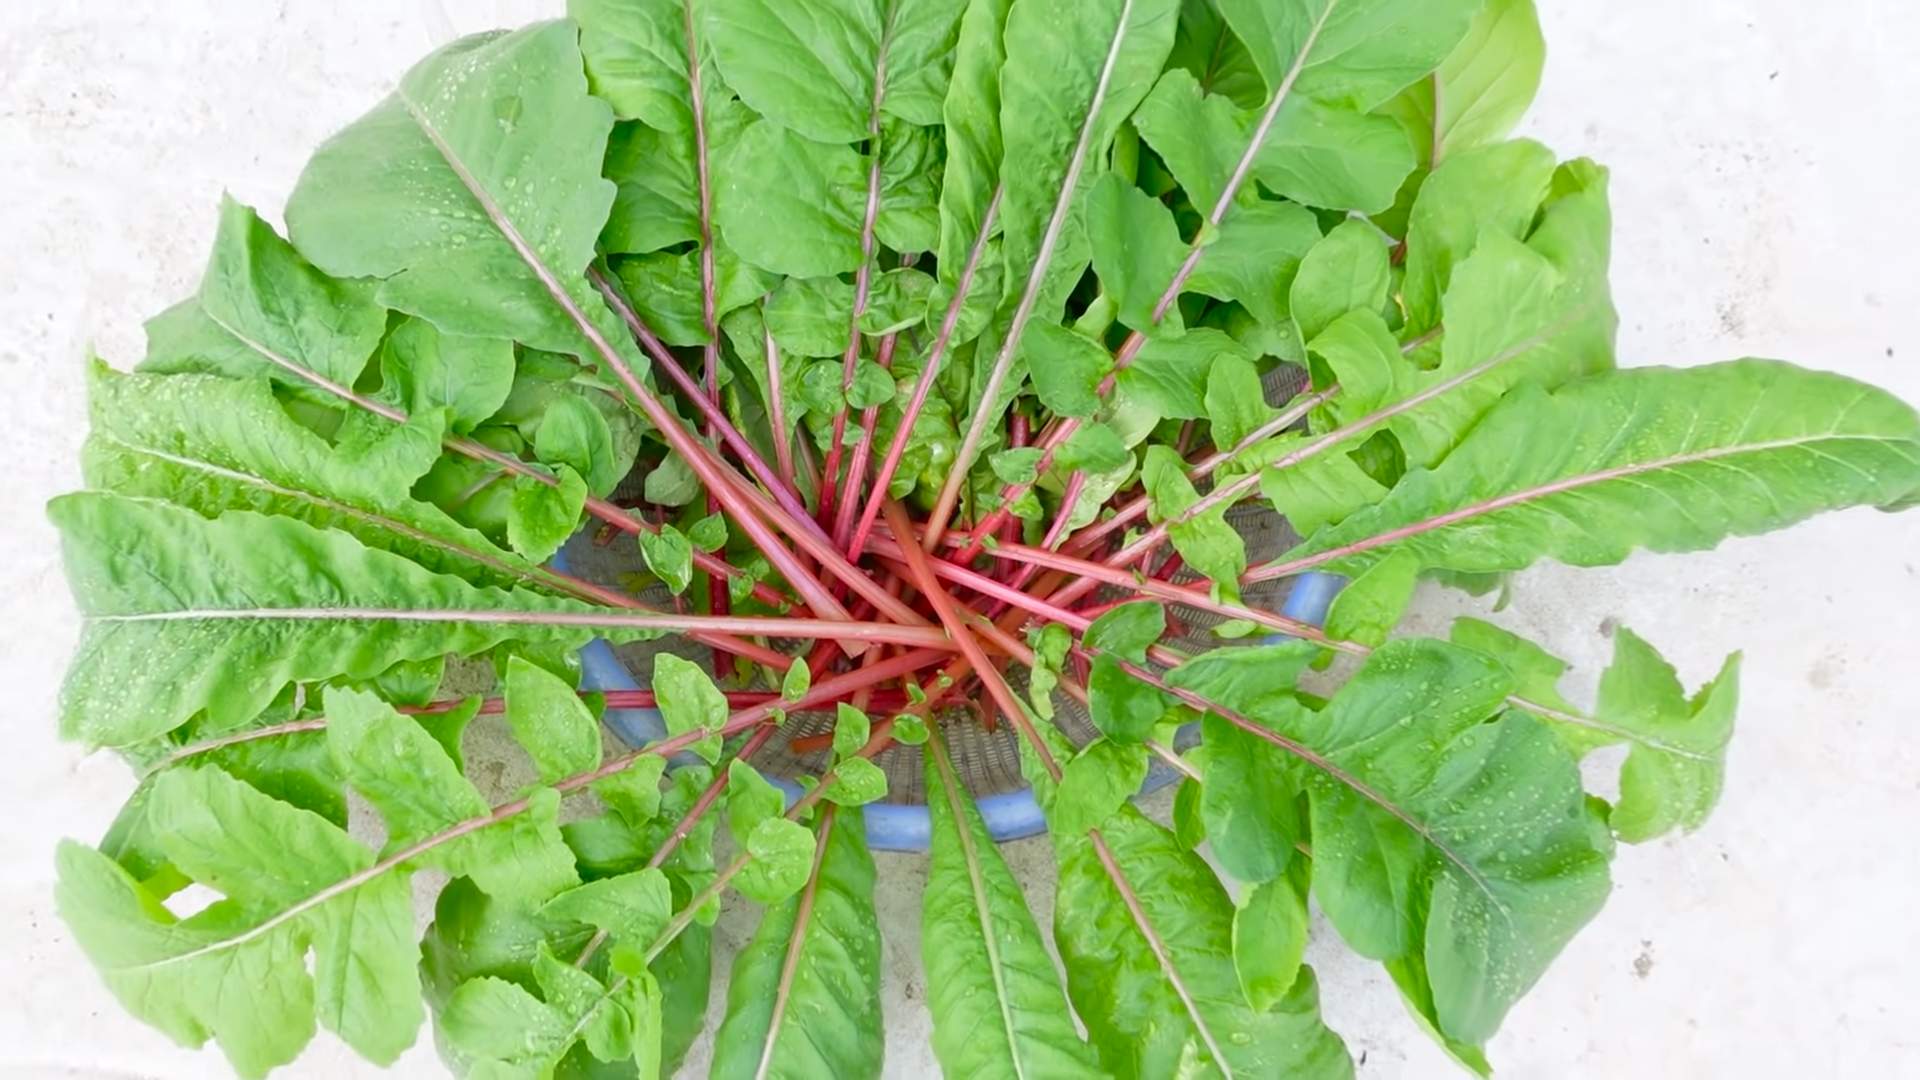
* Leafy Greens: Lettuce, spinach, kale, arugula, and other leafy greens are excellent candidates for hydroponics.
* Herbs: Basil, mint, parsley, cilantro, and chives grow well in soilless setups.
* Tomatoes: Tomatoes are a popular choice for hydroponic systems, especially determinate (bush) varieties.
* Peppers: Bell peppers, chili peppers, and other pepper varieties can be successfully grown in soilless environments.
* Strawberries: Strawberries are well-suited for hydroponic systems and can produce abundant yields.
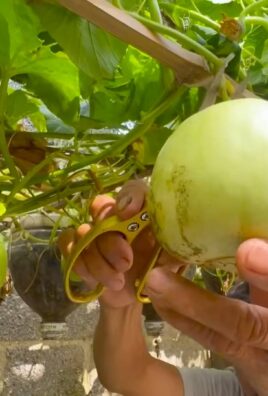
* Cucumbers: Cucumbers can be grown in soilless systems, but they require adequate support due to their vining nature.
* Flowers: Many flowers, such as orchids, roses, and lilies, can be grown in soilless media.
What are the different types of soilless gardening systems?
There are several different types of soilless gardening systems, each with its own advantages and disadvantages:
* Hydroponics: Plants are grown in water enriched with nutrients. There are various hydroponic techniques, including deep water culture (DWC), nutrient film technique (NFT), ebb and flow (flood and drain), and drip systems.
* Aeroponics: Plant roots are suspended in the air and periodically sprayed with nutrient-rich water.
* Aquaponics: A combination of aquaculture (raising fish) and hydroponics. Fish waste provides nutrients for the plants, and the plants filter the water for the fish.
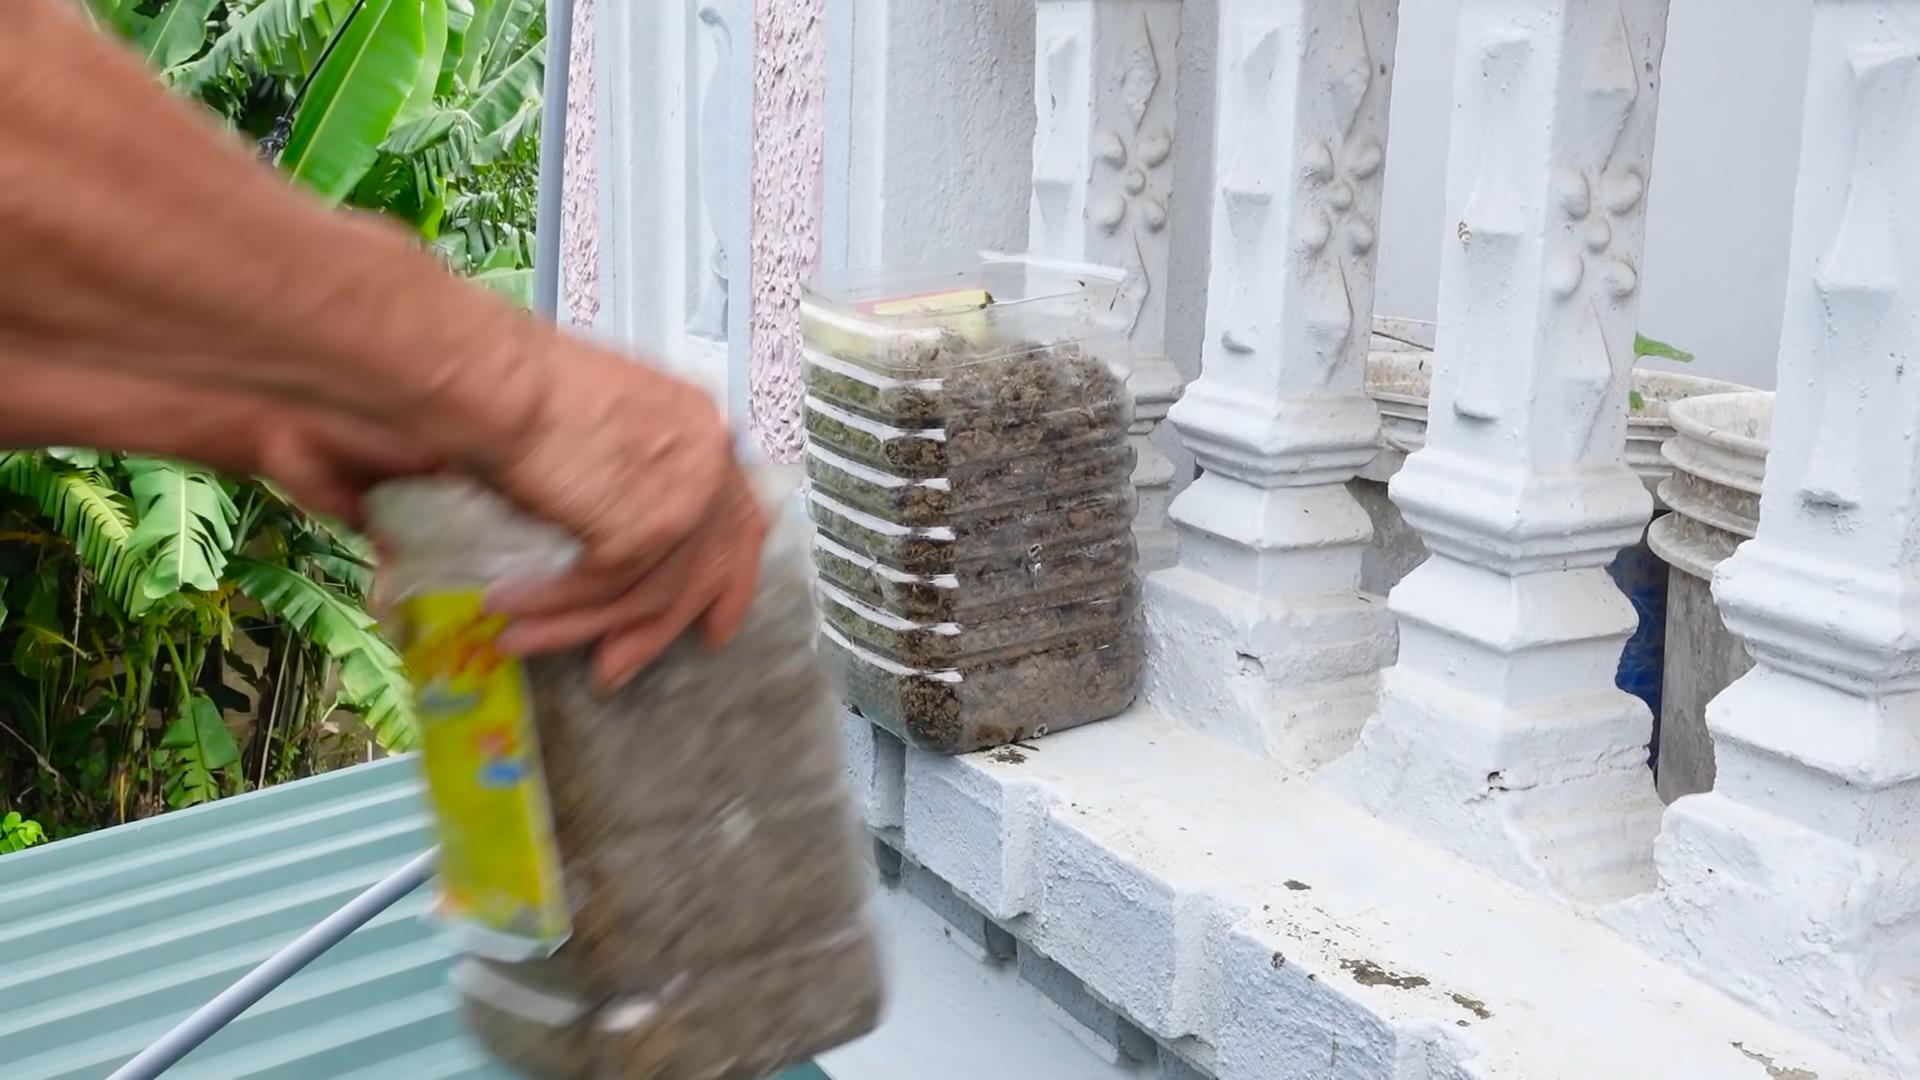
* Container Gardening with Soilless Mixes: Plants are grown in containers filled with soilless mixes like coco coir, perlite, and vermiculite.
What kind of nutrient solution do I need for soilless gardening?
The specific nutrient solution you need will depend on the type of plants you are growing and the stage of their growth. There are commercially available nutrient solutions specifically formulated for hydroponics and soilless gardening. Look for solutions that contain all the essential macronutrients (nitrogen, phosphorus, potassium) and micronutrients (iron, manganese, zinc, copper, boron, molybdenum). Follow the manufacturer’s instructions carefully when mixing and applying the nutrient solution.
How often should I water my plants in a soilless system?
The watering frequency depends on the type of system you are using and the growing medium. In hydroponic systems, the roots are constantly exposed to water, so watering is not an issue. In container gardening with soilless mixes, you will need to water more frequently than you would with soil-based gardening because soilless mixes tend to drain more quickly. Check the moisture level of the growing medium regularly and water when the top inch or two feels dry.
Can I use tap water for soilless gardening?
It depends on the quality of your tap water. If your tap water is heavily chlorinated or contains high levels of minerals, it may not be suitable for soilless gardening. It’s best to test your tap water to determine its pH and mineral content. If necessary, you can use filtered water or rainwater.
Is soilless gardening more expensive than traditional gardening?
The initial investment for soilless gardening can be higher than traditional gardening, especially if you are setting up a hydroponic system. However, the long-term costs can be lower due to reduced water usage, less need for pesticides, and higher yields. You can also start with a simple and inexpensive soilless setup, such as container gardening with soilless mixes.
Where can I learn more about soilless gardening techniques?
There are many resources available online and in libraries. Search for information on hydroponics, aeroponics, aquaponics, and soilless container gardening. Look for reputable websites, books, and articles that provide detailed instructions and guidance. You can also join online forums and communities dedicated to soilless gardening to connect with other enthusiasts and learn from their experiences.
How do I get started with soilless gardening?
Start small! A simple container garden with herbs or leafy greens is a great way to begin. Choose a soilless mix like coco coir or perlite, and purchase a commercially available nutrient solution. Follow the instructions carefully and monitor your plants closely. As you gain experience, you can experiment with different techniques and expand your operation. Don’t be afraid to make mistakes – learning from your errors is part of the process. The most important thing is to get started and have fun!


Leave a Comment