
Stop dust on furniture – a phrase that probably just made you sigh, right? I get it! Dusting is one of those chores that feels like a Sisyphean task. You spend an hour meticulously wiping down every surface, only to find a fresh layer of grime mocking you the very next day. But what if I told you there are simple, DIY tricks to significantly reduce the amount of dust settling on your beloved furniture?
For centuries, keeping homes clean and dust-free has been a sign of prosperity and good health. In many cultures, a tidy home reflects a tidy mind, and the presence of dust can be seen as a sign of neglect. While we may not be judged quite so harshly today, the desire for a clean and healthy living space remains strong. And let’s be honest, who wants to breathe in all that dust anyway?
That’s why I’m so excited to share these easy and effective DIY solutions with you. These aren’t just quick fixes; they’re strategies that address the root causes of dust accumulation. From creating your own anti-static dusting spray to optimizing your home’s air filtration, these tips will help you stop dust on furniture and enjoy a cleaner, healthier, and more beautiful home. So, ditch the endless dusting cycle and let’s dive into these game-changing DIY hacks!
DIY Dust-Repelling Furniture Polish
Okay, so you’re tired of dusting, right? I get it. It feels like the second you finish, a fresh layer of dust settles right back down. It’s a never-ending battle! Well, I’ve got a little secret weapon for you: a homemade dust-repelling furniture polish. This isn’t just about cleaning; it’s about creating a barrier that makes dust less likely to stick in the first place. And the best part? You probably already have most of the ingredients in your kitchen!
What Makes This Polish Special?
This polish works because of a few key ingredients:
* **Olive Oil:** This provides a natural shine and helps to condition the wood. It also creates a smooth surface that dust finds harder to cling to.
* **Lemon Juice:** The acidity in lemon juice helps to cut through grime and grease, leaving your furniture clean and bright. Plus, it smells amazing!
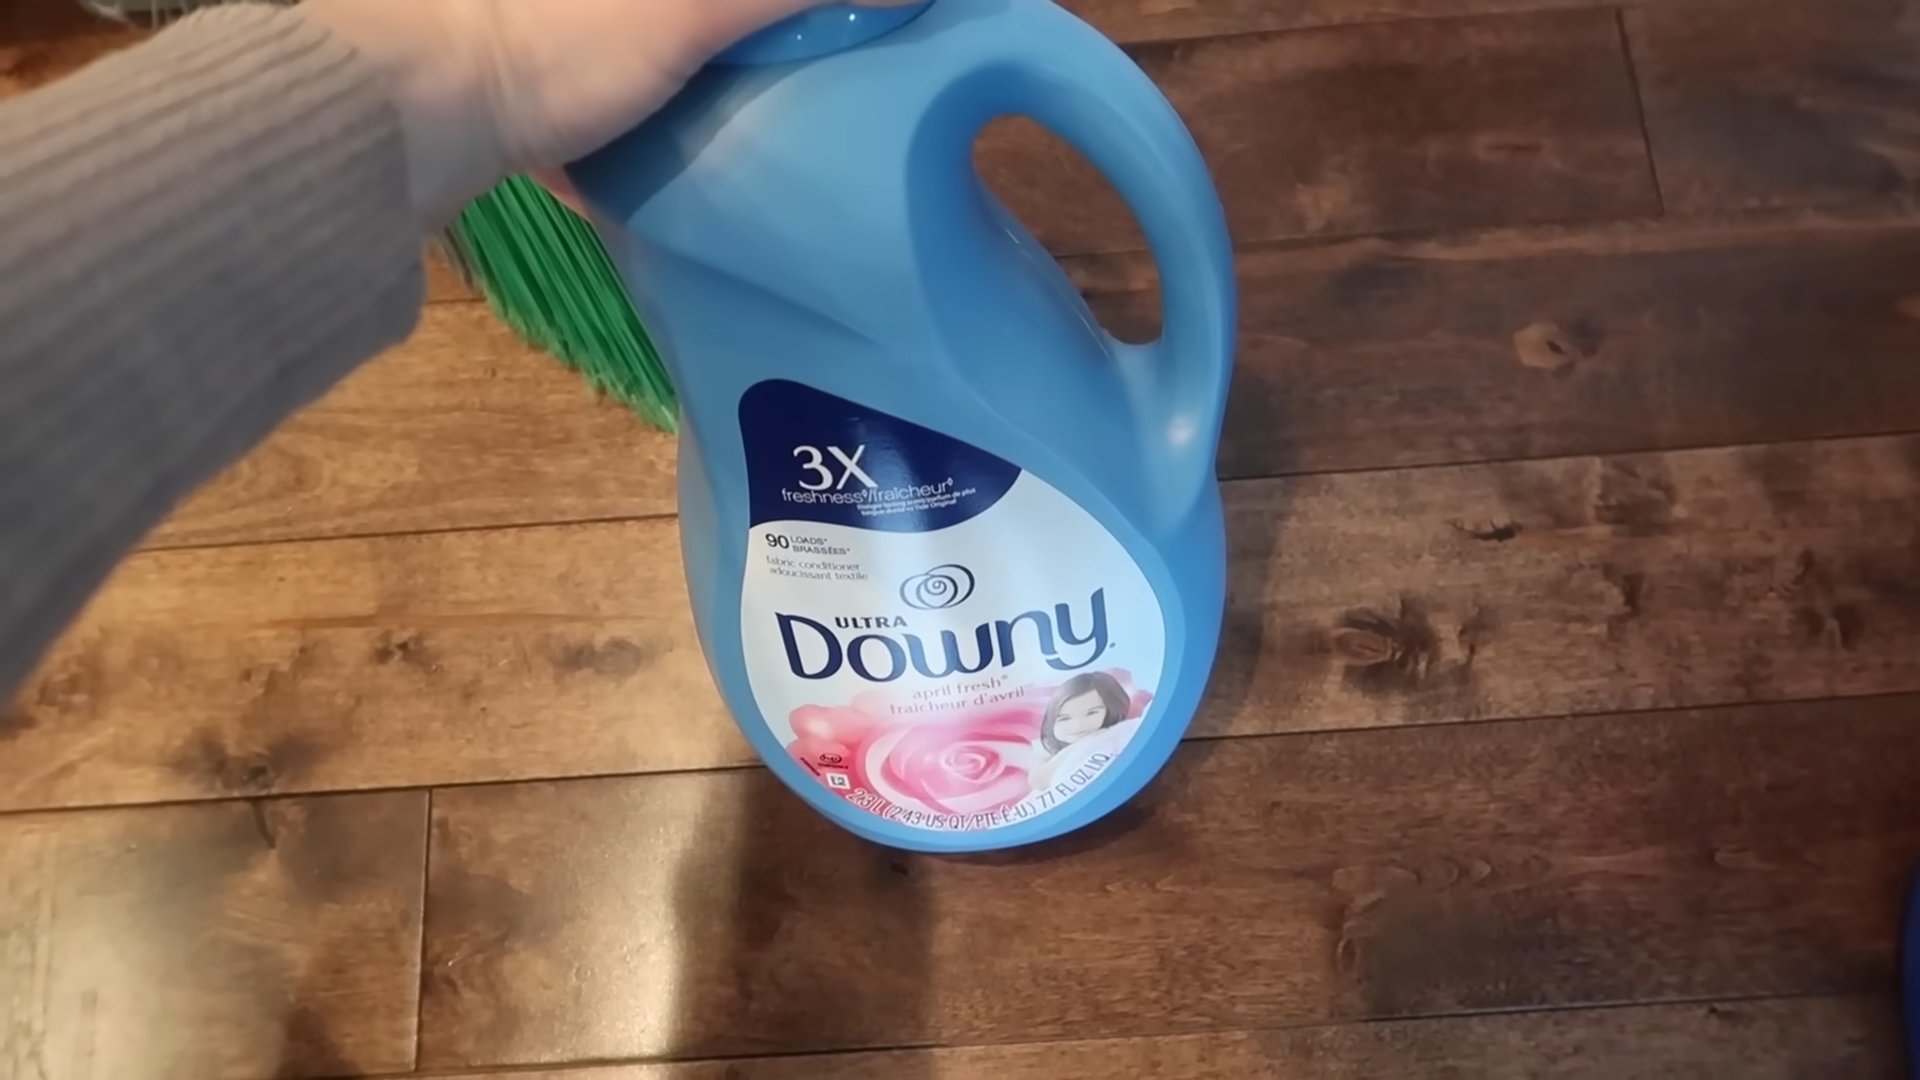
* **White Vinegar:** Vinegar is a fantastic natural cleaner and disinfectant. It helps to remove any lingering residue and further enhances the cleaning power.
* **Essential Oils (Optional):** These add a pleasant scent and can even have anti-static properties, further reducing dust attraction. Lavender, cedarwood, and lemon essential oils are great choices.
What You’ll Need
Before we dive in, let’s gather our supplies. Here’s what you’ll need to make your own dust-repelling furniture polish:
* 1/4 cup Olive Oil
* 1/4 cup White Vinegar
* 2 tablespoons Lemon Juice (freshly squeezed is best!)
* 10-15 drops Essential Oil (optional, but highly recommended)
* Spray Bottle (a clean, empty one)
* Microfiber Cloths (these are the best for dusting and polishing)
* Small Bowl or Measuring Cup
* Funnel (optional, but helpful for pouring into the spray bottle)
Making the Magic: Step-by-Step Instructions
Alright, let’s get down to business! Here’s how to make your dust-repelling furniture polish:
1. **Combine the Ingredients:** In your small bowl or measuring cup, carefully pour in the olive oil, white vinegar, and lemon juice.
2. **Add Essential Oils (Optional):** If you’re using essential oils, now’s the time to add them. I usually go for about 10-15 drops, but you can adjust the amount to your liking. Just remember that a little goes a long way!
3. **Mix Well:** Give the mixture a good stir to ensure all the ingredients are thoroughly combined. You want a nice, even consistency.
4. **Transfer to Spray Bottle:** This is where the funnel comes in handy! Carefully pour the mixture into your clean spray bottle. If you don’t have a funnel, just take your time and try not to spill.
5. **Shake It Up:** Secure the spray bottle lid and give it a good shake to make sure everything is fully mixed.
Putting It to the Test: Applying the Polish
Now that you’ve made your polish, it’s time to put it to work! Here’s how to apply it to your furniture:
1. **Dust First:** Before you start polishing, it’s important to remove any loose dust. Use a clean, dry microfiber cloth to wipe down the surface of your furniture. This will prevent you from just spreading the dust around.
2. **Spray Lightly:** Hold the spray bottle about 6-8 inches away from the furniture and lightly spray a small area. You don’t want to saturate the wood; a light mist is all you need.
3. **Wipe and Buff:** Immediately after spraying, use a clean microfiber cloth to wipe the polish into the wood. Use circular motions to buff the surface and bring out the shine.
4. **Repeat:** Continue spraying and wiping in small sections until you’ve covered the entire piece of furniture.
5. **Let It Dry:** Allow the polish to dry completely. This usually takes just a few minutes.
Important Considerations and Tips
* Test in an Inconspicuous Area: Before applying the polish to your entire piece of furniture, it’s always a good idea to test it in a small, hidden area first. This will ensure that it doesn’t damage or discolor the wood.
* Use Sparingly: A little of this polish goes a long way. Avoid over-saturating the wood, as this can leave a sticky residue.
* Microfiber Cloths are Key: Microfiber cloths are essential for dusting and polishing. They’re super absorbent and won’t leave behind any lint or streaks.
* Frequency: How often you need to polish your furniture will depend on how dusty your home is. I usually polish my furniture every 2-4 weeks.
* Not for All Surfaces: This polish is best suited for sealed wood furniture. Avoid using it on unfinished wood, as it can stain the surface. Also, be cautious when using it on antique furniture, as it may damage the finish.
* Storage: Store your homemade furniture polish in a cool, dark place. It should last for several months.
* Safety First: While the ingredients are natural, avoid getting the polish in your eyes. If you do, rinse thoroughly with water.
Troubleshooting
* Sticky Residue: If you notice a sticky residue after polishing, you’ve probably used too much polish. Simply wipe the surface with a clean, damp microfiber cloth to remove the excess.
* Dull Finish: If your furniture looks dull after polishing, try buffing it with a clean, dry microfiber cloth. This will help to bring out the shine.
* Streaks: If you see streaks after polishing, make sure you’re using a clean microfiber cloth and that you’re wiping in the direction of the wood grain.
Alternative Essential Oil Blends
Want to get creative with your essential oil blends? Here are a few of my favorites:
* **Citrus Burst:** 5 drops Lemon, 5 drops Orange, 5 drops Grapefruit
* **Woodland Wonder:** 7 drops Cedarwood, 5 drops Pine, 3 drops Fir Needle
* **Lavender Calm:** 10 drops Lavender, 5 drops Chamomile
Feel free to experiment and create your own signature scent!
Why This Works Better Than Store-Bought
Okay, so you might be wondering why you should bother making your own furniture polish when you can just buy it at the store. Here’s why I think this DIY version is superior:
* Natural Ingredients: You know exactly what’s going into your polish, so you can avoid harsh chemicals and artificial fragrances.
* Cost-Effective: Making your own polish is much cheaper than buying it at the store.
* Customizable: You can adjust the ingredients to suit your specific needs and preferences.
* Environmentally Friendly: By making your own polish, you’re reducing your reliance on plastic packaging and harmful chemicals.
Beyond the Polish: Other Dust-Busting Tips
While this dust-repelling furniture polish is a great tool, it’s not a magic bullet. Here are a few other tips to help you keep your home dust-free:
* Regular Dusting: Even with the polish, you’ll still need to dust regularly. Aim to dust at least once a week.
* Vacuum Frequently: Vacuuming your floors and carpets regularly will help to remove dust and allergens.
* Air Purifier: Consider investing in an air purifier to help remove dust and other particles from the air.
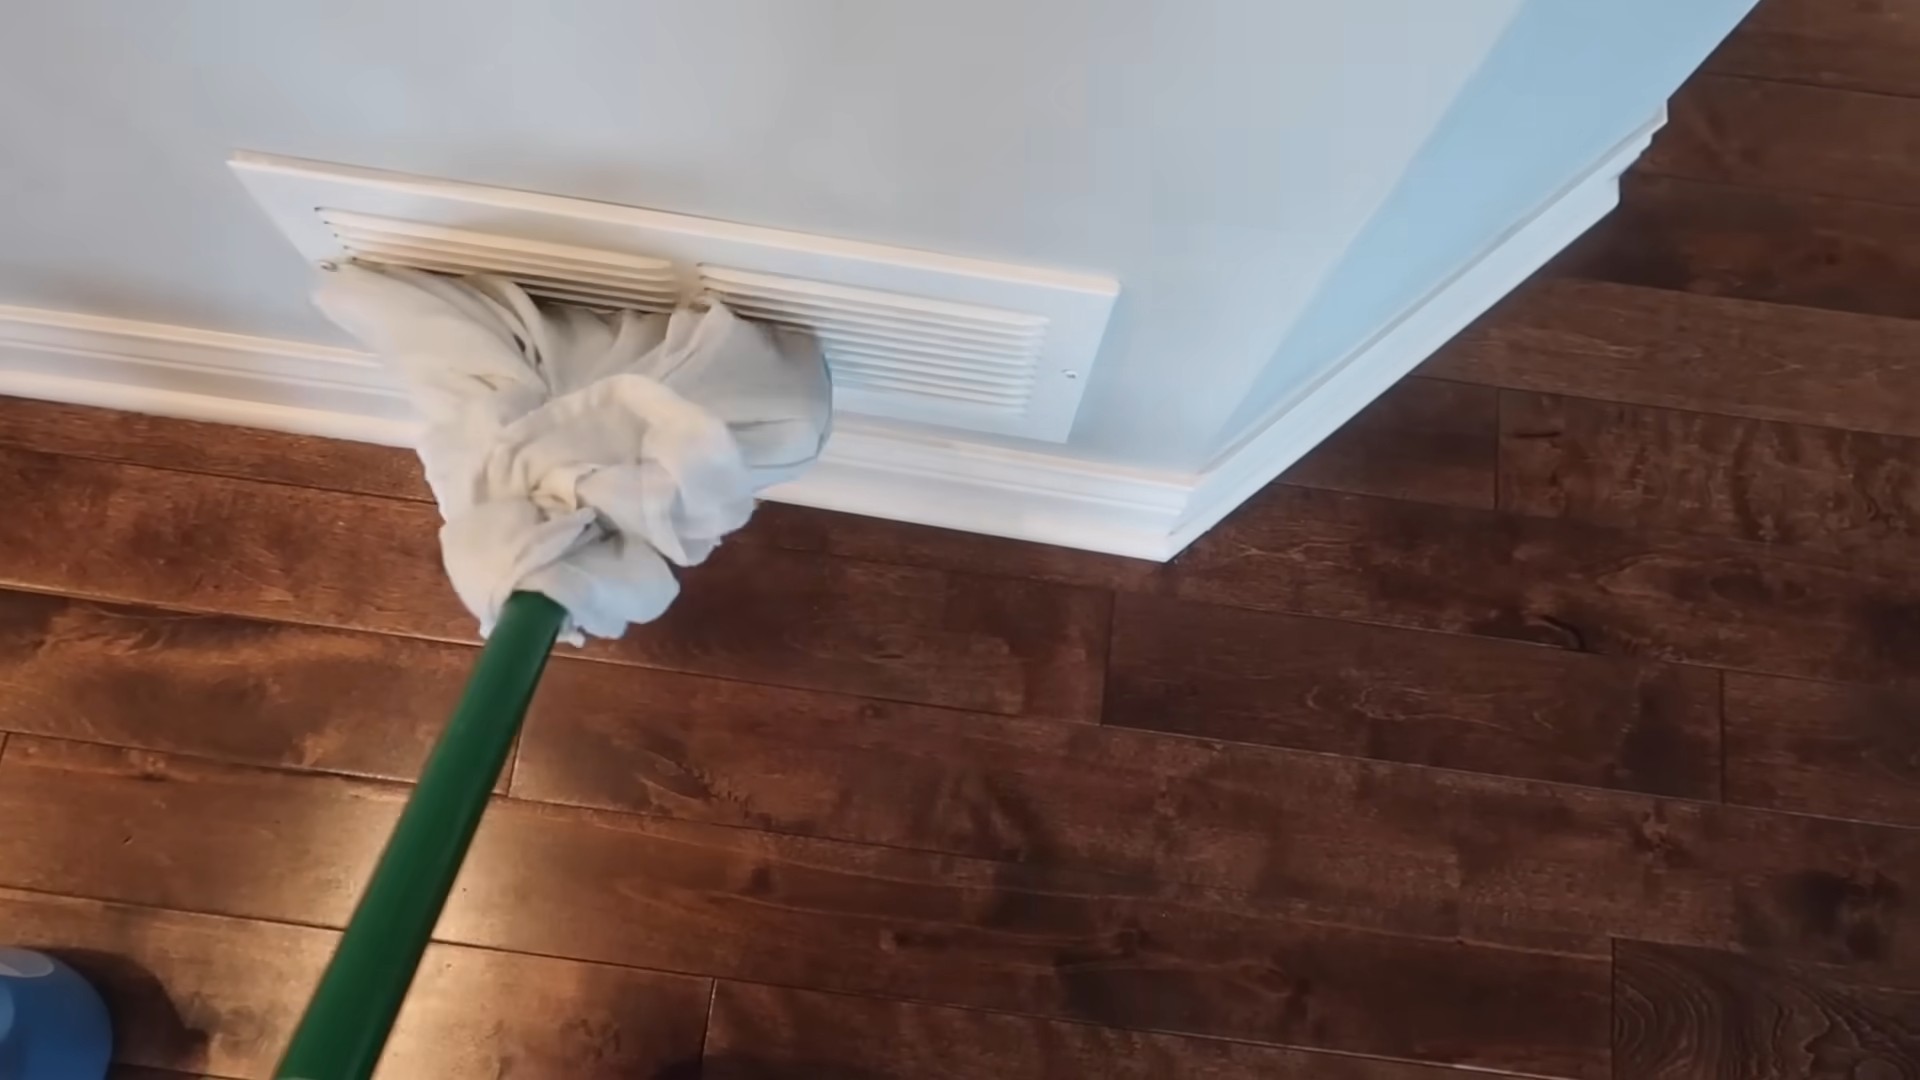
* Change Air Filters: Regularly change the air filters in your HVAC system to prevent dust from circulating throughout your home.
* Declutter: The less stuff you have, the less dust will accumulate.
* Control Humidity: High humidity can attract dust. Use a dehumidifier to keep the humidity levels in your home under control.
* Wash Bedding Regularly: Dust mites love to live in bedding. Wash your sheets, pillowcases, and blankets at least once a week.
Final Thoughts
So there you have it! My secret weapon for fighting the never-ending battle against dust. I hope you give this DIY dust-repelling furniture polish a try. I think you’ll be amazed at how well it works. Happy dusting (or should I say, *less* dusting)!
Conclusion
So, there you have it! This simple, yet incredibly effective, DIY trick to stop dust on furniture is a game-changer for anyone tired of constantly battling the never-ending accumulation of dust. We’ve walked you through the process, highlighting how easy it is to create your own dust-repelling solution with ingredients you likely already have in your home.
Why is this a must-try? Because it saves you time, money, and frustration. Think about it: no more daily dusting, no more expensive commercial products filled with harsh chemicals, and no more feeling like you’re fighting a losing battle against the dust bunnies. This DIY solution is not only cost-effective but also environmentally friendly, reducing your reliance on disposable wipes and aerosol sprays.
But the benefits extend beyond just convenience. By using natural ingredients like olive oil and lemon juice (or your preferred essential oil), you’re also treating your furniture with care. These ingredients can help to nourish and protect wood surfaces, leaving them looking clean, polished, and revitalized.
Now, let’s talk about variations. Feel free to experiment with different essential oils to find a scent that you love. Lavender, tea tree, and eucalyptus are all excellent choices for their cleaning and disinfecting properties. You can also adjust the ratio of ingredients to suit your specific needs. If you live in a particularly dusty environment, you might want to increase the amount of olive oil for added dust-repelling power. For lighter wood, consider using a clear oil like almond oil to avoid any potential discoloration.
Don’t be afraid to get creative and personalize this DIY trick to make it your own. The key is to find a combination of ingredients that works best for your furniture and your lifestyle.
We are confident that once you try this DIY solution, you’ll be amazed at the difference it makes. Imagine having furniture that stays cleaner for longer, allowing you to spend less time dusting and more time enjoying your home. It’s a small change that can have a big impact on your overall quality of life.
So, what are you waiting for? Gather your ingredients, mix up a batch of this amazing dust-repelling solution, and say goodbye to dusty furniture for good! We encourage you to try this DIY trick and share your experience with us in the comments below. Let us know what variations you tried, what scents you used, and how well it worked for you. We’re always eager to hear from our readers and learn from your experiences. Together, we can conquer the dust and create cleaner, healthier homes for ourselves and our families. This is a simple, effective, and eco-friendly way to stop dust on furniture, and we believe it’s a must-try for everyone.
Frequently Asked Questions (FAQ)
What exactly makes this DIY solution effective at repelling dust?
The effectiveness of this DIY solution lies in the combination of its ingredients. The oil, typically olive oil, creates a smooth, slightly oily surface that makes it difficult for dust particles to adhere. Instead of sticking to the furniture, the dust is more likely to slide off or be easily wiped away. The lemon juice or vinegar acts as a mild cleaner and disinfectant, helping to remove any existing dust and grime. The essential oil adds a pleasant scent and can also contribute to the cleaning and disinfecting properties of the solution. Together, these ingredients create a protective barrier that repels dust and keeps your furniture cleaner for longer.
How often should I apply this DIY dust repellent to my furniture?
The frequency of application will depend on several factors, including the amount of dust in your environment, the type of furniture you have, and your personal preferences. As a general guideline, we recommend applying the solution every one to two weeks. However, if you live in a particularly dusty area or have furniture that tends to attract a lot of dust, you may need to apply it more frequently. Conversely, if you live in a cleaner environment, you may be able to get away with applying it less often. Observe your furniture and adjust the frequency of application accordingly.
Can I use this DIY solution on all types of furniture? Are there any surfaces I should avoid?
While this DIY solution is generally safe for most types of furniture, it’s always a good idea to test it on an inconspicuous area first, especially if you have delicate or antique furniture. Avoid using it on unfinished wood, as the oil can soak into the wood and cause discoloration. Also, be cautious when using it on leather furniture, as the oil can potentially stain or damage the leather. If you’re unsure about whether or not to use it on a particular type of furniture, consult with a professional furniture restorer or cleaner.
What if I don’t have olive oil? Can I substitute it with another type of oil?
Yes, you can definitely substitute olive oil with another type of oil. Good alternatives include almond oil, jojoba oil, or even mineral oil. Almond oil is a great choice for lighter-colored wood, as it’s less likely to cause discoloration. Jojoba oil is a lightweight oil that absorbs quickly and won’t leave a greasy residue. Mineral oil is a readily available and inexpensive option, but it’s important to use a high-quality, purified mineral oil to avoid any potential damage to your furniture. Experiment with different oils to find one that works best for your furniture and your preferences.
My solution seems to be leaving a greasy residue on my furniture. What am I doing wrong?
If your solution is leaving a greasy residue, it’s likely that you’re using too much oil. Try reducing the amount of oil in your solution and see if that helps. You can also try wiping down your furniture with a clean, dry cloth after applying the solution to remove any excess oil. Another possibility is that you’re not shaking the solution well enough before each use. The oil and water-based ingredients can separate over time, so it’s important to shake the bottle thoroughly to ensure that the solution is properly mixed.
Can I use this solution on electronics, like my TV screen or computer monitor?
No, we do not recommend using this solution on electronics. The oil in the solution can damage the delicate screens and components of electronic devices. Instead, use a microfiber cloth specifically designed for cleaning electronics. These cloths are gentle and won’t scratch or damage the screens.
Is there a shelf life for this DIY dust repellent? How long will it last?
The shelf life of this DIY dust repellent is typically around one to two months. The essential oils can help to preserve the solution, but over time, the ingredients can start to degrade. To maximize the shelf life of your solution, store it in a cool, dark place in an airtight container. If you notice any changes in the color, smell, or consistency of the solution, it’s best to discard it and make a fresh batch.
What are some other tips for reducing dust in my home?
In addition to using this DIY dust repellent, there are several other things you can do to reduce dust in your home. Regularly vacuum or sweep your floors, including under furniture and in hard-to-reach areas. Dust your furniture, shelves, and other surfaces at least once a week. Wash your bedding regularly in hot water to kill dust mites. Use air purifiers with HEPA filters to remove dust and allergens from the air. Consider replacing carpets with hard flooring, as carpets tend to trap dust and allergens. And finally, declutter your home to reduce the amount of surfaces where dust can accumulate. By following these tips, you can create a cleaner, healthier, and more dust-free environment in your home.


Leave a Comment