
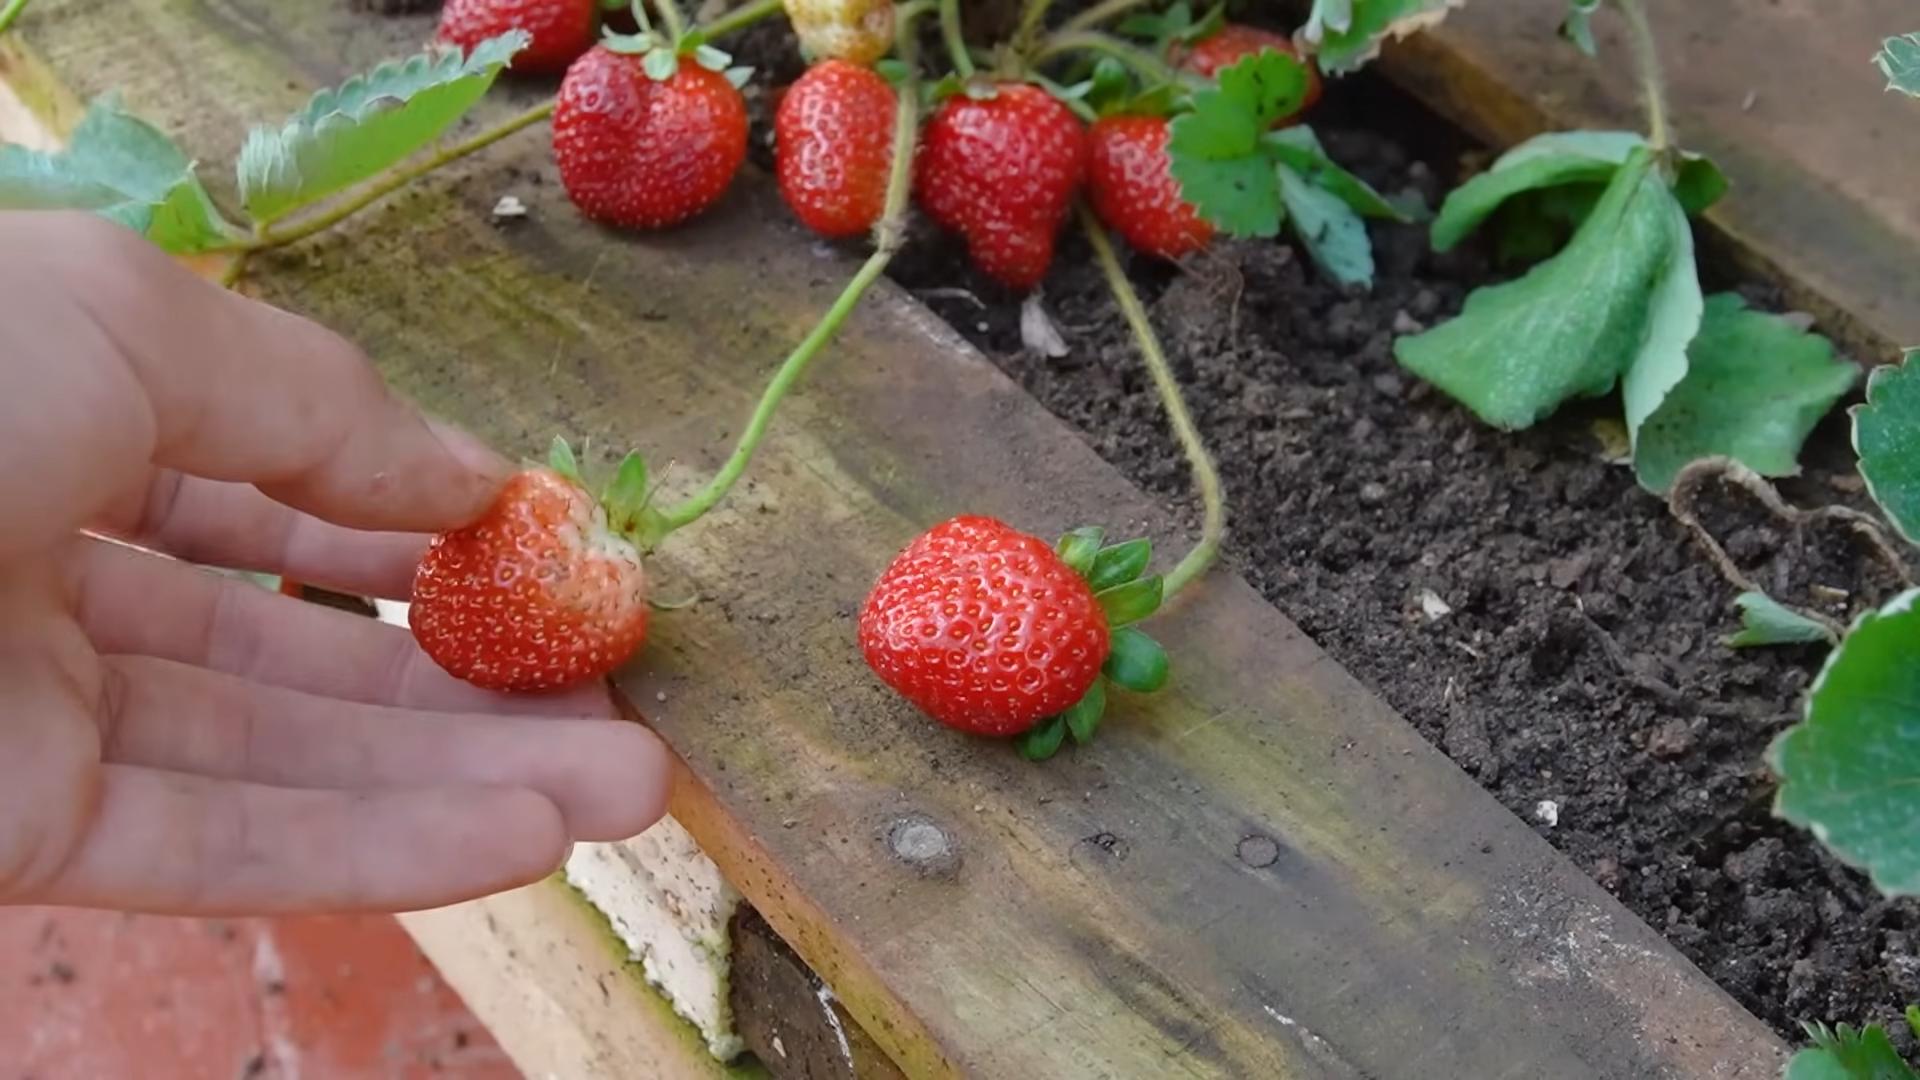
Strawberry harvest boost – sounds like a dream, right? Imagine baskets overflowing with juicy, red strawberries, enough for pies, jams, and maybe even a few sneaky snacks straight from the garden. Well, it doesn’t have to be just a dream! For centuries, gardeners have been tweaking and experimenting to maximize their yields, and I’m here to share some of their secrets (and a few of my own!).
From ancient Roman agricultural practices to modern-day permaculture techniques, the quest for a bountiful harvest has always been a driving force. But let’s be honest, not everyone has acres of land or a degree in horticulture. That’s where these DIY tricks come in. We’re talking simple, effective hacks that anyone can implement, regardless of their gardening experience or the size of their plot.
Why do you need these tricks? Because who wouldn’t want more strawberries? Beyond the obvious deliciousness, a thriving strawberry patch is a rewarding experience. Plus, knowing you’ve grown your own food, free from pesticides and full of flavor, is incredibly satisfying. I’m going to show you how to get that strawberry harvest boost you’ve been dreaming of, using easy-to-find materials and minimal effort. So, grab your gardening gloves, and let’s get started!
Boosting Your Strawberry Harvest: A DIY Guide to Strawberry Nirvana!
Okay, strawberry lovers, let’s talk about getting the most out of your strawberry patch! I’m going to walk you through a few DIY hacks that I’ve personally used to significantly increase my strawberry yield. We’re talking bigger, juicier, and more abundant strawberries – all thanks to a little elbow grease and some clever techniques. Get ready to be amazed!
Understanding the Strawberry Plant’s Needs
Before we dive into the DIY projects, it’s crucial to understand what strawberries need to thrive. Think of it as getting to know your plant’s personality! They’re not super demanding, but a little attention goes a long way.
* Sunlight: Strawberries are sun worshippers! They need at least 6-8 hours of direct sunlight per day. The more sun, the sweeter the berries.
* Soil: Well-draining soil is key. Strawberries hate sitting in soggy soil, which can lead to root rot. A slightly acidic soil (pH 5.5-6.5) is ideal.
* Water: Consistent moisture is important, especially when the plants are flowering and fruiting. Avoid overhead watering, as this can encourage fungal diseases. Drip irrigation is your best friend!
* Nutrients: Strawberries are heavy feeders. They need a balanced fertilizer to produce lots of delicious berries.
* Air Circulation: Good air circulation helps prevent fungal diseases.
DIY Hack #1: The Strawberry Tower of Power
This is one of my favorite projects! A strawberry tower not only looks fantastic but also maximizes space and improves air circulation. Plus, it keeps your berries off the ground, reducing the risk of rot and pests.
Materials You’ll Need:
* A large plastic container (a 55-gallon drum or a large storage tote works well)
* A drill with various sized drill bits
* Potting soil (a mix specifically for fruits and vegetables is best)
* Strawberry plants (everbearing varieties are great for continuous harvests)
* Landscape fabric or burlap (optional, but recommended)
* Gravel or small rocks for drainage
* Measuring tape or ruler
* Marker
Step-by-Step Instructions:
1. Prepare the Container: First, clean your plastic container thoroughly. You want to make sure there’s no residue that could harm your plants.
2. Drill Drainage Holes: Drill several drainage holes in the bottom of the container. This is crucial to prevent waterlogging. I usually go for about 10-15 holes, depending on the size of the container.
3. Mark Planting Holes: Now comes the fun part! Use your measuring tape and marker to evenly space out planting holes around the sides of the container. The size of the holes will depend on the size of your strawberry plants. I usually aim for holes that are about 4-6 inches in diameter. Stagger the holes in rows for a more visually appealing and functional tower.
4. Drill Planting Holes: Carefully drill out the planting holes using the appropriate sized drill bit. Be patient and take your time to avoid cracking the plastic.
5. Line the Container (Optional): If you’re using landscape fabric or burlap, line the inside of the container. This will help prevent soil from washing out through the planting holes. Cut the fabric to fit and secure it with staples or glue if needed.
6. Add Drainage Layer: Pour a layer of gravel or small rocks into the bottom of the container. This will further improve drainage and prevent root rot.
7. Start Filling with Soil: Begin filling the container with potting soil. As you add soil, gently pack it down to eliminate air pockets.
8. Plant the Strawberries: When you reach the first row of planting holes, carefully insert your strawberry plants. Gently tease the roots apart and position the plants so that the crown (where the leaves emerge) is just above the soil level. Add more soil to secure the plants in place.
9. Continue Filling and Planting: Repeat steps 7 and 8 for each row of planting holes until you reach the top of the container.
10. Top it Off: Fill the remaining space at the top of the container with soil and plant a few more strawberry plants on top.
11. Water Thoroughly: Water the strawberry tower thoroughly until water drains out of the bottom.
12. Find a Sunny Spot: Place your strawberry tower in a sunny location that receives at least 6-8 hours of direct sunlight per day.
13. Maintenance: Water regularly, especially during hot, dry weather. Fertilize every few weeks with a balanced fertilizer. Remove any dead or yellowing leaves.
DIY Hack #2: The Strawberry Jar Transformation
Strawberry jars are classic for a reason! They’re charming, space-saving, and provide excellent drainage. But let’s take it up a notch with a few tweaks.
Materials You’ll Need:
* A strawberry jar (terracotta or plastic)
* Potting soil
* Strawberry plants
* Gravel or small rocks
* Watering can or hose
* Slow-release fertilizer (optional)
Step-by-Step Instructions:
1. Prepare the Jar: Make sure your strawberry jar is clean and free of any debris.
2. Add Drainage Layer: Place a layer of gravel or small rocks at the bottom of the jar to improve drainage.
3. Start Filling with Soil: Begin filling the jar with potting soil.
4. Plant the Strawberries: As you fill the jar, insert your strawberry plants into the pockets. Gently tease the roots apart and position the plants so that the crown is just above the soil level. Add more soil to secure the plants in place.
5. Continue Filling and Planting: Repeat step 4 until you reach the top of the jar.
6. Top it Off: Fill the remaining space at the top of the jar with soil and plant a few more strawberry plants on top.
7. Add Slow-Release Fertilizer (Optional): If you’re using slow-release fertilizer, mix it into the top layer of soil.
8. Water Thoroughly: Water the strawberry jar thoroughly until water drains out of the bottom.
9. Find a Sunny Spot: Place your strawberry jar in a sunny location.
10. Rotate Regularly: Rotate the jar every few days to ensure that all sides receive equal sunlight. This will help prevent the plants from becoming leggy.
11. Maintenance: Water regularly and fertilize as needed. Remove any runners that develop, unless you want to propagate new plants.
DIY Hack #3: The Baking Soda Boost
This is a simple but effective trick that I learned from an old gardening book. Baking soda can help increase the sweetness of your strawberries and prevent fungal diseases.
Materials You’ll Need:
* Baking soda
* Water
* Spray bottle
Step-by-Step Instructions:
1. Mix the Solution: Dissolve 1 teaspoon of baking soda in 1 quart of water.
2. Pour into Spray Bottle: Pour the solution into a spray bottle.
3. Spray the Plants: Spray the strawberry plants with the baking soda solution every 2-3 weeks. Be sure to spray both the leaves and the berries.
4. Avoid Overuse: Don’t overdo it with the baking soda, as too much can harm the plants.
DIY Hack #4: The Coffee Grounds Compost
Coffee grounds are a fantastic source of nitrogen, which is essential for healthy plant growth. They also help improve soil drainage and aeration.
Materials You’ll Need:
* Used coffee grounds
* Compost bin or pile
Step-by-Step Instructions:
1. Collect Coffee Grounds: Save your used coffee grounds after brewing your morning coffee.
2. Add to Compost: Add the coffee grounds to your compost bin or pile.
3. Mix Well: Mix the coffee grounds with other compost materials, such as leaves, grass clippings, and vegetable scraps.
4. Let it Decompose: Allow the compost to decompose for several months until it becomes a rich, dark humus.
5. Apply to Strawberry Plants: Apply the compost to your strawberry plants as a side dressing or mulch.
DIY Hack #5: The Netting Defense
Birds and other pests love strawberries just as much as we do! Protect your precious berries with netting.
Materials You’ll Need:
* Bird netting
* Stakes or hoops
* Clips or zip ties
Step-by-Step Instructions:
1. Set Up Support: Drive stakes or hoops into the ground around your strawberry plants to create a frame for the netting.
2. Drape the Netting: Drape the bird netting over the frame, making sure to cover all of
Conclusion
So, there you have it! This simple, yet incredibly effective DIY trick to boost your strawberry harvest is a game-changer for any gardener, whether you’re a seasoned pro or just starting out. We’ve walked you through the process, highlighting how easy it is to implement and the significant impact it can have on the quantity and quality of your strawberry yield.
Why is this a must-try? Because it addresses several key factors that often limit strawberry production. It improves drainage, reduces weed competition, reflects sunlight for better ripening, and helps keep those precious berries clean and free from soil-borne diseases. Imagine biting into a perfectly ripe, juicy strawberry, knowing you played a direct role in its abundance and deliciousness. That’s the power of this simple technique.
But don’t stop there! Feel free to experiment and adapt this method to suit your specific needs and garden conditions. For example, if you live in a particularly hot climate, consider using a lighter-colored mulch to reflect even more sunlight and prevent the soil from overheating. You could also try different types of organic mulches, such as pine straw or shredded leaves, to see which works best for your soil and strawberry variety. Another variation could involve using raised beds in conjunction with this trick for even better drainage and easier access to your plants. If you are using plastic mulch, consider using a biodegradable option to reduce your environmental impact.
Remember, gardening is all about learning and adapting. This DIY strawberry harvest boost is a fantastic starting point, but the real magic happens when you personalize it to your own unique circumstances.
We are confident that you’ll see a noticeable difference in your strawberry harvest this year. So, grab your supplies, get your hands dirty, and prepare to be amazed by the results. We can’t wait to hear about your experiences! Share your photos, tips, and success stories in the comments below. Let’s build a community of thriving strawberry growers together! Let us know what type of mulch you used, what variety of strawberry you are growing, and what your yield was before and after implementing this technique. Your insights will help other gardeners learn and improve their own strawberry harvests. Happy gardening!
Frequently Asked Questions (FAQ)
What exactly does this DIY trick entail?
This DIY trick typically involves using a simple method to improve the growing conditions for your strawberry plants. This could involve using mulch, raised beds, or other techniques to improve drainage, reduce weeds, and increase sunlight exposure. The specific method will depend on your local climate and soil conditions.
What are the benefits of using this DIY trick?
The benefits are numerous! Primarily, it leads to a significant increase in your strawberry harvest. By improving drainage, you prevent root rot and other moisture-related problems. Reducing weed competition allows your strawberry plants to thrive without having to compete for nutrients and water. Reflecting sunlight ensures that your strawberries ripen evenly and develop a sweeter flavor. And keeping the berries off the soil prevents them from rotting and becoming contaminated with soil-borne diseases. Ultimately, you’ll enjoy a larger, healthier, and more delicious strawberry harvest.
What kind of mulch should I use?
The best type of mulch depends on your specific needs and preferences. Organic mulches, such as straw, pine needles, or shredded leaves, are excellent choices because they decompose over time, adding nutrients to the soil. They also help to retain moisture and suppress weeds. Plastic mulch is another option, particularly black plastic, which warms the soil and promotes faster growth. However, plastic mulch doesn’t decompose and needs to be removed at the end of the season. Consider using biodegradable plastic mulch as a more environmentally friendly alternative. Experiment with different types of mulch to see which works best for your strawberry variety and climate.
When is the best time to implement this DIY trick?
The best time to implement this trick is typically in the spring, just before or after planting your strawberry plants. This allows the plants to benefit from the improved growing conditions throughout the growing season. However, you can also implement this trick at other times of the year, such as in the fall, to prepare your strawberry plants for the winter.
How often should I water my strawberry plants after implementing this trick?
The frequency of watering will depend on your climate and soil conditions. Generally, you should water your strawberry plants whenever the top inch of soil feels dry to the touch. Be careful not to overwater, as this can lead to root rot. Mulching helps to retain moisture, so you may not need to water as frequently as you would without mulch.
Will this trick work for all varieties of strawberries?
Yes, this trick can be beneficial for most varieties of strawberries. However, some varieties may respond better than others. Experiment with different varieties to see which ones thrive best in your garden. Day-neutral varieties, which produce fruit throughout the growing season, may benefit particularly from the improved growing conditions provided by this trick.
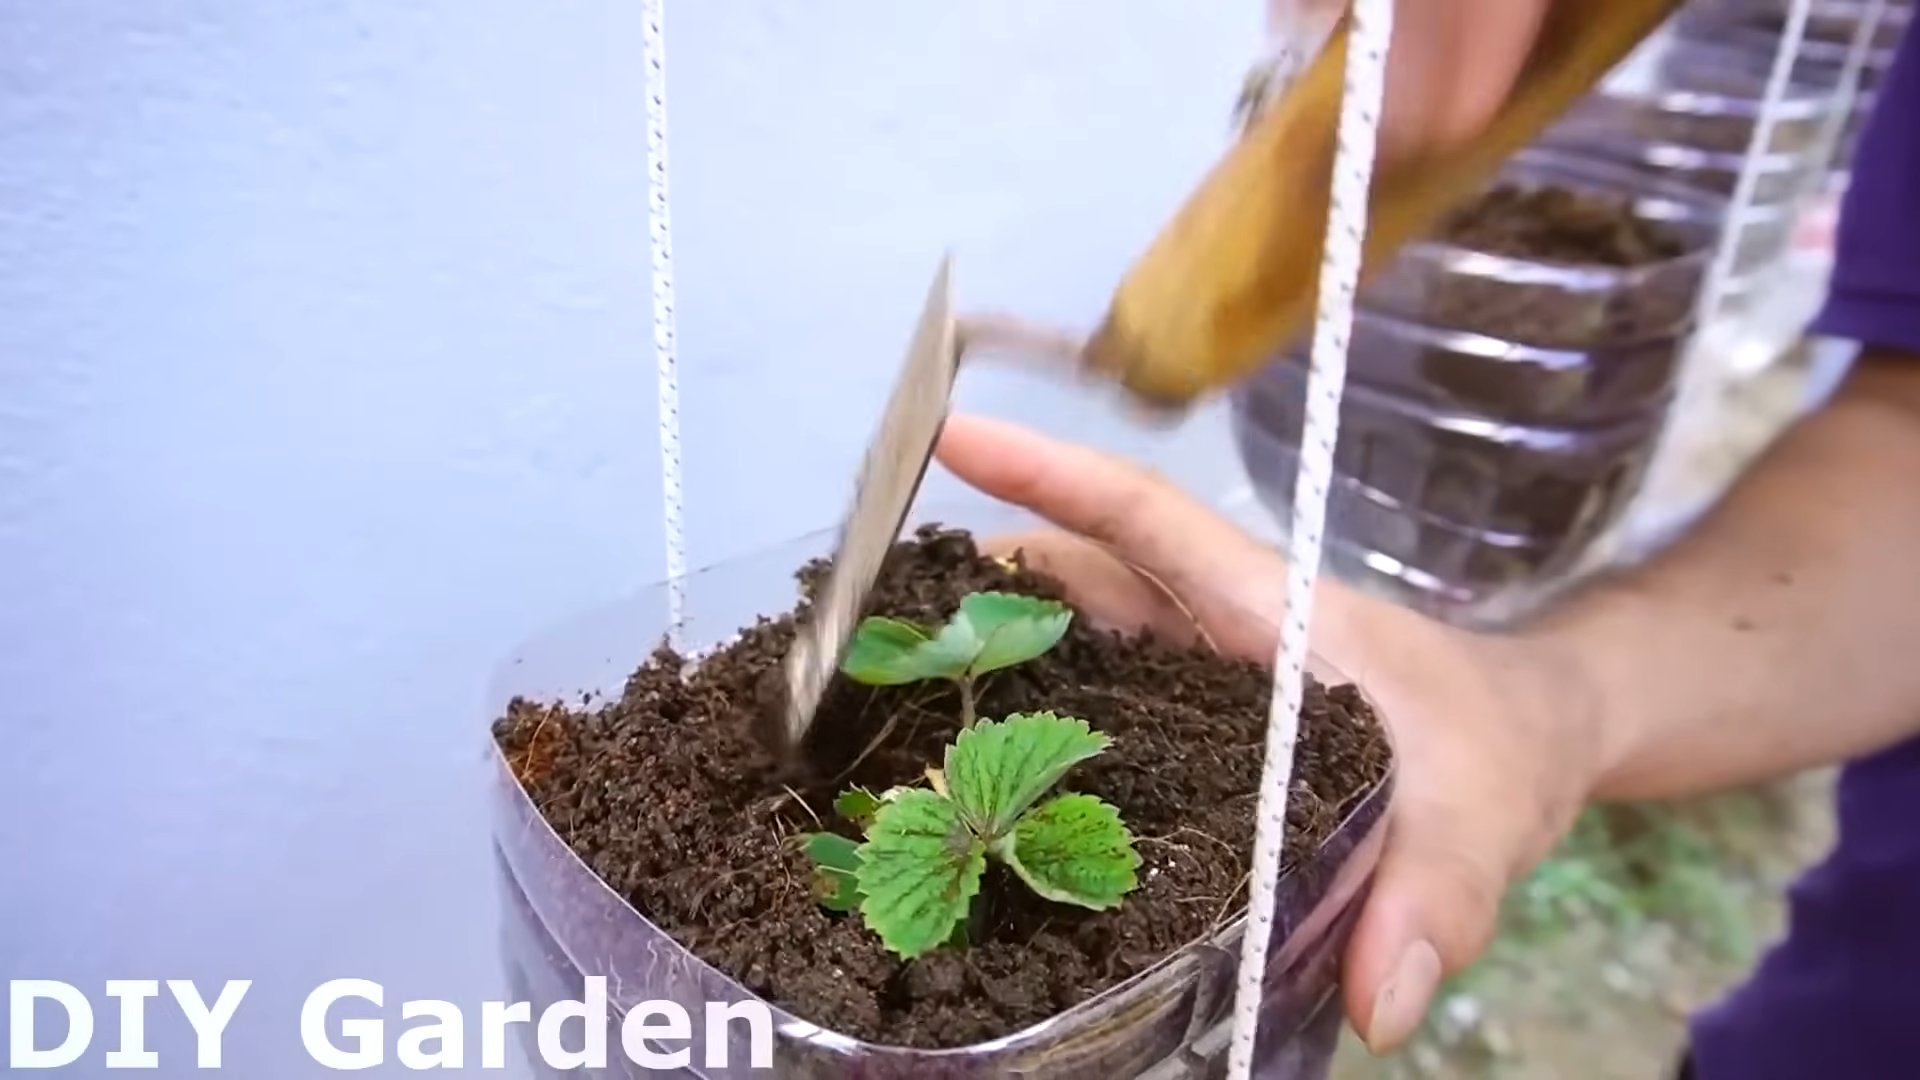
Can I use this trick in containers?
Absolutely! This trick can be easily adapted for use in containers. Simply choose a container that is large enough to accommodate the root system of your strawberry plants and fill it with a well-draining potting mix. Then, implement the trick as described above, using mulch or other techniques to improve drainage and reduce weeds.
What if I don’t have access to a lot of space?
Even if you have limited space, you can still benefit from this trick. Consider growing your strawberries in containers or raised beds, which can be placed on patios, balconies, or even rooftops. You can also use vertical gardening techniques to maximize your space.
How do I deal with pests and diseases?
Regularly inspect your strawberry plants for signs of pests and diseases. Common pests include aphids, slugs, and spider mites. Common diseases include powdery mildew and gray mold. Treat any problems promptly with appropriate organic or chemical controls. Keeping your strawberry plants healthy and well-nourished will help them to resist pests and diseases.
What if I don’t see results right away?
Don’t be discouraged if you don’t see results immediately. It may take some time for your strawberry plants to adjust to the improved growing conditions. Be patient and continue to provide them with proper care. You should start to see a noticeable difference in your strawberry harvest within a few weeks or months. Remember that gardening is a process, and it takes time and effort to achieve the best results. Keep experimenting and learning, and you’ll eventually find the perfect combination of techniques to maximize your strawberry harvest.
Leave a Comment