
Streak Free Glass Cleaning – it’s the holy grail of household chores, isn’t it? We’ve all been there, armed with spray bottles and microfiber cloths, only to be left with a frustrating, hazy mess. But fear not, fellow cleaning enthusiasts! This isn’t just another article promising the impossible. I’m about to share some tried-and-true DIY tricks that will transform your windows and mirrors from streaky nightmares to sparkling showcases.
The quest for perfectly clean glass has been a long one. Think back to ancient civilizations, where polished obsidian and early forms of glass were prized for their clarity and reflective properties. Maintaining that pristine surface was undoubtedly a challenge, even without the modern detergents that often leave behind unwanted residue. Today, achieving streak free glass cleaning is more than just aesthetics; it’s about letting natural light flood our homes, creating a brighter, more welcoming space.
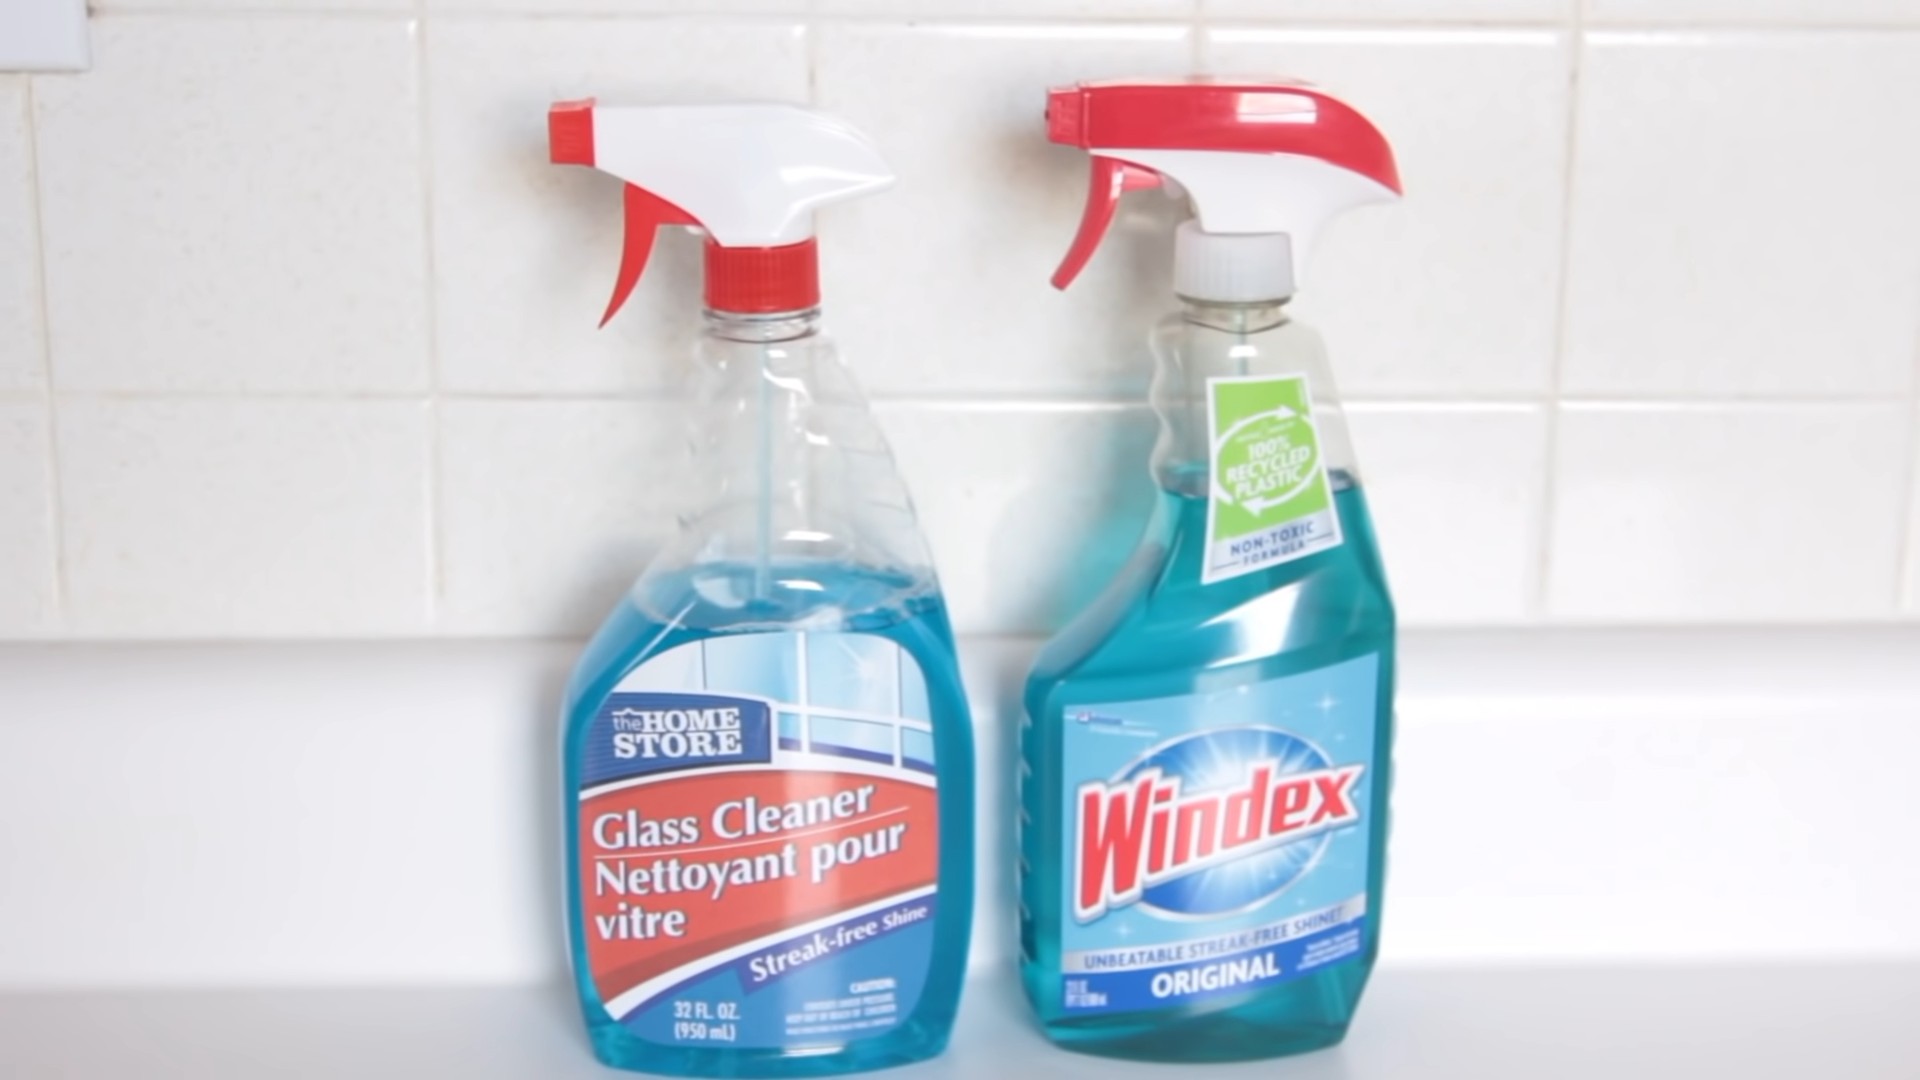
Why do you need these DIY hacks? Because store-bought cleaners can be expensive, full of harsh chemicals, and, frankly, often ineffective. Plus, who doesn’t love a good DIY project that saves money and reduces waste? I’m going to show you how to achieve professional-level results with simple ingredients you probably already have in your pantry. Get ready to say goodbye to streaks and hello to crystal-clear glass!
DIY Streak-Free Glass Cleaner: My Secret Weapon for Sparkling Windows!
Okay, friends, let’s talk about something that drives us all a little crazy: streaky windows! I’ve tried countless commercial glass cleaners, and honestly, I’ve always been left disappointed. They either leave behind a hazy film, drip everywhere, or just don’t seem to cut through the grime. That’s why I finally decided to create my own DIY streak-free glass cleaner, and let me tell you, it’s a game-changer! It’s super easy, incredibly effective, and uses ingredients you probably already have in your pantry. Get ready to say goodbye to streaks and hello to sparkling, crystal-clear windows!
What You’ll Need: The Magic Ingredients
Before we dive into the recipe, let’s gather our supplies. This is a simple list, I promise!
* Spray Bottle: A clean, empty spray bottle is essential. I prefer a sturdy one that’s easy to grip.
* Distilled Water: This is key for streak-free results! Tap water often contains minerals that can leave spots.
* White Vinegar: The star of the show! Vinegar is a natural cleaner and degreaser.
* Rubbing Alcohol (Isopropyl Alcohol): This helps the cleaner evaporate quickly, preventing streaks.
* Essential Oil (Optional): A few drops of your favorite essential oil can add a pleasant scent and help mask the vinegar smell. I personally love lemon or lavender.
* Microfiber Cloths: These are your best friends for streak-free cleaning. Avoid paper towels, as they can leave lint.
* Funnel (Optional): Makes pouring the ingredients into the spray bottle much easier.
The Ultimate Streak-Free Glass Cleaner Recipe
Alright, let’s get down to business! This recipe is super simple, and you can easily adjust the amounts to suit your needs.
1. Prepare Your Spray Bottle: Make sure your spray bottle is clean and dry. If it’s been used before, rinse it out thoroughly with water.
2. Add Distilled Water: Pour 2 cups of distilled water into the spray bottle. Using a funnel can prevent spills.
3. Add White Vinegar: Next, add 1/2 cup of white vinegar to the spray bottle. Don’t worry about the smell; it will dissipate quickly.
4. Add Rubbing Alcohol: Now, add 1/4 cup of rubbing alcohol (isopropyl alcohol) to the mixture. This is what helps the cleaner evaporate quickly and prevent streaks.
5. Add Essential Oil (Optional): If you’re using essential oil, add 5-10 drops to the spray bottle. Be careful not to add too much, as it can leave a residue.
6. Shake Well: Secure the spray bottle lid and shake the mixture thoroughly to combine all the ingredients.
Cleaning Like a Pro: Step-by-Step Guide
Now that you have your amazing DIY glass cleaner, let’s talk about how to use it for the best results. I’ve learned a few tricks over the years that make a huge difference.
1. Prepare the Surface: Before you start spraying, give your windows or mirrors a quick wipe with a dry microfiber cloth to remove any loose dust or debris. This will prevent you from just spreading the dirt around.
2. Spray Sparingly: Don’t overdo it with the spray! A light mist is all you need. Too much cleaner can actually lead to streaks. Hold the spray bottle about 6-8 inches away from the surface and spray evenly.
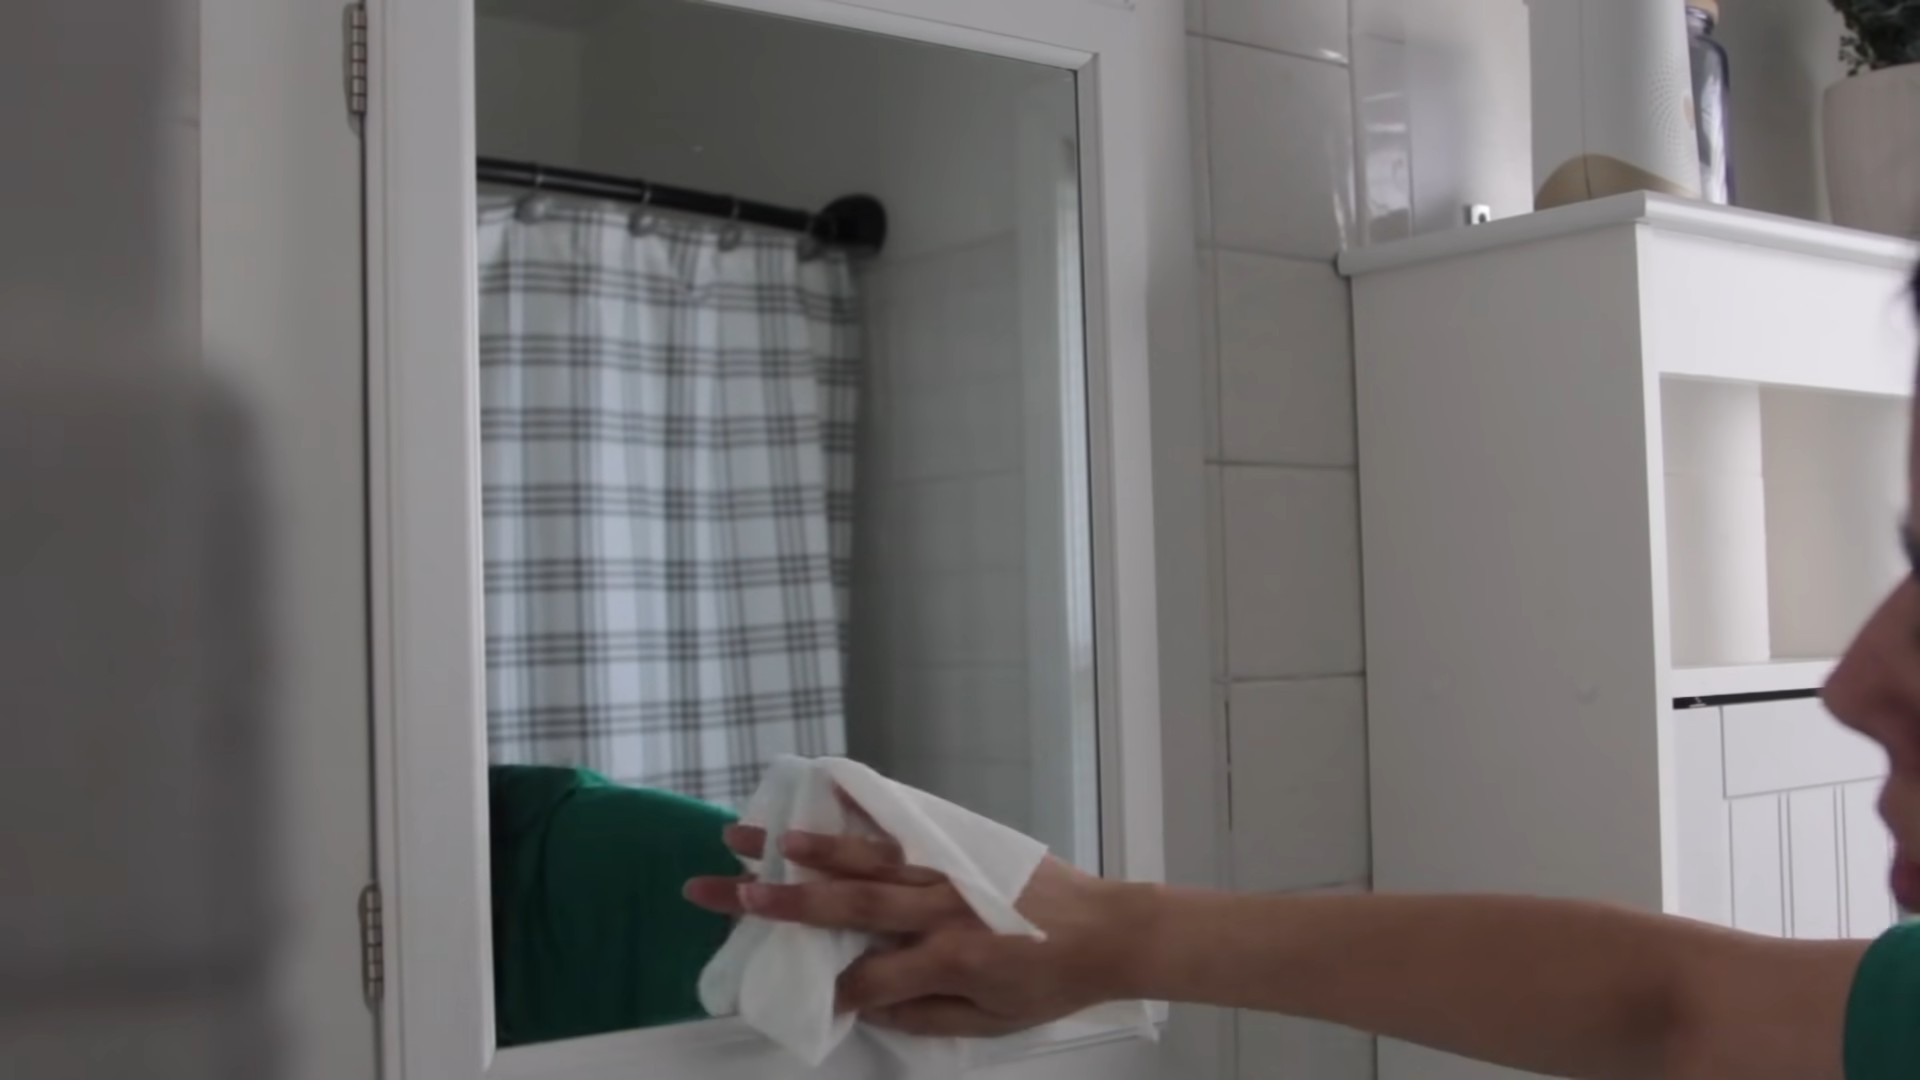
3. Wipe with a Clean Microfiber Cloth: Immediately after spraying, wipe the surface with a clean, dry microfiber cloth. Use a circular motion to spread the cleaner evenly, then switch to a straight, overlapping motion to remove the cleaner and any remaining dirt.
4. Buff to a Shine: For the ultimate streak-free finish, use a second clean, dry microfiber cloth to buff the surface. This will remove any lingering moisture and leave your windows sparkling.
5. Tackle Tough Spots: If you have stubborn spots or grime, spray the area again and let the cleaner sit for a minute or two before wiping. You can also use a slightly damp microfiber cloth for extra cleaning power.
Tips and Tricks for Sparkling Results
Here are a few extra tips and tricks I’ve learned along the way to help you achieve the best possible results:
* Choose the Right Time to Clean: Avoid cleaning windows on a hot, sunny day. The cleaner will evaporate too quickly, leaving streaks. The best time to clean is on a cloudy day or in the early morning or late afternoon.
* Wash Your Microfiber Cloths Regularly: Dirty microfiber cloths can actually spread dirt and leave streaks. Wash them regularly in warm water with a mild detergent. Avoid using fabric softener, as it can leave a residue.
* Use a Squeegee for Large Windows: For large windows or glass doors, a squeegee can be a lifesaver. Overlap each stroke slightly and wipe the blade clean after each pass.
* Clean Your Window Tracks: Don’t forget to clean your window tracks! Use a small brush or vacuum cleaner attachment to remove any dirt or debris.
* Test in an Inconspicuous Area: Before cleaning an entire surface, test the cleaner in a small, inconspicuous area to make sure it doesn’t damage the finish. This is especially important for delicate surfaces like antique mirrors.
* Don’t Mix with Other Cleaners: Never mix this DIY glass cleaner with other cleaning products, especially bleach. This can create dangerous fumes.
* Store Properly: Store your DIY glass cleaner in a cool, dark place. It should last for several months.
Cleaning Different Glass Surfaces
This DIY glass cleaner is incredibly versatile and can be used on a variety of glass surfaces. Here’s a quick guide:
* Windows: Perfect for both interior and exterior windows.
* Mirrors: Leaves mirrors sparkling and streak-free.
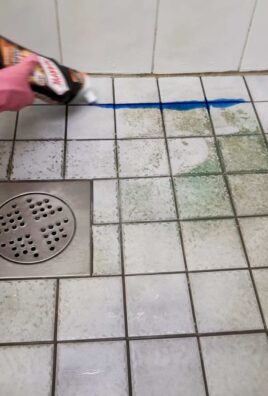
* Glass Shower Doors: Helps remove soap scum and water spots.
* Glass Tabletops: Keeps glass tabletops clean and shiny.
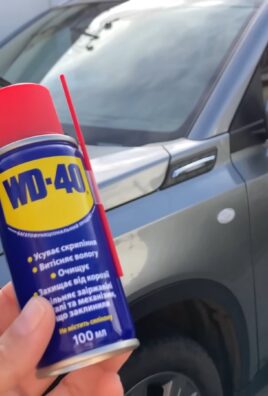
* Car Windows: Works great on car windows, but avoid spraying directly onto the dashboard or other interior surfaces.
* Electronics Screens: While this cleaner *can* be used on some electronics screens, I highly recommend checking your device’s manufacturer instructions first. For sensitive screens, a specialized screen cleaner is often a better option. If you do use this cleaner, spray it onto a microfiber cloth first, *never* directly onto the screen.
Troubleshooting Common Issues
Even with the best recipe and techniques, you might encounter a few issues. Here’s how to troubleshoot them:
* Streaks: If you’re still seeing streaks, make sure you’re using distilled water and clean microfiber cloths. You might also be using too much cleaner. Try spraying less and buffing the surface more thoroughly.
* Hazy Film: A hazy film can be caused by hard water or residue from previous cleaners. Try adding a little more vinegar to the mixture or using a slightly damp microfiber cloth to wipe the surface.
* Smell: The vinegar smell can be strong at first, but it will dissipate quickly. If you’re sensitive to smells, add a few more drops of essential oil to the mixture.
* Cleaner Not Working: If the cleaner doesn’t seem to be working, make sure you’re using the correct proportions of ingredients. You might also need to let the cleaner sit on the surface for a minute or two before wiping.
Why I Love This DIY Glass Cleaner
I’ve been using this DIY glass cleaner for years, and I honestly can’t imagine going back to commercial cleaners. Here’s why I love it so much:
* It’s Effective: It really does clean glass surfaces streak-free!
* It’s Affordable: The ingredients are inexpensive and readily available.
* It’s Eco-Friendly: It’s a much more sustainable option than buying disposable bottles of commercial cleaner.
* It’s Customizable: You can adjust the recipe to suit your needs and preferences.
* It’s Easy: It takes just a few minutes to make a batch of cleaner.
So, there you have it! My ultimate guide to DIY streak-free glass cleaner. I hope you give it a try and experience the joy of sparkling, crystal-clear windows. Happy cleaning!
Conclusion
So, there you have it! Achieving sparkling, streak-free glass doesn’t require expensive, chemical-laden cleaners. This simple, DIY glass cleaning solution is not only incredibly effective but also budget-friendly and environmentally conscious. The power of vinegar and water, perhaps with a touch of essential oil for a pleasant scent, is truly remarkable.
Why is this DIY trick a must-try? Because it delivers professional-quality results without the professional price tag or the harsh chemicals. Think about it: no more lingering chemical smells, no more worrying about harmful residue on surfaces your family touches, and a significant reduction in your household waste. Plus, you likely already have the ingredients in your pantry!
But the beauty of this DIY approach lies in its adaptability. Feel free to experiment with variations to find what works best for you. For instance, if you have particularly stubborn grime, try increasing the vinegar concentration slightly. For an extra boost of cleaning power on windows exposed to a lot of dirt and pollen, consider adding a teaspoon of rubbing alcohol to the mix. This will help cut through grease and leave an even more brilliant shine.
Another fantastic variation involves infusing your vinegar with citrus peels. Simply add orange, lemon, or grapefruit peels to a jar of vinegar and let it sit for a week or two. This not only adds a delightful fragrance but also enhances the cleaning power, thanks to the natural oils in the peels. Strain the vinegar before using it in your glass cleaning solution.
For those who prefer a more subtle scent, a few drops of lavender or tea tree essential oil can work wonders. Lavender offers a calming aroma, while tea tree oil boasts antibacterial properties. Remember to use essential oils sparingly, as a little goes a long way.
The key to truly streak-free glass is the application method. Always use a clean, lint-free microfiber cloth. Avoid paper towels, as they can leave behind fibers that contribute to streaks. Spray the glass lightly with your DIY cleaner and then wipe it down thoroughly in overlapping strokes. For larger surfaces, consider using a squeegee for a professional finish. Overlap each stroke of the squeegee slightly to prevent streaks.
We are confident that once you try this DIY glass cleaning method, you’ll be amazed by the results. It’s a simple, effective, and sustainable way to keep your windows, mirrors, and glass surfaces sparkling clean.
Now, we want to hear from you! Give this DIY trick a try and share your experience in the comments below. What variations did you try? What tips and tricks did you discover? Your feedback will help other readers achieve the best possible results and contribute to a community of DIY enthusiasts. Let’s ditch the harsh chemicals and embrace the power of natural cleaning! Let’s make our homes sparkle, one streak-free pane of glass at a time.
Frequently Asked Questions (FAQ)
What is the best ratio of vinegar to water for streak-free glass cleaning?
The ideal ratio is generally 1:1 – equal parts white vinegar and water. This provides sufficient cleaning power without leaving behind a strong vinegar scent. However, you can adjust this slightly depending on the severity of the grime. For heavily soiled glass, you might try a 2:1 ratio (two parts vinegar to one part water). For lightly soiled glass, a 1:2 ratio (one part vinegar to two parts water) may suffice. Always test a small, inconspicuous area first to ensure the solution doesn’t damage the surface.
Can I use apple cider vinegar instead of white vinegar?
While apple cider vinegar can be used, white vinegar is generally preferred for cleaning. White vinegar is more acidic and has a stronger cleaning power. Apple cider vinegar also has a darker color and a stronger scent, which may be noticeable on lighter-colored surfaces. If you do use apple cider vinegar, be sure to dilute it well with water.
Will the vinegar smell linger after cleaning?
The vinegar smell will dissipate quickly after cleaning. Opening windows and ventilating the area will help to speed up the process. If you are particularly sensitive to the smell of vinegar, you can add a few drops of your favorite essential oil to the cleaning solution. Lavender, lemon, and tea tree oil are all good options.
What type of cloth is best for streak-free glass cleaning?
A clean, lint-free microfiber cloth is the best choice for streak-free glass cleaning. Microfiber cloths are designed to trap dirt and grime without leaving behind fibers. Avoid using paper towels, as they can leave behind lint that contributes to streaks. You can also use a squeegee for larger surfaces, but be sure to overlap each stroke slightly to prevent streaks.
Can I use this DIY glass cleaner on tinted windows?
It’s generally safe to use this DIY glass cleaner on tinted windows, but it’s always best to test a small, inconspicuous area first. Some window tints can be sensitive to acidic cleaners, so it’s important to ensure that the solution doesn’t damage the tint. If you’re unsure, consult with the window tint manufacturer or a professional window cleaner.
Is this DIY glass cleaner safe for use around pets and children?
Yes, this DIY glass cleaner is generally safe for use around pets and children. Vinegar is a natural and non-toxic cleaning agent. However, it’s always a good idea to keep cleaning solutions out of reach of children and pets. If your pet ingests the cleaning solution, contact your veterinarian.
How often should I clean my windows with this DIY solution?
The frequency of window cleaning depends on several factors, including the location of your home, the weather conditions, and the amount of dirt and grime that accumulates on your windows. Generally, cleaning your windows every few months is sufficient. However, if you live in a dusty or polluted area, you may need to clean them more frequently.
Can I use this DIY glass cleaner on mirrors?
Yes, this DIY glass cleaner is excellent for cleaning mirrors. It will leave your mirrors sparkling clean and streak-free. Simply spray the mirror lightly with the solution and wipe it down with a clean, lint-free microfiber cloth.
What if I still see streaks after cleaning?
If you still see streaks after cleaning, there are a few things you can try. First, make sure you are using a clean, lint-free microfiber cloth. Second, try diluting the vinegar solution slightly. Third, ensure you are not using too much cleaning solution. A light mist is all you need. Finally, try buffing the glass with a dry microfiber cloth after cleaning.
Can I add dish soap to the vinegar and water solution?
While some people add a small amount of dish soap to their glass cleaning solution, it’s generally not recommended. Dish soap can leave behind a residue that contributes to streaks. If you do add dish soap, use only a tiny amount (a drop or two) and be sure to rinse the glass thoroughly with clean water afterward.
How do I clean hard-to-reach windows with this solution?
For hard-to-reach windows, consider using a spray bottle with an extended nozzle or a window cleaning tool with a telescoping handle. These tools will allow you to reach high windows without having to climb on a ladder. Be sure to follow the same cleaning process as you would for regular windows, using a clean, lint-free microfiber cloth or a squeegee.
Can I use this solution to clean my car windows?
Yes, this DIY glass cleaning solution is safe and effective for cleaning car windows. However, avoid getting the solution on the car’s paint, as vinegar can potentially damage the finish over time. If you do get the solution on the paint, rinse it off immediately with water.
Leave a Comment