
Time-saving cleaning tips are a game-changer, aren’t they? I know I’m always on the lookout for ways to reclaim my weekends from endless chores. Let’s face it, nobody enjoys spending their precious free time scrubbing and dusting! But what if I told you that you could drastically cut down on your cleaning time without sacrificing a sparkling clean home?
Throughout history, people have sought efficient ways to maintain their living spaces. From ancient Roman bathhouses to the meticulously kept homes of the Victorian era, cleanliness has always been valued. However, the demands of modern life often leave us feeling overwhelmed and short on time. That’s where these DIY cleaning hacks come in!
This article is packed with simple, yet incredibly effective, time-saving cleaning tips and DIY solutions that will revolutionize your cleaning routine. Imagine having more time to spend with loved ones, pursue your hobbies, or simply relax and unwind. These aren’t just quick fixes; they’re smart strategies designed to streamline your cleaning process and make your life easier. So, ditch the all-day cleaning marathons and get ready to discover the secrets to a cleaner, happier, and more time-rich you!
Time-Saving Cleaning Hacks: Reclaim Your Weekend!
Okay, let’s be honest, nobody *really* enjoys cleaning. But it’s a necessary evil, right? So, instead of dreading it, let’s find ways to make it faster and easier. I’ve compiled some of my favorite time-saving cleaning hacks that will help you reclaim your weekend and spend more time doing things you actually enjoy!
Hack 1: The Microwave Steam Clean
This is a game-changer, seriously. No more scrubbing baked-on food splatters!
What you’ll need:
* 1 cup of water
* 1/4 cup of white vinegar or lemon juice (vinegar is stronger, lemon smells nicer!)
* Microwave-safe bowl or cup
Step-by-step instructions:
1. Mix it up: In your microwave-safe bowl or cup, combine the water and vinegar (or lemon juice).
2. Microwave magic: Place the bowl in the microwave and heat on high for 5-7 minutes. You want the water to boil and create steam.
3. Don’t open it yet!: Let the microwave sit, door closed, for another 2-3 minutes. This allows the steam to really loosen all the grime.
4. Wipe it down: Carefully remove the bowl (it will be hot!). Use a clean cloth or sponge to easily wipe away all the loosened food particles. You’ll be amazed at how easily it comes off!
5. Stubborn spots?: If there are any particularly stubborn spots, you might need to give them a little extra scrub with the cloth. But trust me, it’ll be way easier than before!
Hack 2: Shower Head Deep Clean (No Scrubbing!)
Hard water buildup can really affect your shower pressure and make your shower head look gross. This hack will dissolve all that gunk without any scrubbing required!
What you’ll need:
* White vinegar
* Plastic bag (a sandwich bag works well for smaller shower heads, a gallon-sized bag for larger ones)
* Rubber band or twist tie
Step-by-step instructions:
1. Vinegar bath: Fill the plastic bag with enough white vinegar to completely submerge the shower head.
2. Secure the bag: Carefully attach the bag to the shower head, making sure the shower head is fully immersed in the vinegar. Use a rubber band or twist tie to secure the bag tightly.
3. Soak overnight: Let the shower head soak in the vinegar overnight (or for at least a few hours).
4. Remove and rinse: Remove the bag and discard the vinegar. Run the shower for a few minutes to flush out any remaining vinegar and loosened debris.
5. Shine bright: Your shower head should now be sparkling clean and your water pressure restored! If there’s still some stubborn buildup, you can gently scrub it with an old toothbrush.
Hack 3: Speed Clean Your Blinds
Dusty blinds are a pain. This hack lets you clean multiple slats at once!
What you’ll need:
* Old sock (clean, of course!)
* White vinegar and water solution (equal parts)
* Spray bottle (optional)
Step-by-step instructions:
1. Sock puppet cleaner: Dampen the sock with the vinegar and water solution. You can either spray the solution directly onto the sock or dip the sock into a bowl of the solution. Make sure the sock is damp, not soaking wet.
2. Handy dandy cleaner: Place your hand inside the sock, like you’re making a puppet.
3. Blind cleaning time: Use your sock-covered hand to wipe the blinds. The sock will grab the dust and dirt.
4. Top and bottom: Wipe the top and bottom of each slat in one swipe.
5. Rinse and repeat: If the sock gets too dirty, rinse it out and re-dampen it with the vinegar and water solution.
6. Dry time: Let the blinds air dry completely.
Hack 4: The Magic of Baking Soda and Vinegar for Drains
Clogged drains? Skip the harsh chemicals and try this natural solution.
What you’ll need:
* 1 cup baking soda
* 2 cups white vinegar
* Hot water
Step-by-step instructions:
1. Baking soda first: Pour the baking soda down the drain.
2. Vinegar chaser: Follow with the vinegar.
3. Fizzy fun: Let the mixture fizz and bubble for about 30 minutes. This reaction helps to break down the clog.
4. Hot water flush: After 30 minutes, pour a pot of boiling water down the drain to flush away the loosened debris.
5. Repeat if needed: If the drain is still clogged, repeat the process. For really stubborn clogs, you might need to use a plunger after the baking soda and vinegar treatment.
Hack 5: Lint Roller Dusting
This is perfect for quick touch-ups and hard-to-reach places.
What you’ll need:
* Lint roller
Step-by-step instructions:
1. Roll away the dust: Simply roll the lint roller over dusty surfaces like lampshades, curtains, upholstery, and even delicate items like picture frames.
2. Peel and repeat: When the lint roller sheet is full of dust, peel it off and continue with a fresh sheet.
3. Perfect for pet hair: This is especially effective for removing pet hair from furniture and clothing.
Hack 6: Cleaning Sponges in the Microwave
Sponges are breeding grounds for bacteria. This hack helps to sanitize them quickly.
What you’ll need:
* Your dirty sponge
* Water
* Microwave-safe bowl
Step-by-step instructions:
1. Soak the sponge: Thoroughly wet the sponge and place it in a microwave-safe bowl filled with about 1 cup of water.
2. Microwave it: Microwave the sponge on high for 2 minutes.
3. Cool down: Let the sponge cool down slightly before handling it. It will be hot!
4. Squeeze and use: Squeeze out the excess water and your sponge is now sanitized and ready to use.
5. Important note: This doesn’t replace regular sponge replacement. You should still replace your sponges every 1-2 weeks.
Hack 7: Coffee Filter Dusting
Coffee filters are surprisingly effective for dusting electronics and other delicate surfaces.
What you’ll need:
* Coffee filters (unused, of course!)
Step-by-step instructions:
1. Dust away: Simply use a dry coffee filter to wipe down your electronics, mirrors, and other delicate surfaces.
2. Lint-free shine: The coffee filter will pick up dust and leave a lint-free shine.
3. Great for screens: They’re especially good for cleaning computer screens and TVs without scratching them.
Hack 8: Dish Soap and Vinegar for Shower Doors
Soap scum on shower doors is the bane of my existence! This hack makes it much easier to remove.
What you’ll need:
* Dish soap
* White vinegar
* Spray bottle
* Scrub brush or sponge
Step-by-step instructions:
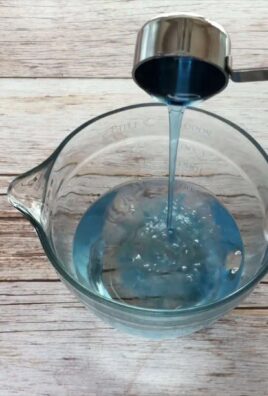
1. Mix it up: Heat the vinegar in the microwave for about 1 minute (be careful, it will be hot!).
2. Combine the ingredients: In a spray bottle, mix equal parts of the warm vinegar and dish soap.
3. Spray and soak: Spray the mixture onto the shower doors and let it sit for about 15-20 minutes.
4. Scrub-a-dub-dub: Use a scrub brush or sponge to scrub away the soap scum.
5. Rinse and shine: Rinse the shower doors thoroughly with water.
6. Squeegee for best results: Use a squeegee to remove excess water and prevent water spots.
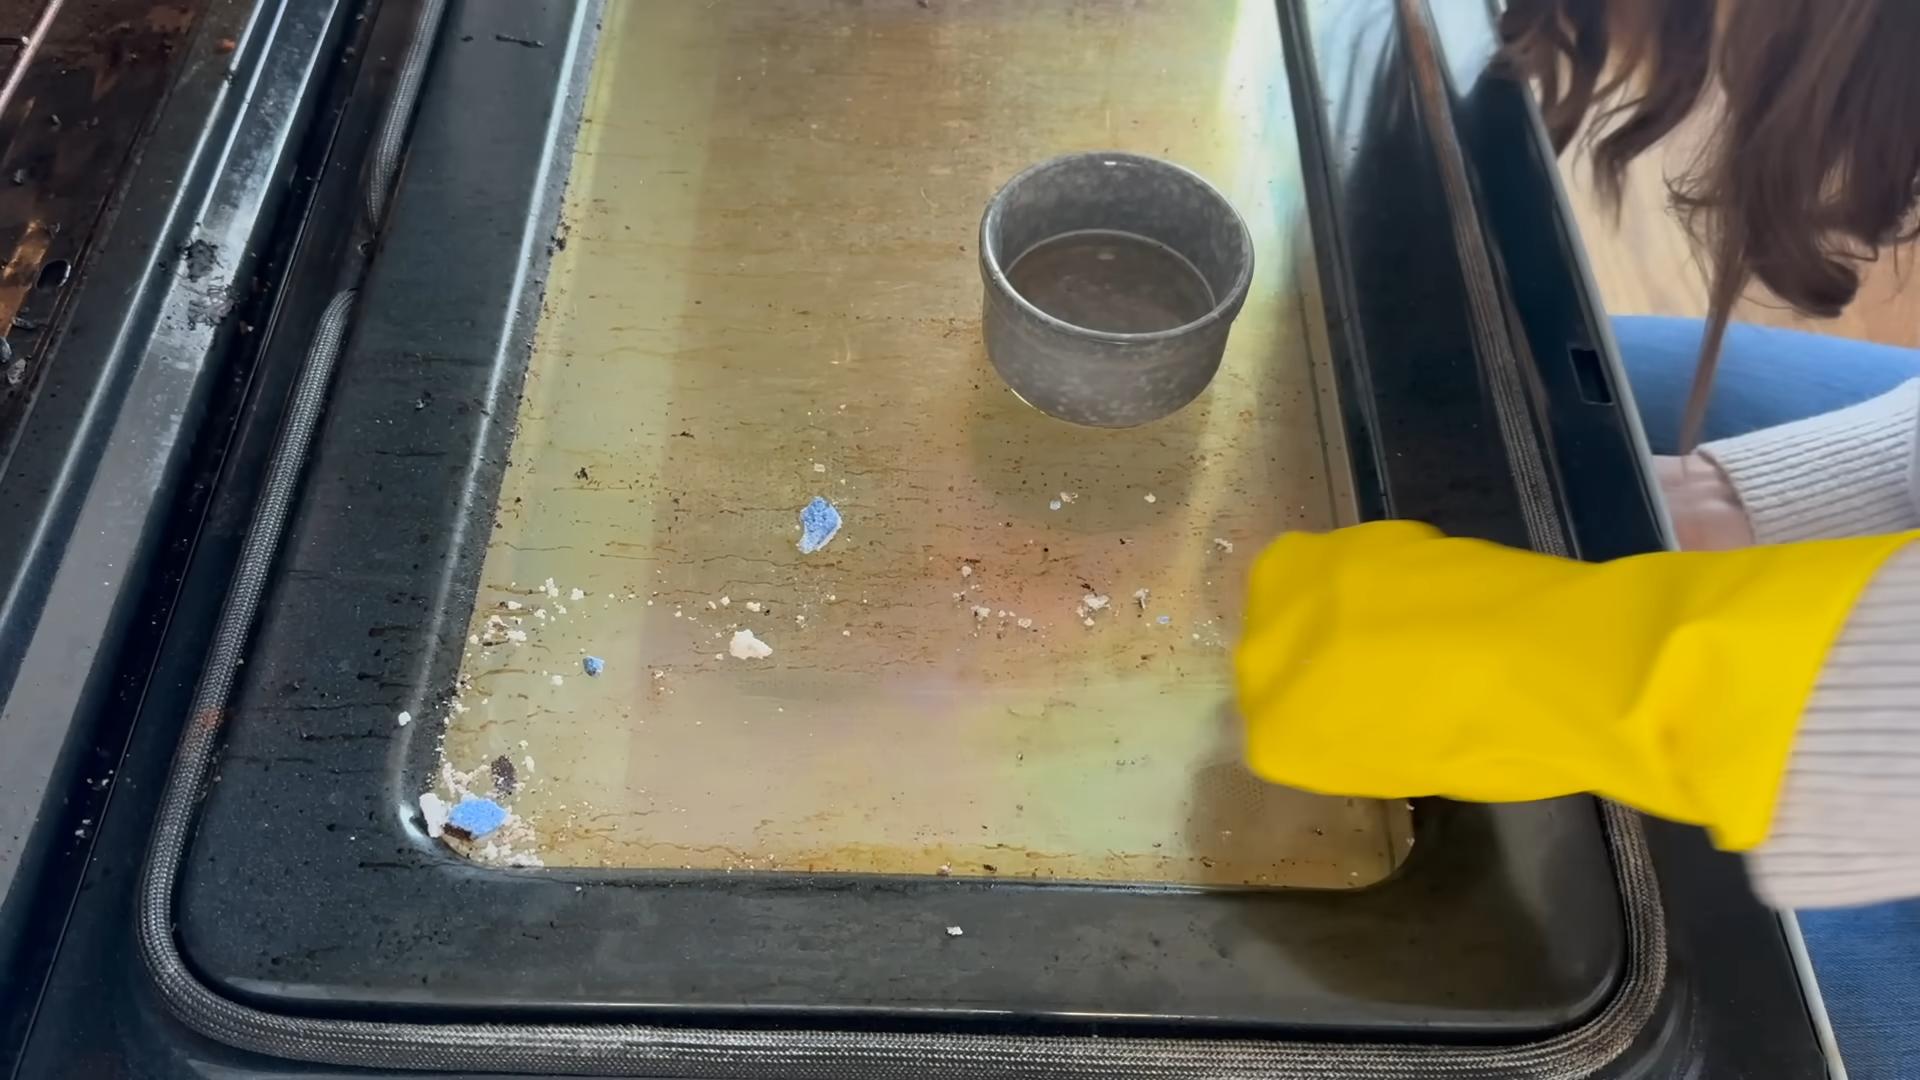
Hack 9: Baking Soda Paste for Oven Cleaning
Oven cleaning is the worst, but this baking soda paste makes it a little less awful.
What you’ll need:
* Baking soda
* Water
* Spatula or scraper
* Spray bottle with vinegar
Step-by-step instructions:
1. Make the paste: Mix baking soda and water to form a thick paste.
2. Coat the oven: Spread the paste all over the inside of your oven, avoiding the heating elements.
3. Let it sit overnight: Let the paste sit overnight (or for at
Conclusion
So, there you have it! These time-saving cleaning tips aren’t just about making your life easier; they’re about reclaiming your precious time and energy. Imagine spending less time scrubbing and more time doing the things you truly enjoy. From the quick microwave cleaning hack to the overnight oven degreasing trick, each of these methods is designed to streamline your cleaning routine and deliver sparkling results with minimal effort.
Why is this a must-try? Because let’s face it, nobody *loves* cleaning. These tips are practical, cost-effective, and utilize ingredients you likely already have in your pantry. They’re not about buying expensive gadgets or harsh chemicals; they’re about working smarter, not harder. They are about making your home a haven, not a source of stress.
Consider these variations to personalize your cleaning experience:
* **Scent Sensations:** Add a few drops of your favorite essential oil (like lemon, lavender, or eucalyptus) to your cleaning solutions for a refreshing and aromatherapeutic boost. This is especially effective when using the vinegar-based cleaning solutions.
* **Tough Stain Tackler:** For particularly stubborn stains on surfaces, create a paste of baking soda and water. Apply the paste to the stain, let it sit for a few minutes, and then scrub gently. This works wonders on grout, stovetops, and even clothing stains.
* **Microfiber Magic:** Invest in a good set of microfiber cloths. They are incredibly absorbent, effective at trapping dirt and grime, and reusable, making them a sustainable cleaning choice. They are also gentle on delicate surfaces.
* **Preventative Power:** The best way to save time cleaning is to prevent messes from happening in the first place. Wipe up spills immediately, clean as you go while cooking, and establish a regular cleaning schedule to prevent dirt and grime from building up.
We truly believe that incorporating these **time-saving cleaning tips** into your routine will revolutionize the way you approach housework. It’s not just about cleaning; it’s about creating a more enjoyable and efficient lifestyle.
Now, we want to hear from you! Give these tips a try and share your experiences in the comments below. Did one tip work particularly well for you? Did you discover a new variation that we haven’t mentioned? Your feedback is invaluable and helps us all learn and grow together. Let’s make cleaning less of a chore and more of a breeze! We are confident that you will find these tips helpful and that they will save you valuable time and energy. So go ahead, give them a try and let us know what you think!
Frequently Asked Questions (FAQ)
Q: Are these cleaning tips safe for all surfaces?
A: While most of these tips are generally safe, it’s always a good idea to test them on a small, inconspicuous area first, especially when dealing with delicate or sensitive surfaces like wood, marble, or painted walls. For example, vinegar, while a great natural cleaner, can be too acidic for some natural stone surfaces. Always read the manufacturer’s instructions for your surfaces and appliances before using any cleaning product, even natural ones. When in doubt, consult a professional cleaner.
Q: Can I use these cleaning tips if I have allergies or sensitivities?
A: If you have allergies or sensitivities, it’s crucial to be cautious when using any cleaning product, even natural ones. Some people may be sensitive to ingredients like vinegar, baking soda, or essential oils. Always wear gloves and a mask when cleaning to protect your skin and respiratory system. Ensure proper ventilation by opening windows or using a fan. If you experience any adverse reactions, discontinue use immediately and consult a doctor. Consider using hypoallergenic cleaning products specifically designed for sensitive individuals.
Q: How often should I be cleaning my microwave using the steam method?
A: The frequency of cleaning your microwave depends on how often you use it. If you use it daily, cleaning it once a week is a good practice to prevent food splatters from hardening and becoming difficult to remove. If you use it less frequently, cleaning it every two weeks or once a month may suffice. The steam method is gentle and effective, so you can use it as often as needed without damaging your microwave.
Q: What if I don’t have lemons for the microwave cleaning trick?
A: No problem! You can substitute lemons with vinegar. Simply mix equal parts water and white vinegar in a microwave-safe bowl and follow the same steaming process. The vinegar will help loosen the grime and make it easier to wipe away. You can also use orange peels for a similar effect, adding a pleasant citrus scent.
Q: Are these cleaning tips environmentally friendly?
A: Many of these cleaning tips utilize natural ingredients like vinegar, baking soda, and lemon, which are generally considered more environmentally friendly than harsh chemical cleaners. However, it’s important to dispose of cleaning solutions properly and avoid using excessive amounts of water. Consider using reusable microfiber cloths instead of paper towels to reduce waste. Look for eco-friendly cleaning product alternatives when natural solutions are not sufficient.
Q: How can I remove stubborn stains from my oven without harsh chemicals?
A: For stubborn oven stains, try making a paste of baking soda and water. Apply the paste to the stains, let it sit overnight, and then scrub with a sponge or brush. You can also add a few drops of dish soap to the paste for extra cleaning power. For burnt-on food, try using a razor blade scraper carefully to remove the debris before applying the baking soda paste. Remember to wear gloves to protect your hands.
Q: What’s the best way to clean grout without damaging it?
A: Cleaning grout can be tricky, but a baking soda paste is a great option. Apply the paste to the grout lines, let it sit for a few minutes, and then scrub with a grout brush or an old toothbrush. You can also spray the grout with vinegar after applying the baking soda paste for a fizzing action that helps loosen the grime. Rinse thoroughly with water. Avoid using harsh chemicals or abrasive cleaners, as they can damage the grout.
Q: How can I prevent my shower from getting moldy?
A: Preventing mold in the shower requires good ventilation and regular cleaning. After each shower, squeegee the walls and door to remove excess water. Leave the shower door or curtain open to allow air to circulate. Regularly clean the shower with a mold-killing cleaner or a solution of vinegar and water. You can also use a dehumidifier in the bathroom to reduce moisture levels.
Q: Can I use these cleaning tips on my stainless steel appliances?
A: Yes, many of these cleaning tips are safe for stainless steel appliances. Vinegar and water can be used to clean stainless steel, but always wipe in the direction of the grain to avoid streaks. Baking soda can be used to remove stubborn stains, but be gentle to avoid scratching the surface. Avoid using abrasive cleaners or steel wool, as they can damage the finish.
Q: How do I get rid of lingering odors after cleaning?
A: To get rid of lingering odors after cleaning, try placing a bowl of baking soda in the room to absorb odors. You can also simmer a pot of water with cinnamon sticks or citrus peels to freshen the air. Open windows to ventilate the room and allow fresh air to circulate. Essential oil diffusers can also be used to add a pleasant scent to the air.

Leave a Comment