
Vertical Gardening Small Spaces: Dreaming of lush greenery but short on square footage? You’re not alone! I’ve always believed that everyone deserves a touch of nature, even if you’re living in a cozy apartment or a house with a postage-stamp-sized yard. That’s why I’m so excited to share some incredible DIY tricks and hacks that will transform your limited space into a thriving vertical garden.
The concept of vertical gardening isn’t new. In fact, it dates back centuries! Think of the Hanging Gardens of Babylon, one of the Seven Wonders of the Ancient World – a testament to humanity’s enduring desire to cultivate beauty even without sprawling landscapes. While we might not be building wonders on that scale, we can certainly draw inspiration from that ingenuity.
In today’s world, where urban living is increasingly common, vertical gardening small spaces is more relevant than ever. It’s not just about aesthetics; it’s about maximizing your resources, growing your own food, and creating a calming oasis amidst the hustle and bustle of city life. Plus, who doesn’t love a good DIY project? This article is packed with easy-to-follow instructions and creative ideas that will empower you to build your own stunning vertical garden, no matter how small your space may be. Get ready to unleash your inner gardener and transform your home into a green paradise!
DIY Vertical Garden for Small Spaces: A Step-by-Step Guide
Okay, so you’re dreaming of lush greenery but your apartment balcony is the size of a postage stamp? Don’t despair! I’m going to walk you through creating your very own vertical garden, perfect for even the tiniest of spaces. This project is totally customizable, so feel free to adapt it to your specific needs and aesthetic. Let’s get started!
Materials You’ll Need
Before we dive in, let’s gather our supplies. This list might seem long, but trust me, it’s worth it for the beautiful garden you’ll create.
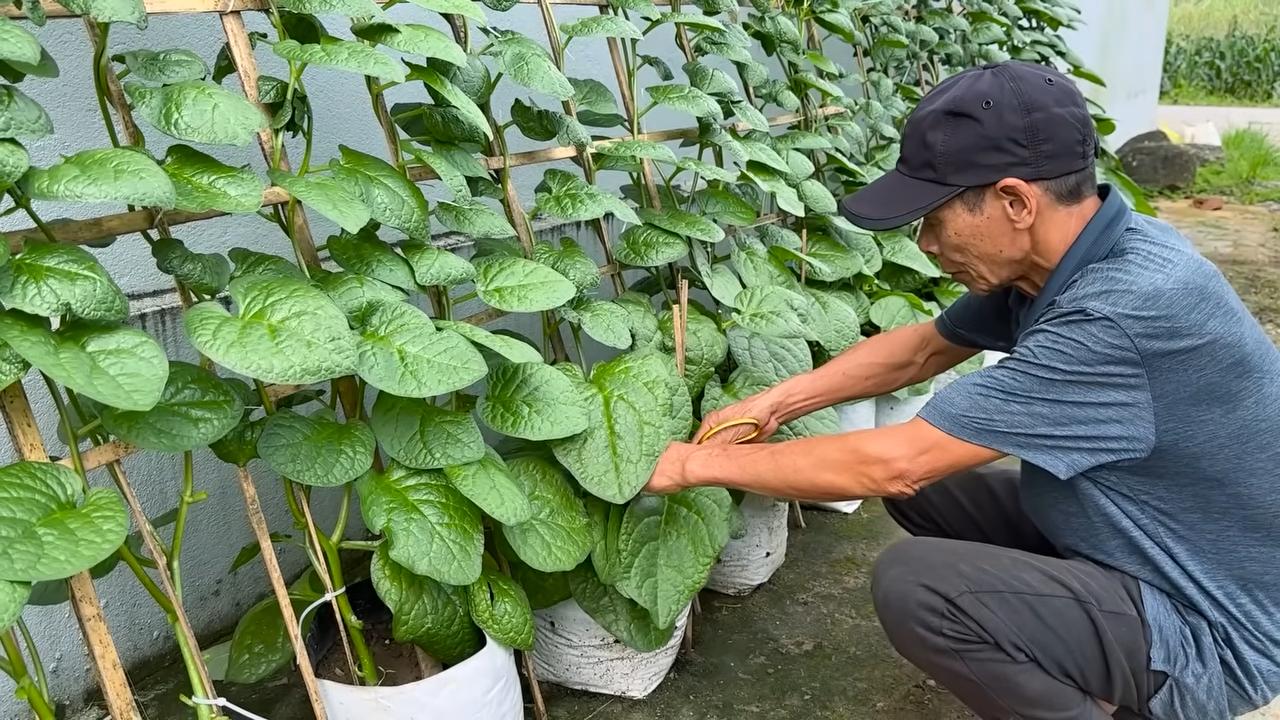
* **Wooden Pallet (or similar structure):** This will be the backbone of your garden. You can often find these for free behind grocery stores or construction sites. Just make sure it’s untreated wood and in good condition. If you can’t find a pallet, you can build a simple frame using lumber.
* **Heavy-Duty Landscape Fabric:** This will line the pockets and prevent soil from spilling out.
* **Staple Gun and Staples:** Essential for securing the landscape fabric to the pallet.
* **Scissors or Utility Knife:** For cutting the landscape fabric.
* **Gloves:** To protect your hands.
* **Measuring Tape:** For accurate measurements.
* **Potting Soil:** Choose a good quality potting mix that drains well.
* **Plants:** Select plants that are suitable for vertical gardening and your local climate. Think herbs, strawberries, succulents, leafy greens, or small flowering plants.
* **Optional: Sandpaper:** If your pallet is rough, a little sanding can make it smoother.
* **Optional: Wood Stain or Paint:** To customize the look of your pallet.
* **Optional: Plastic Sheeting:** To protect the wall behind your vertical garden.
* **Optional: Hooks or Brackets:** For hanging the vertical garden securely.
* **Optional: Drip Irrigation System:** For easy watering (more on this later!).
Preparing the Pallet
This is a crucial step, so pay close attention! A well-prepared pallet will make the rest of the project much easier.
1. **Inspect the Pallet:** Carefully examine the pallet for any loose nails, splinters, or damage. Remove any loose nails and sand down any rough spots with sandpaper.
2. **Clean the Pallet:** Use a brush and soapy water to clean the pallet thoroughly. Rinse it well and let it dry completely. This will help prevent mold and mildew.
3. **Optional: Stain or Paint the Pallet:** If you want to customize the look of your pallet, now’s the time to stain or paint it. Choose a weather-resistant stain or paint that’s suitable for outdoor use. Let it dry completely before moving on. I personally love a natural wood look, but a pop of color can be fun too!
4. **Optional: Add Plastic Sheeting:** If you’re concerned about water damage to the wall behind your vertical garden, attach a sheet of plastic to the back of the pallet using staples.
Creating the Planting Pockets
This is where the magic happens! We’re going to transform the pallet into a series of individual planting pockets.
1. **Measure and Cut the Landscape Fabric:** Measure the width and depth of each section of the pallet where you want to create a planting pocket. Add a few extra inches to each measurement to allow for overlap and secure stapling. Cut the landscape fabric into rectangles according to your measurements. I usually cut a few extra pieces just in case.
2. **Create the First Pocket:** Starting at the bottom of the pallet, fold the landscape fabric in half lengthwise to create a double layer. This will add strength and durability to the pocket.
3. **Staple the Fabric to the Pallet:** Position the folded fabric against the pallet, ensuring that the folded edge is facing up. Use the staple gun to securely staple the fabric to the pallet along the sides and bottom of the section. Make sure the staples are close together to prevent the soil from escaping.
4. **Repeat for Remaining Pockets:** Repeat steps 2 and 3 for each section of the pallet, working your way up. Overlap the fabric slightly between each pocket to create a continuous lining. This will help prevent water from leaking between the pockets.
5. **Reinforce the Pockets:** For added security, you can reinforce the pockets by adding a second layer of landscape fabric. Simply repeat steps 2 and 3 using a new piece of fabric.
Planting Your Vertical Garden
Now for the fun part! Let’s fill those pockets with beautiful plants.
1. **Choose Your Plants:** Select plants that are well-suited for vertical gardening. Consider factors such as sunlight exposure, watering needs, and size. Herbs, strawberries, succulents, leafy greens, and small flowering plants are all great options. I love mixing different textures and colors for a visually appealing garden.
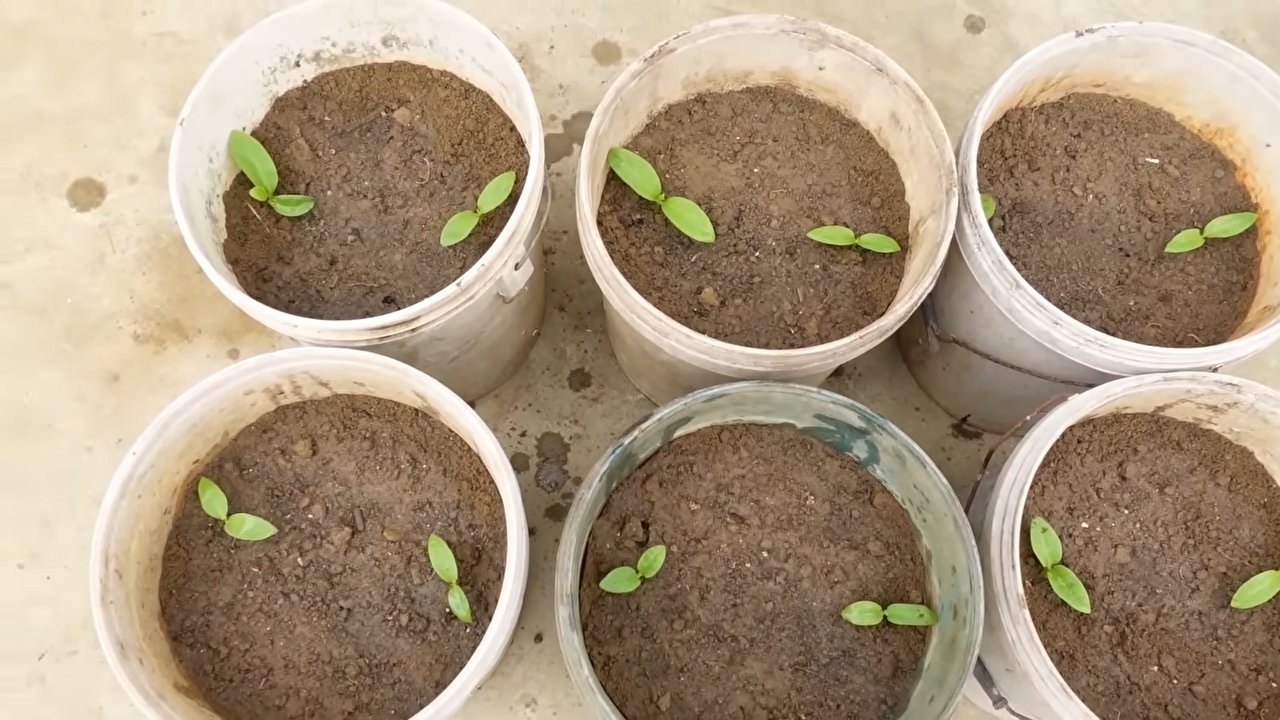
2. **Fill the Pockets with Soil:** Carefully fill each pocket with potting soil, leaving about an inch of space at the top. Gently pat down the soil to remove any air pockets.
3. **Plant Your Plants:** Gently remove the plants from their containers and loosen the roots. Plant them in the pockets, making sure the roots are well covered with soil.
4. **Water Thoroughly:** Water the plants thoroughly after planting. This will help settle the soil and encourage root growth.
5. **Add More Soil if Needed:** After watering, the soil may settle. Add more soil to the pockets if necessary to ensure that the roots are well covered.
Maintaining Your Vertical Garden
A little TLC will keep your vertical garden thriving.
1. **Water Regularly:** Vertical gardens tend to dry out more quickly than traditional gardens, so it’s important to water them regularly. Check the soil moisture daily and water when the top inch of soil feels dry.
2. **Fertilize Regularly:** Feed your plants with a balanced liquid fertilizer every few weeks. This will provide them with the nutrients they need to grow and thrive.
3. **Prune as Needed:** Prune your plants regularly to remove any dead or dying leaves and to encourage bushier growth.
4. **Check for Pests and Diseases:** Inspect your plants regularly for any signs of pests or diseases. Treat any problems promptly to prevent them from spreading.
5. **Rotate Plants (Optional):** If your vertical garden receives uneven sunlight, you may want to rotate the plants periodically to ensure that they all receive adequate light.
Optional: Adding a Drip Irrigation System
For super easy watering, consider adding a drip irrigation system. This will automatically water your plants, saving you time and effort.
1. **Purchase a Drip Irrigation Kit:** You can find drip irrigation kits specifically designed for vertical gardens at most garden centers or online retailers.
2. **Install the Drip Lines:** Follow the instructions that come with your drip irrigation kit to install the drip lines in each planting pocket.
3. **Connect to a Water Source:** Connect the drip irrigation system to a water source, such as a garden hose or a faucet.
4. **Set the Timer:** Set the timer to water your plants at regular intervals. The frequency and duration of watering will depend on the type of plants you’re growing and the climate.
Hanging Your Vertical Garden
Now that your vertical garden is planted and ready to go, it’s time to hang it up!
1. **Choose a Location:** Select a location that receives adequate sunlight and is protected from strong winds.
2. **Install Hooks or Brackets:** Install heavy-duty hooks or brackets on the wall to support the weight of the vertical garden. Make sure the hooks or brackets are securely anchored to the wall studs.
3. **Hang the Vertical Garden:** Carefully lift the vertical garden and hang it on the hooks or brackets.
4. **Ensure Stability:** Make sure the vertical garden is stable and secure before letting go. You may want to add additional support if necessary.
Choosing the Right Plants
Selecting the right plants is key to a successful vertical garden. Here are some of my favorites:
* **Herbs:** Mint, basil, thyme, oregano, and rosemary are all great choices for vertical gardens. They’re easy to grow, fragrant, and delicious!
* **Strawberries:** Who doesn’t love fresh strawberries? They thrive in vertical gardens and produce beautiful red berries.
* **Succulents:** Succulents are drought-tolerant and come in a wide variety of shapes and colors. They’re perfect for adding texture and visual interest to your vertical garden.
* **Leafy Greens:** Lettuce, spinach, and kale are all easy to grow in vertical gardens. They’re a great source of vitamins and minerals.
* **Small Flowering Plants:** Petunias, pansies, and impatiens are all beautiful flowering plants that are well-suited for vertical gardens. They add a pop of color and attract pollinators.
Troubleshooting Tips
Even with the best planning, you might encounter a few challenges. Here are some common issues and how to fix them:
* **Plants are drying out too quickly:** This is a common problem with vertical gardens. Make sure you’re watering regularly and consider adding a layer of mulch to
Conclusion
So, there you have it! Transforming your limited space into a lush, thriving garden is not only possible but surprisingly simple with these DIY vertical gardening techniques. We’ve explored how to maximize your growing potential, even when square footage is at a premium. This isn’t just about adding greenery; it’s about creating a vibrant, living space that enhances your well-being and brings the beauty of nature right to your doorstep.
Why is this DIY approach a must-try? Because it’s empowering! You’re taking control of your environment, customizing it to your specific needs and aesthetic preferences. Forget expensive pre-made systems that might not even fit your space perfectly. With these methods, you can tailor your vertical garden to suit your balcony, patio, or even an indoor wall. Plus, it’s incredibly rewarding to watch your plants flourish in a space you’ve personally designed and built.
Consider these variations to truly personalize your vertical garden:
* **Herb Haven:** Dedicate a vertical planter to your favorite herbs. Imagine stepping outside to snip fresh basil for your pasta or mint for your tea. The aroma alone is worth the effort!
* **Strawberry Sensation:** Strawberries thrive in vertical systems, keeping them off the ground and away from pests. A tiered strawberry tower is both beautiful and bountiful.
* **Succulent Showcase:** Succulents are low-maintenance and come in a stunning array of colors and textures. A vertical succulent garden is a living work of art.
* **Flowering Cascade:** Choose trailing flowers like petunias or calibrachoa to create a breathtaking cascade of color. This is perfect for adding a touch of romance to your outdoor space.
* **Repurposed Pallet Power:** Pallet gardens are a fantastic way to recycle and create a rustic, charming vertical garden. Just be sure to use untreated pallets to avoid harmful chemicals.
Remember to consider the specific needs of your chosen plants. Sunlight, watering, and soil type are all crucial factors for success. Don’t be afraid to experiment and see what works best in your environment.
We are confident that you will find these techniques for **vertical gardening small spaces** incredibly useful. We encourage you to embrace your inner gardener and give these DIY projects a try. The results will be well worth the effort.
But don’t just take our word for it! We want to hear about your experiences. Share your photos, tips, and challenges in the comments below. Let’s create a community of vertical gardening enthusiasts and inspire each other to transform our small spaces into green oases. What are you waiting for? Get growing!
Frequently Asked Questions (FAQ)
What exactly is vertical gardening, and why is it beneficial for small spaces?
Vertical gardening is a method of growing plants upwards, using structures like walls, trellises, or stacked planters, rather than horizontally on the ground. It’s incredibly beneficial for small spaces because it maximizes the use of available area. Instead of needing a large garden plot, you can create a thriving garden on a balcony, patio, or even indoors. It also improves air quality, adds aesthetic appeal, and can even provide insulation.
What types of plants are best suited for vertical gardens?
Many plants thrive in vertical gardens, but some are particularly well-suited. Consider these options:
* **Herbs:** Basil, mint, oregano, thyme, and parsley are all excellent choices.
* **Vegetables:** Lettuce, spinach, strawberries, tomatoes (especially smaller varieties), and peppers can be grown vertically.
* **Flowers:** Petunias, calibrachoa, impatiens, and trailing geraniums are beautiful and easy to grow.
* **Succulents:** Echeveria, sedum, and sempervivum are low-maintenance and visually appealing.
* **Vines:** Clematis, climbing roses, and ivy can be trained to grow up trellises or walls.
When choosing plants, consider the amount of sunlight your vertical garden receives and select plants that are appropriate for that light level. Also, think about the mature size of the plants and ensure they have enough space to grow.
How do I water a vertical garden effectively?
Watering can be a bit tricky in vertical gardens, as water tends to drain downwards. Here are some tips:
* **Use well-draining soil:** This will prevent waterlogging and root rot.
* **Water slowly and thoroughly:** Allow the water to soak into the soil before it runs off.
* **Water from the top down:** This ensures that all plants receive adequate moisture.
* **Consider a drip irrigation system:** This is a convenient and efficient way to water your vertical garden automatically.
* **Check the soil moisture regularly:** Stick your finger into the soil to see if it’s dry. Water when the top inch or two feels dry to the touch.
What kind of soil should I use for my vertical garden?
The best soil for a vertical garden is a lightweight, well-draining potting mix. Avoid using garden soil, as it can be too heavy and compact, which can lead to drainage problems. Look for a potting mix that contains ingredients like peat moss, perlite, and vermiculite. You can also add compost to improve the soil’s fertility and water retention.
How much sunlight does my vertical garden need?
The amount of sunlight your vertical garden needs depends on the types of plants you’re growing. Most vegetables and flowering plants need at least six hours of sunlight per day. Leafy greens and herbs can tolerate partial shade. Succulents generally prefer full sun. Observe your plants closely and adjust their location if they’re not getting enough sunlight. You can also supplement with grow lights if necessary.
How do I fertilize my vertical garden?
Vertical gardens need regular fertilization to provide the plants with the nutrients they need to thrive. Use a balanced liquid fertilizer diluted to half strength. Fertilize every two to four weeks during the growing season. You can also add slow-release fertilizer granules to the soil at planting time.
How do I protect my vertical garden from pests and diseases?
To protect your vertical garden from pests and diseases:
* **Choose disease-resistant plant varieties.**
* **Inspect your plants regularly for signs of pests or diseases.**
* **Remove any infected leaves or plants immediately.**
* **Use organic pest control methods, such as insecticidal soap or neem oil.**
* **Provide good air circulation to prevent fungal diseases.**
* **Avoid overwatering, as this can create a favorable environment for diseases.**
Can I create a vertical garden indoors?
Yes, you can absolutely create a vertical garden indoors! Choose plants that are well-suited to indoor conditions, such as low-light plants like snake plants, ZZ plants, and pothos. Provide adequate lighting, either with natural light or grow lights. Be sure to choose a location that is easy to access for watering and maintenance. Also, consider using a waterproof container or liner to protect your floors from water damage.
What are some creative DIY ideas for vertical gardens?
There are endless possibilities for creating DIY vertical gardens. Here are a few ideas:
* **Repurposed Pallet Garden:** Attach fabric or plastic liners to the back of a pallet and fill the spaces with soil.
* **Hanging Shoe Organizer Garden:** Hang a shoe organizer on a wall or fence and fill the pockets with soil and plants.
* **Plastic Bottle Garden:** Cut plastic bottles in half and hang them upside down to create individual planters.
* **Gutter Garden:** Attach gutters to a wall or fence and fill them with soil.
* **Ladder Garden:** Lean an old ladder against a wall and place potted plants on the rungs.
The key is to be creative and use materials that you already have on hand.
How do I maintain my vertical garden over time?
Maintaining your vertical garden is essential for its long-term health and beauty. Here are some tips:
* **Water regularly:** Check the soil moisture frequently and water when needed.
* **Fertilize regularly:** Provide your plants with the nutrients they need to thrive.
* **Prune and trim:** Remove any dead or dying leaves and stems.
* **Repot plants as needed:** As plants grow, they may need to be repotted into larger containers.
* **Monitor for pests and diseases:** Take action quickly to prevent problems from spreading.
* **Adjust your watering and fertilizing schedule as needed:** As the seasons change, your plants’ needs may change.
By following these tips, you can keep your vertical garden looking its best for years to come.

Leave a Comment